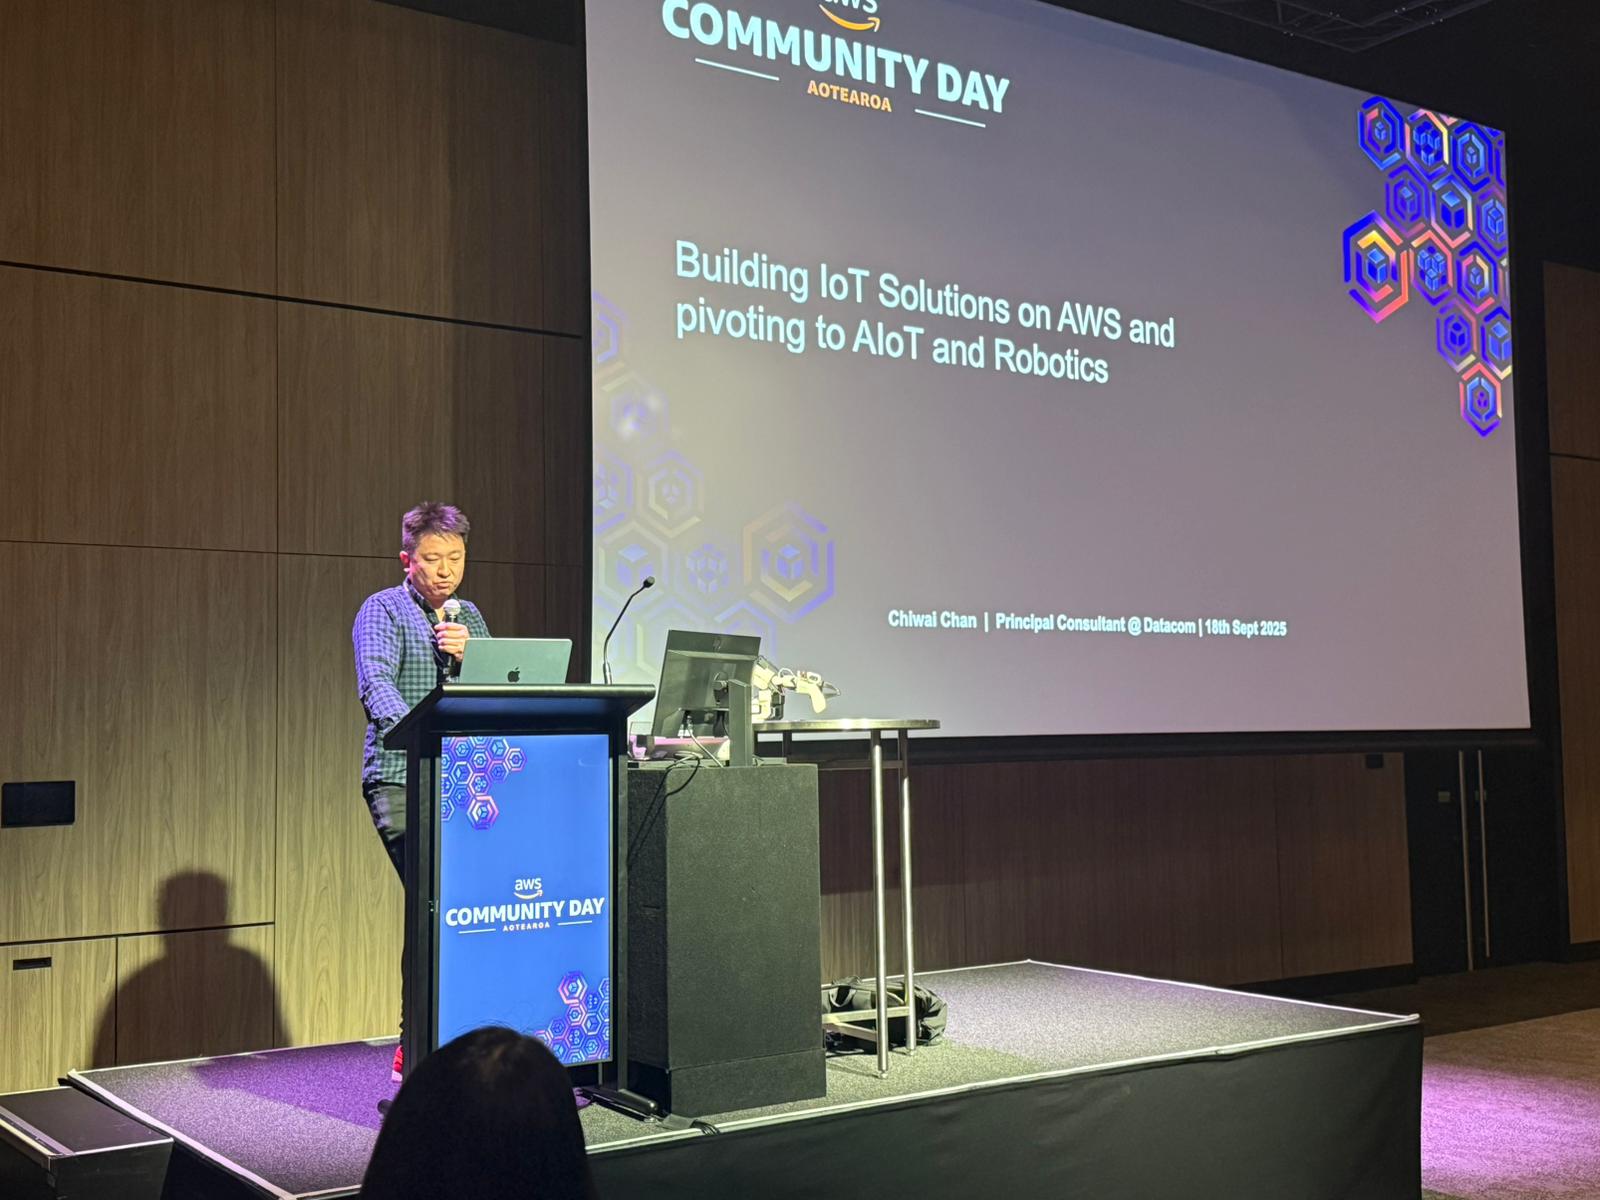
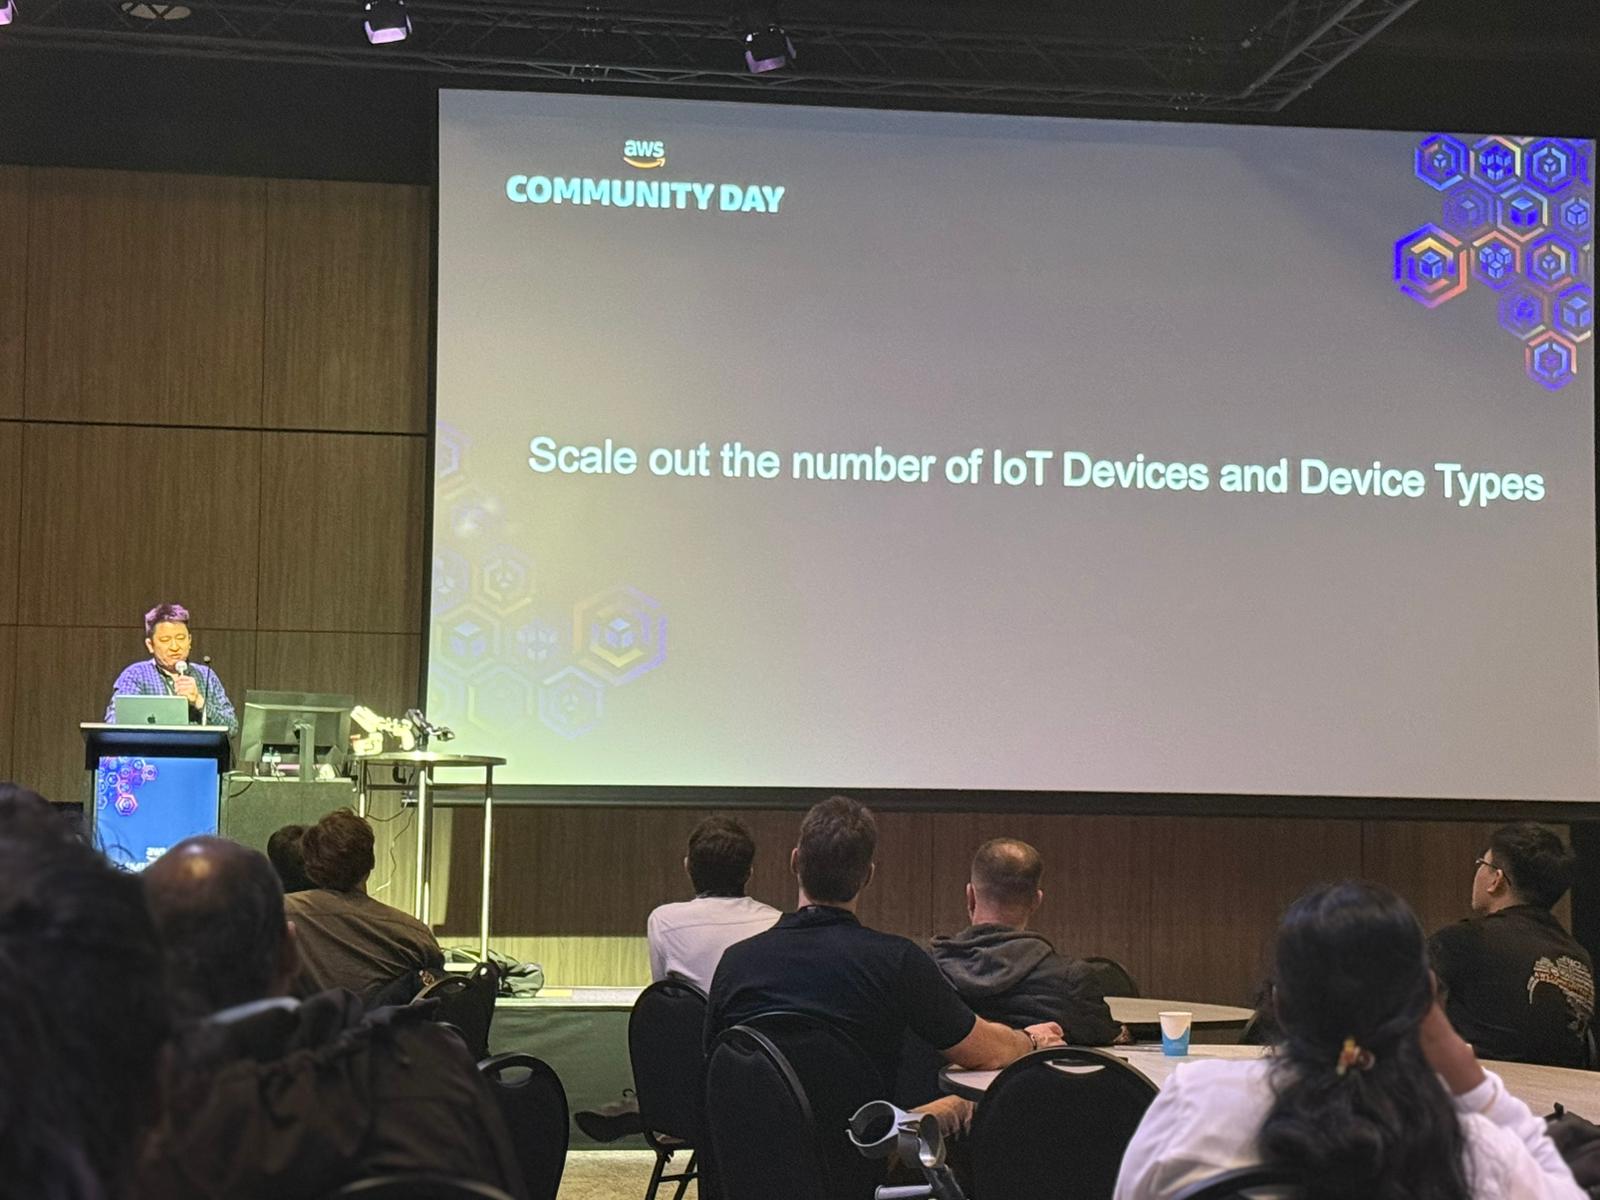
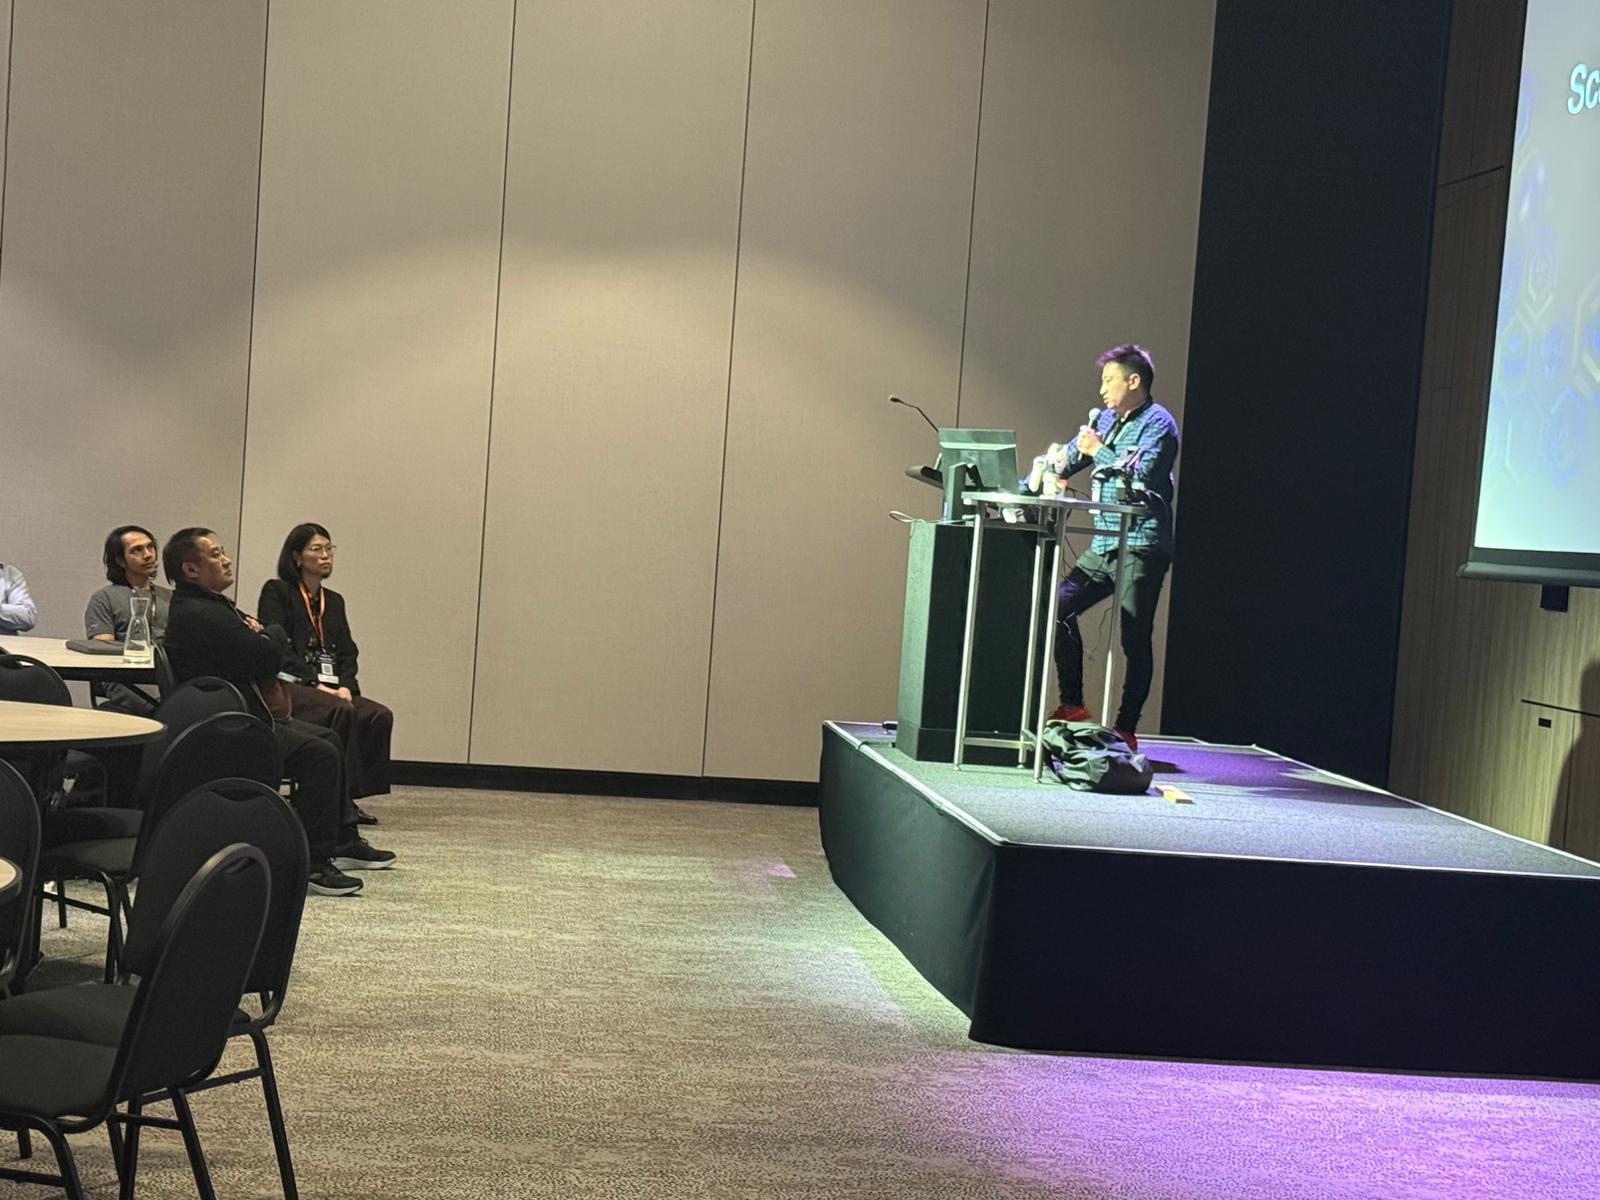
AWS Community Day 2025 Aotearoa New Zealand Slides
· One min read

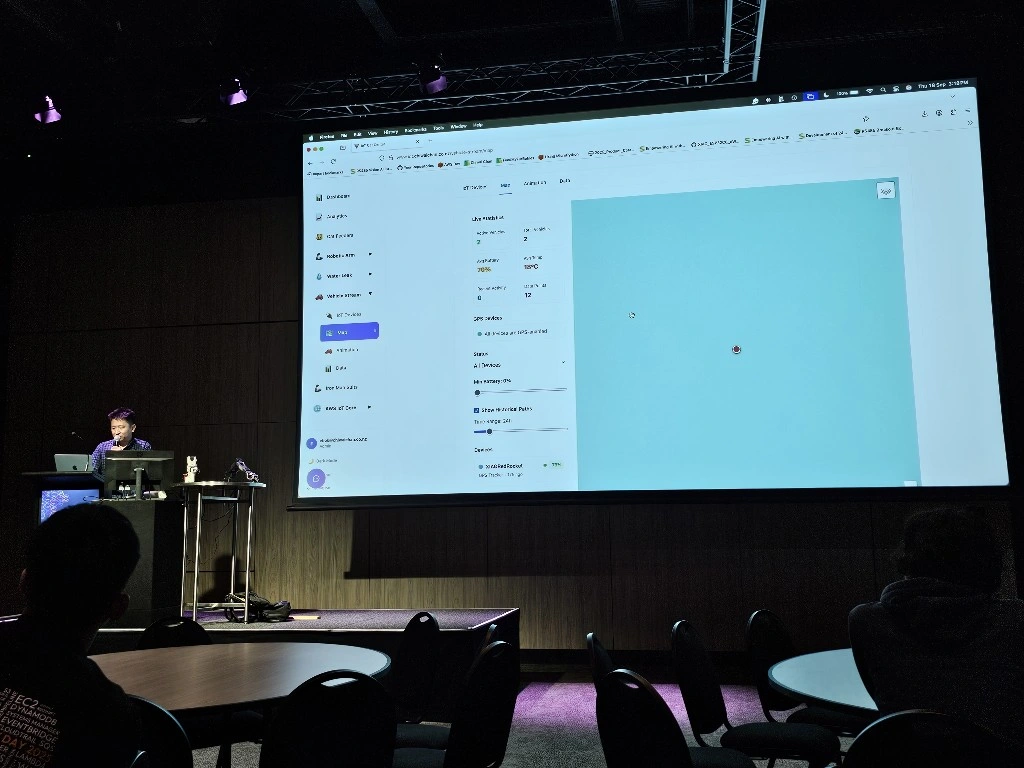

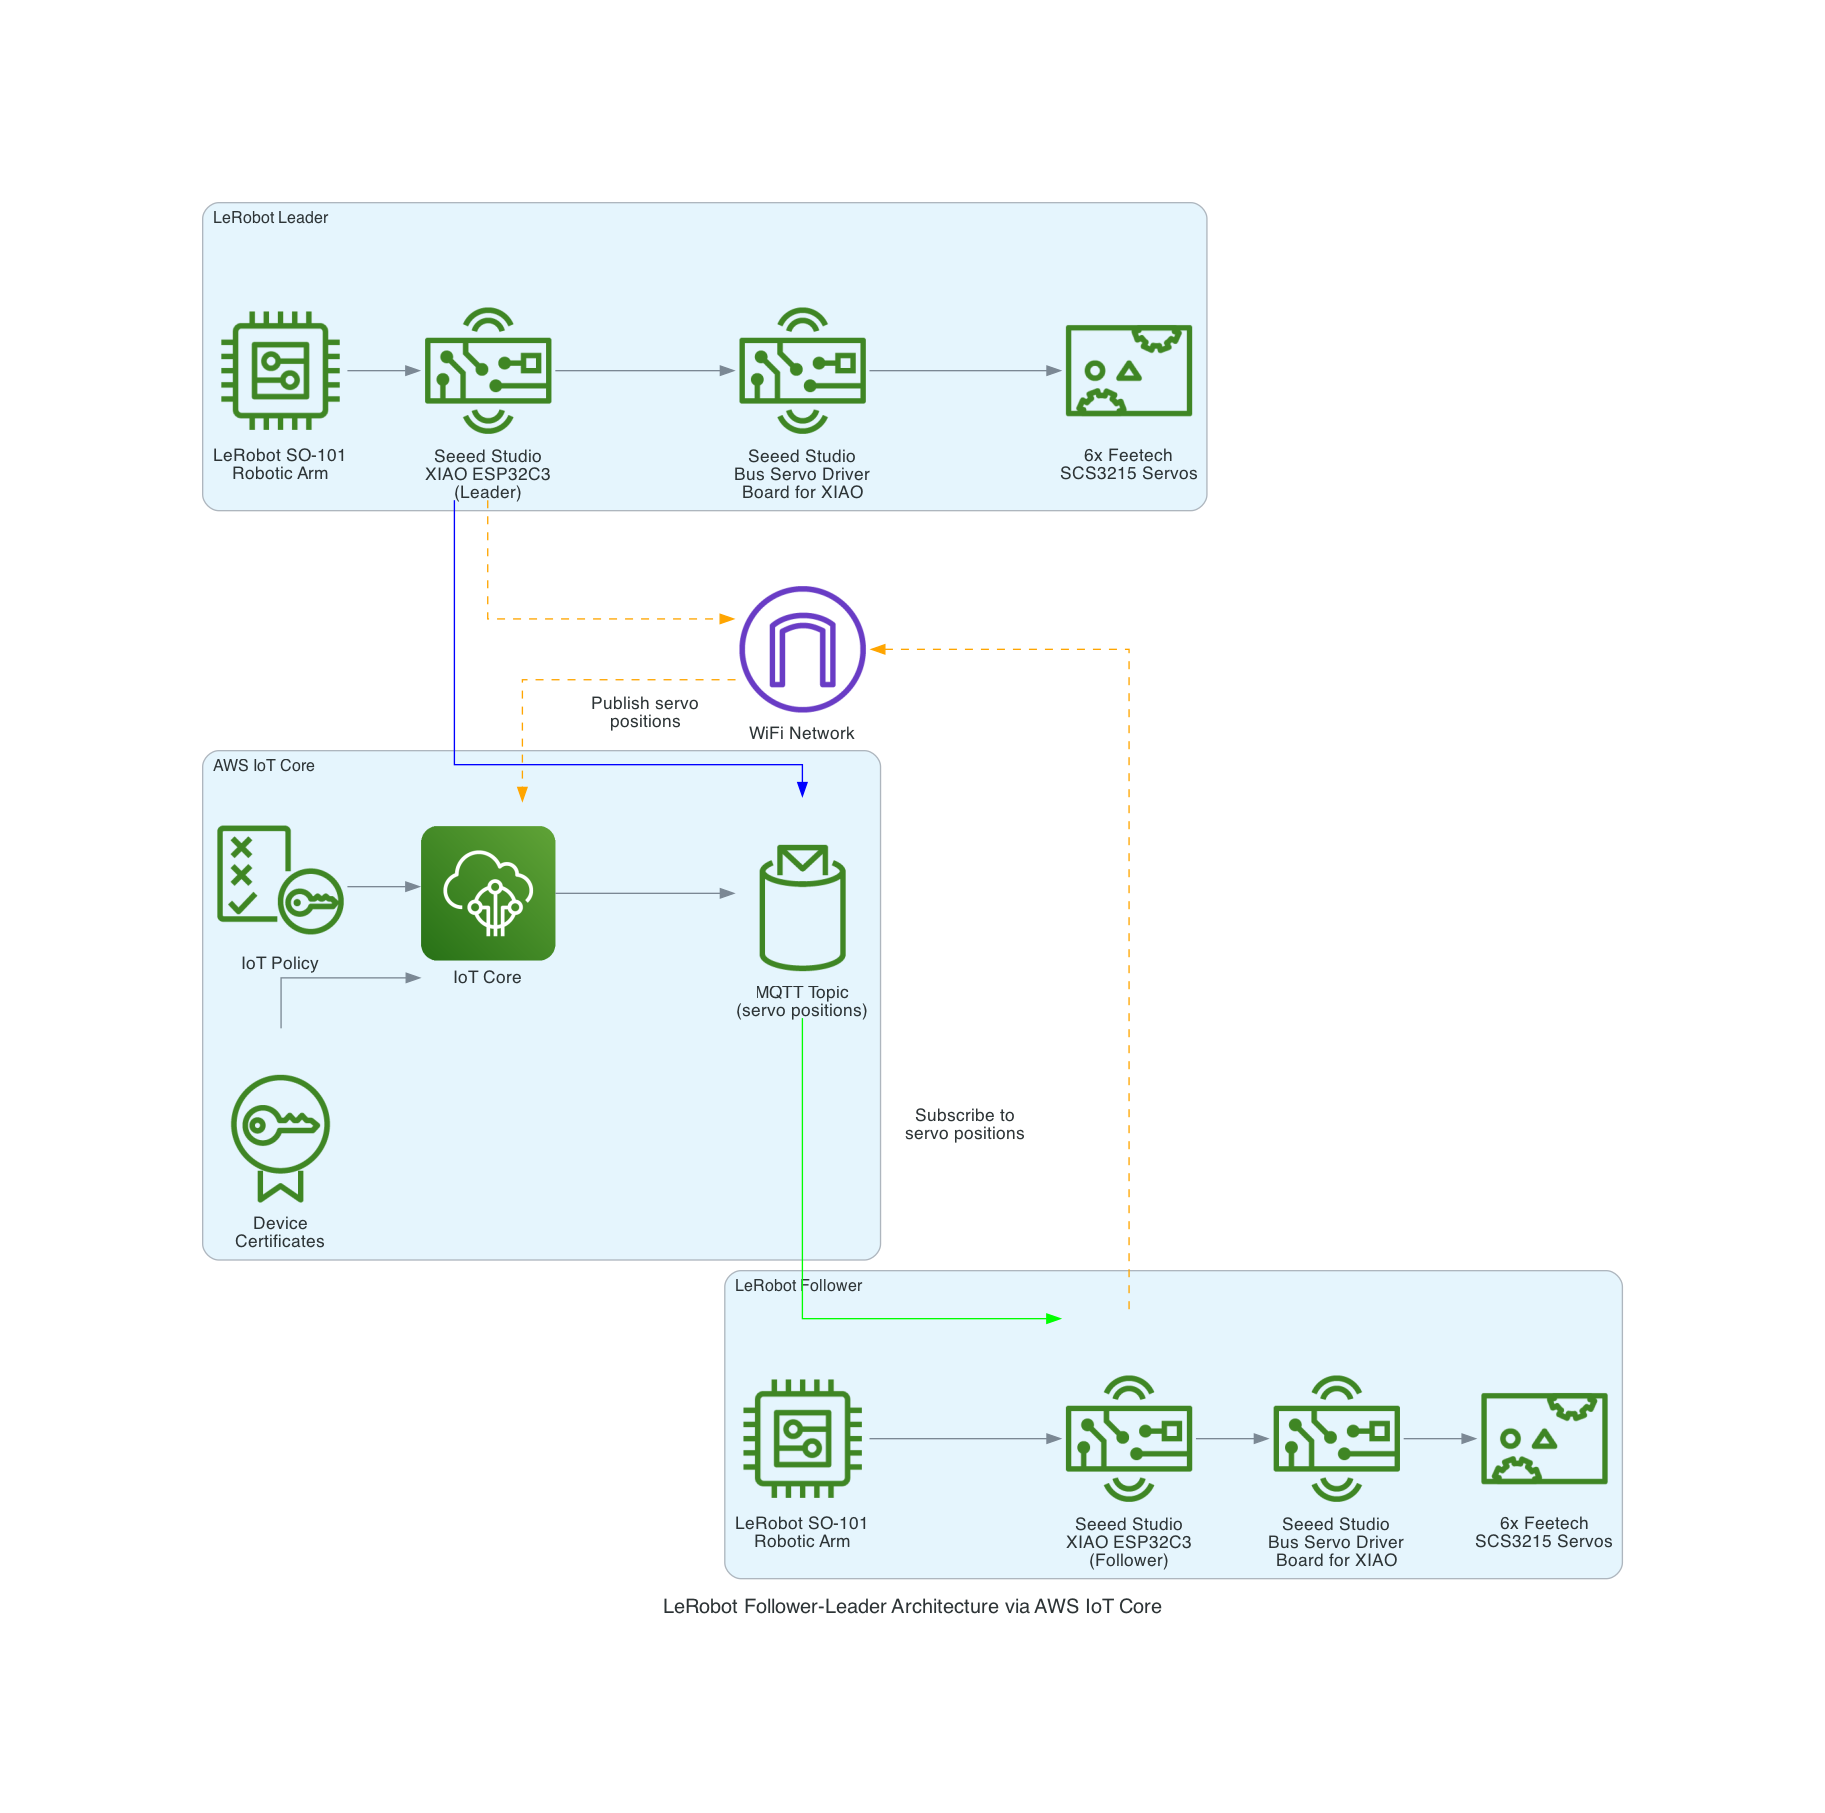
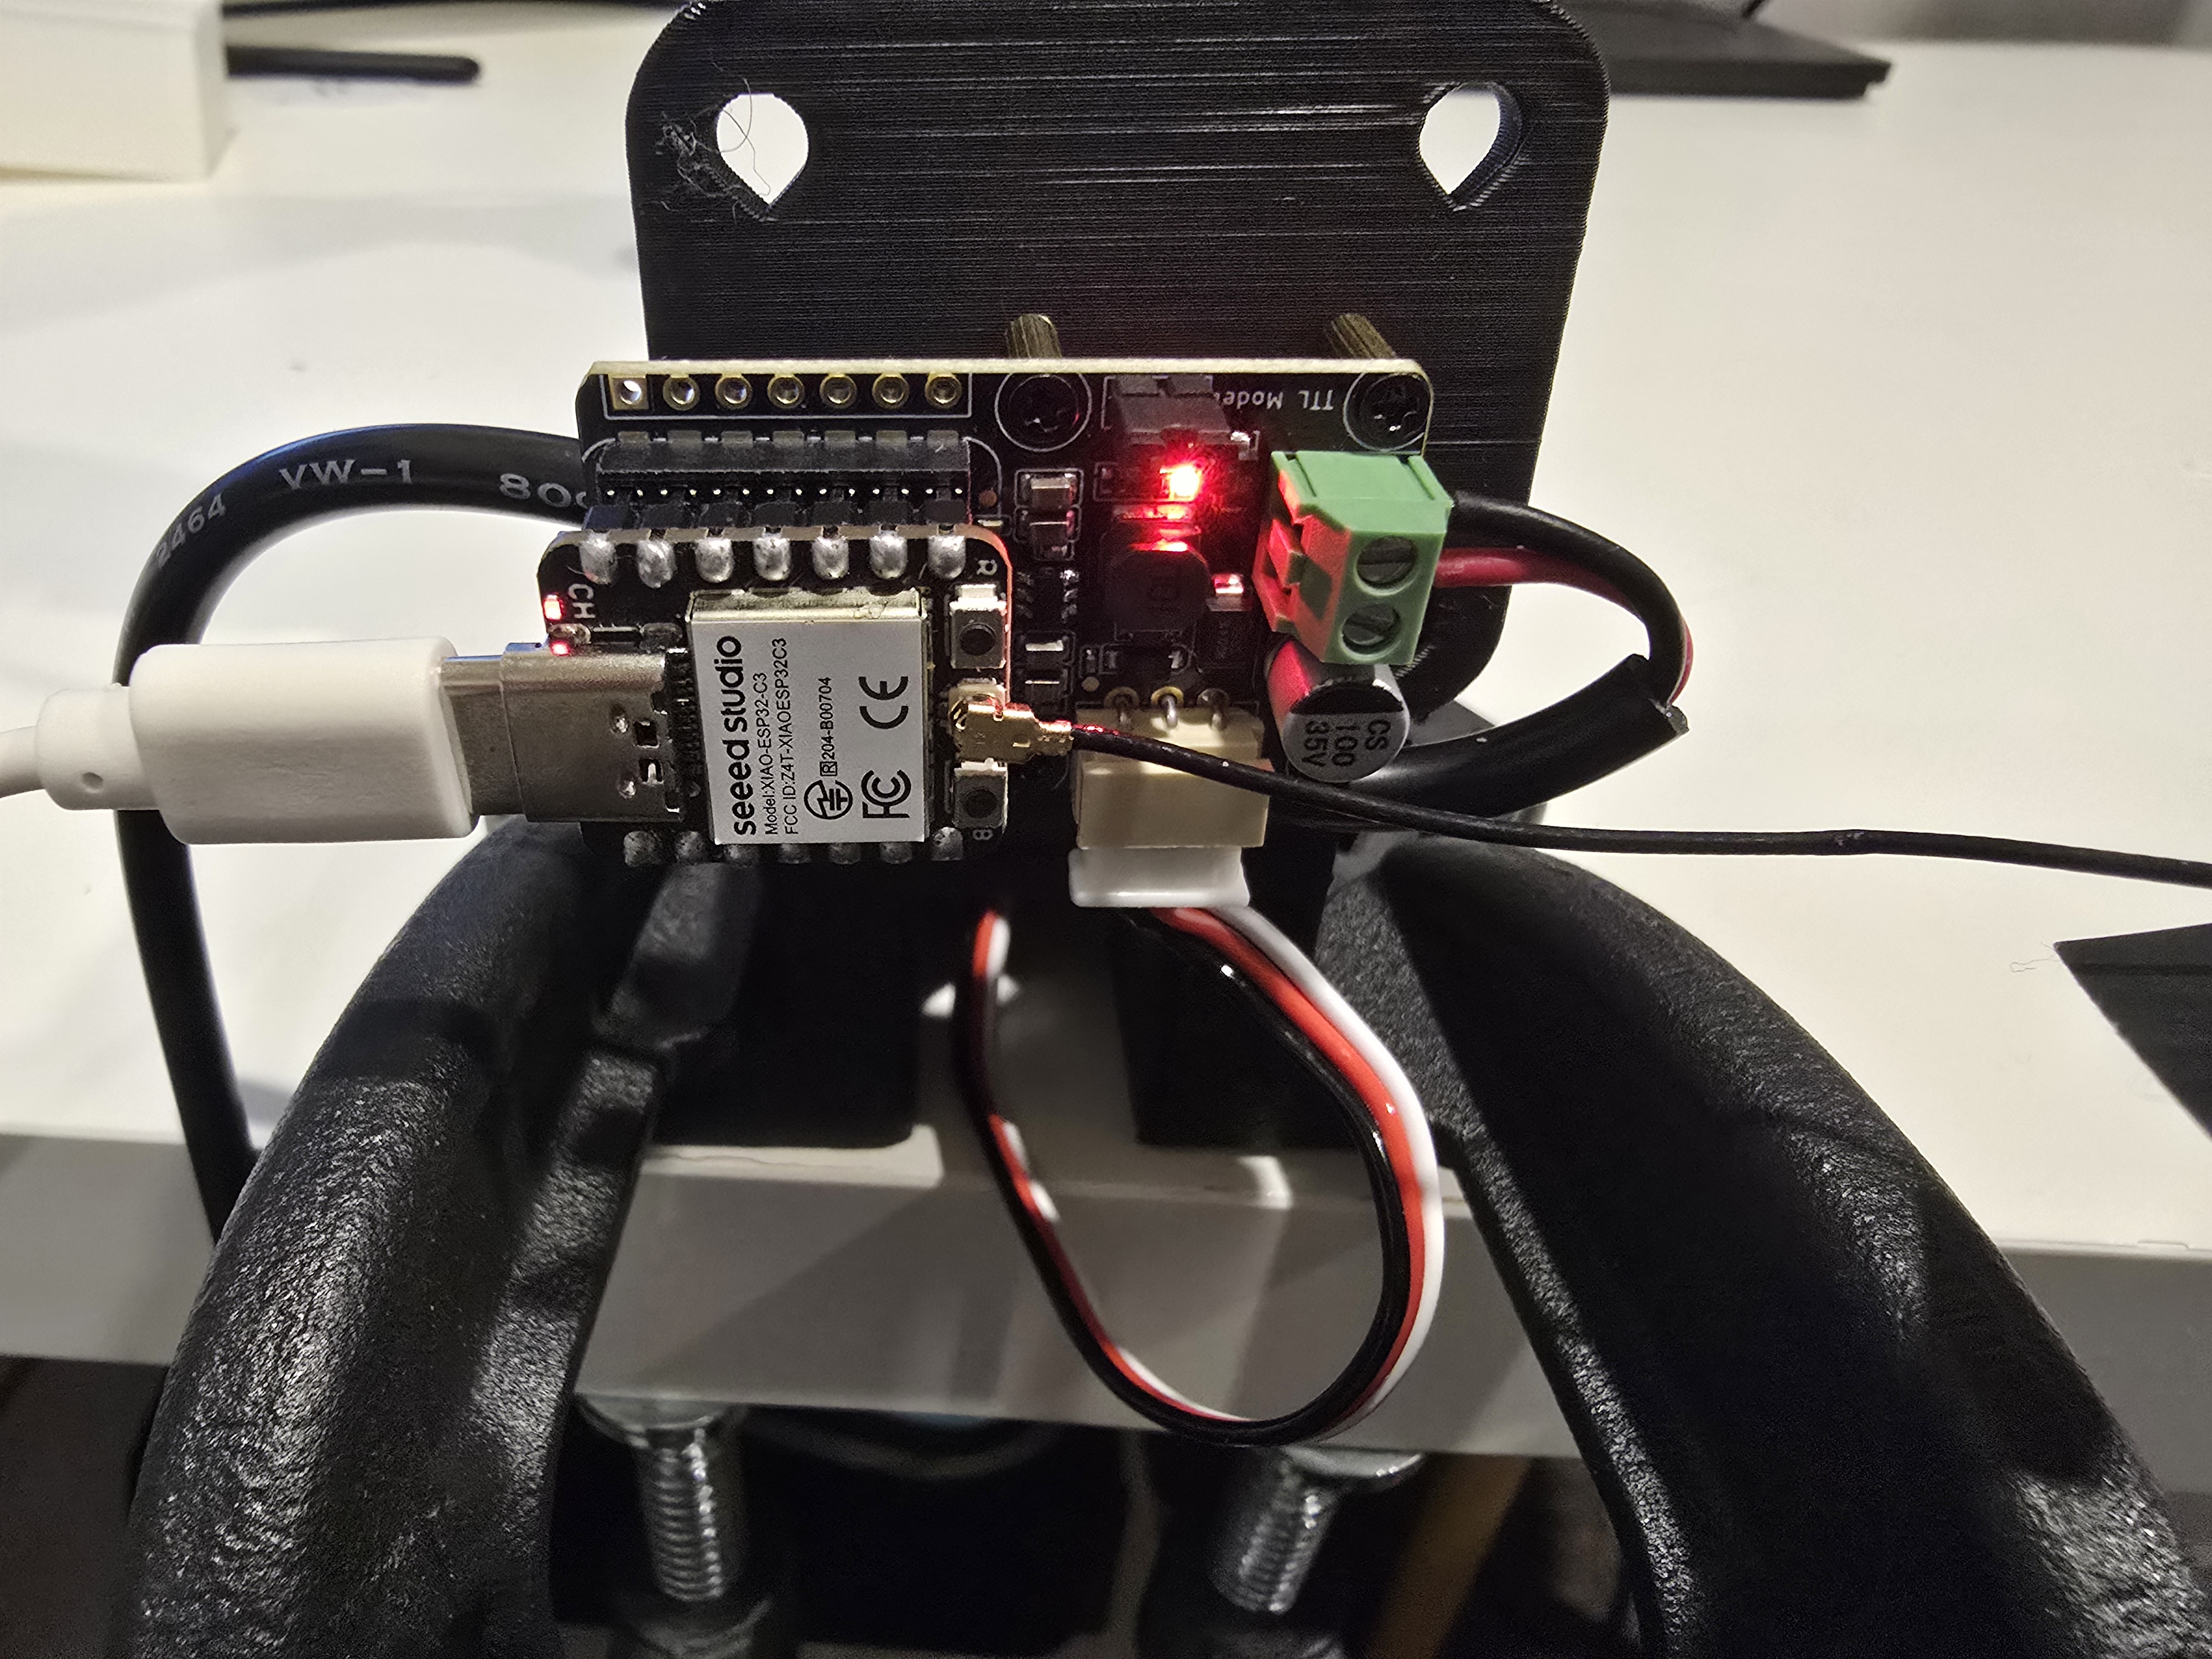
The LeRobot Follower arm is subscribed to an IoT Topic that is being published in real-time by the LeRobot Leader arm over AWS IoT Core, using a Seeed Studio XIAO ESP32C3 integrated with a Seeed Studio Bus Servo Driver Board, the driver board is controlling the 6 Feetech 3215 Servos over the UART protocol.
In this video I demonstrate how to control a set of Hugging Face SO-101 arms over AWS IoT Core, without the use of the LeRobot framework, nor using a device such as a Mac nor a device like Nvidia Jetson Orin Nano Super Developer Kit. Only using Seeed Studio XIAO ESP32C3 and AWS IoT.
You can find the source code for this solution here: https://github.com/chiwaichan/aws-iot-core-lerobot-so101
Good times

I was hungry and tried to feed myself but I forgot to bring cat food.
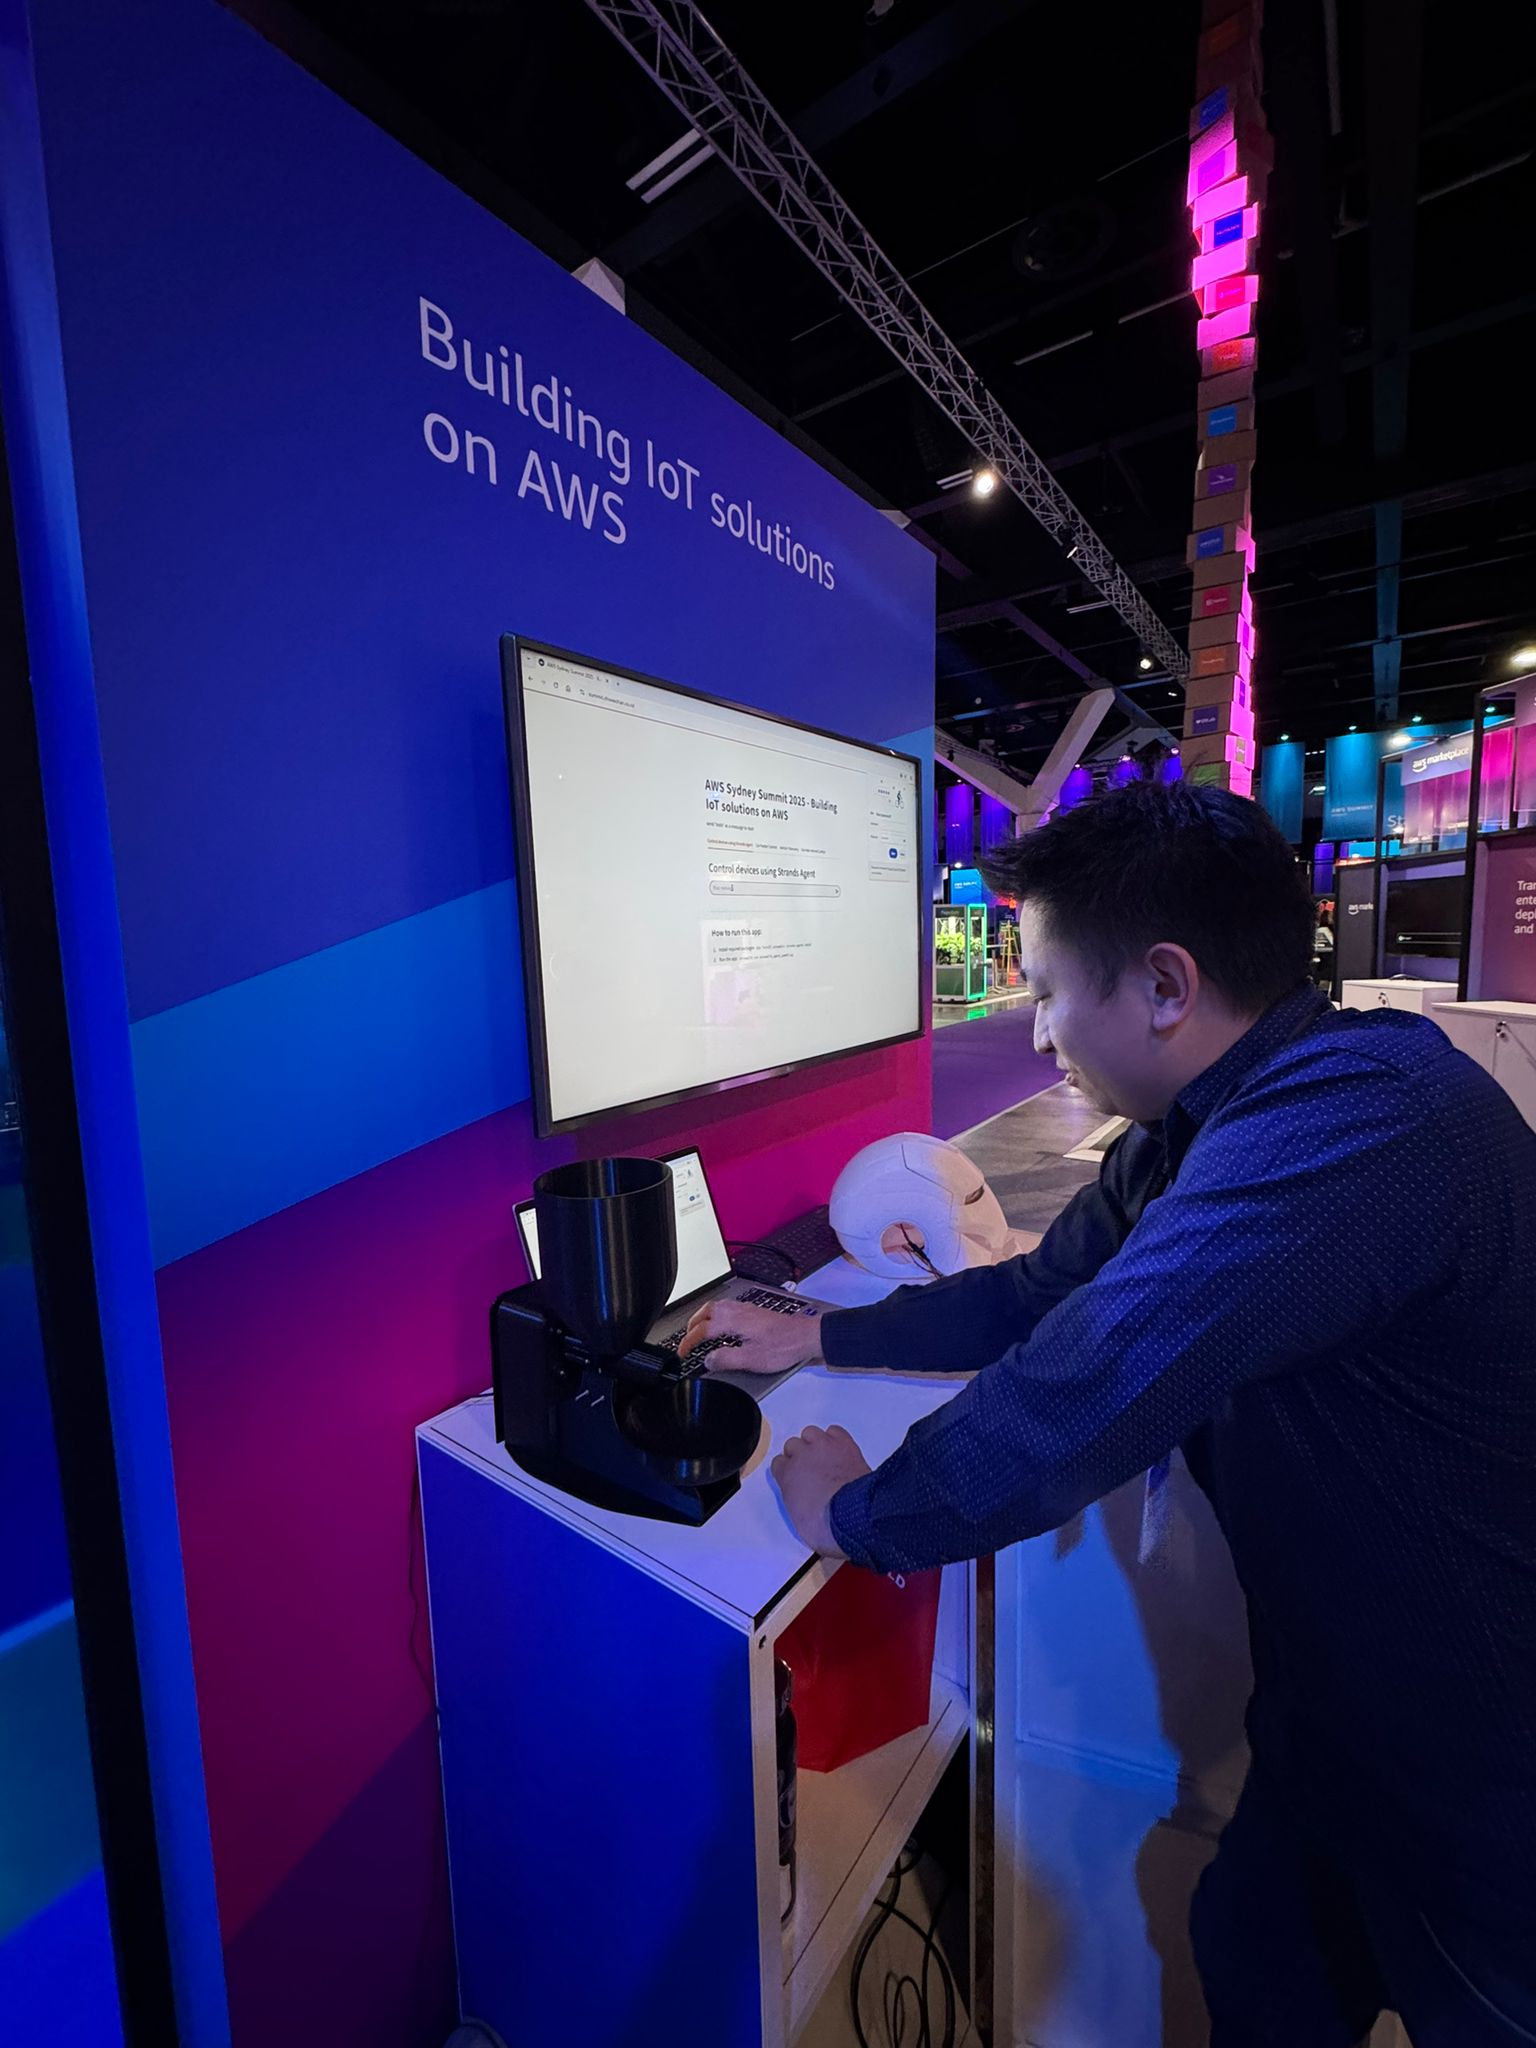
Here is the source-code Streamlit App I demoed at the AWS Sydney Summit, to demonstrate how to control IoT devices using the Strands Agents: https://github.com/chiwaichan/AWSSydneySummit2025Demo
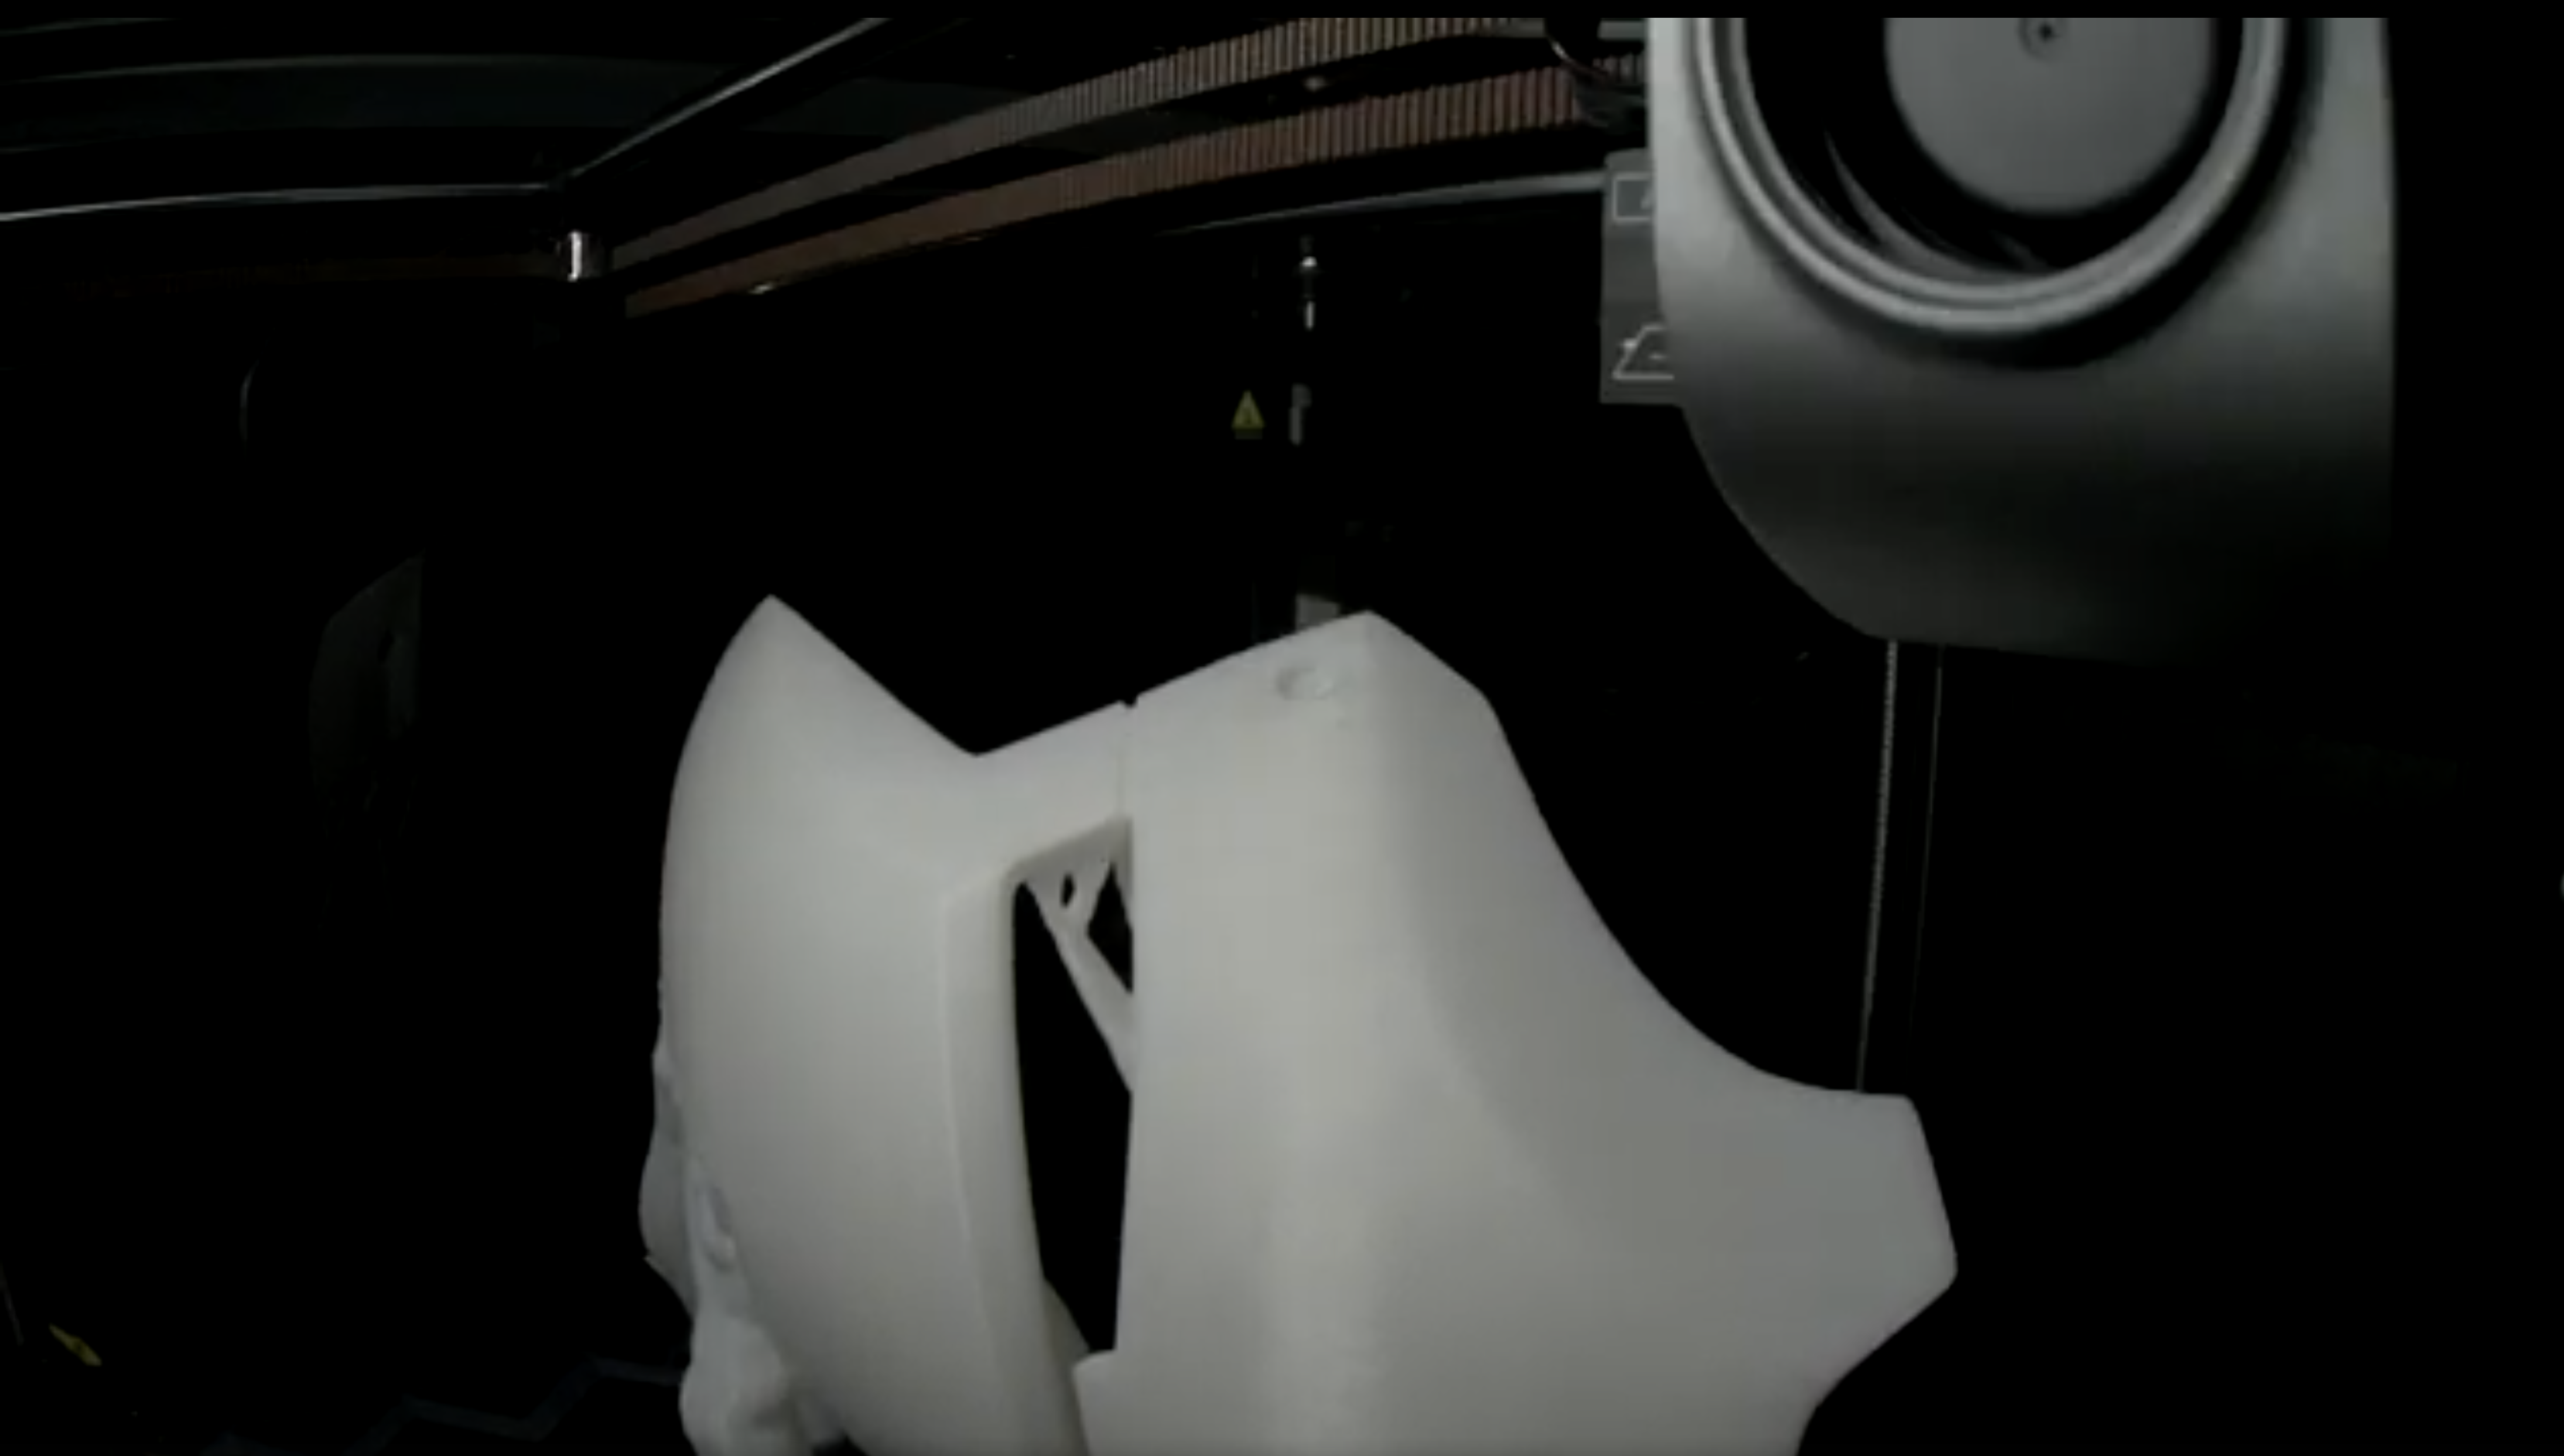
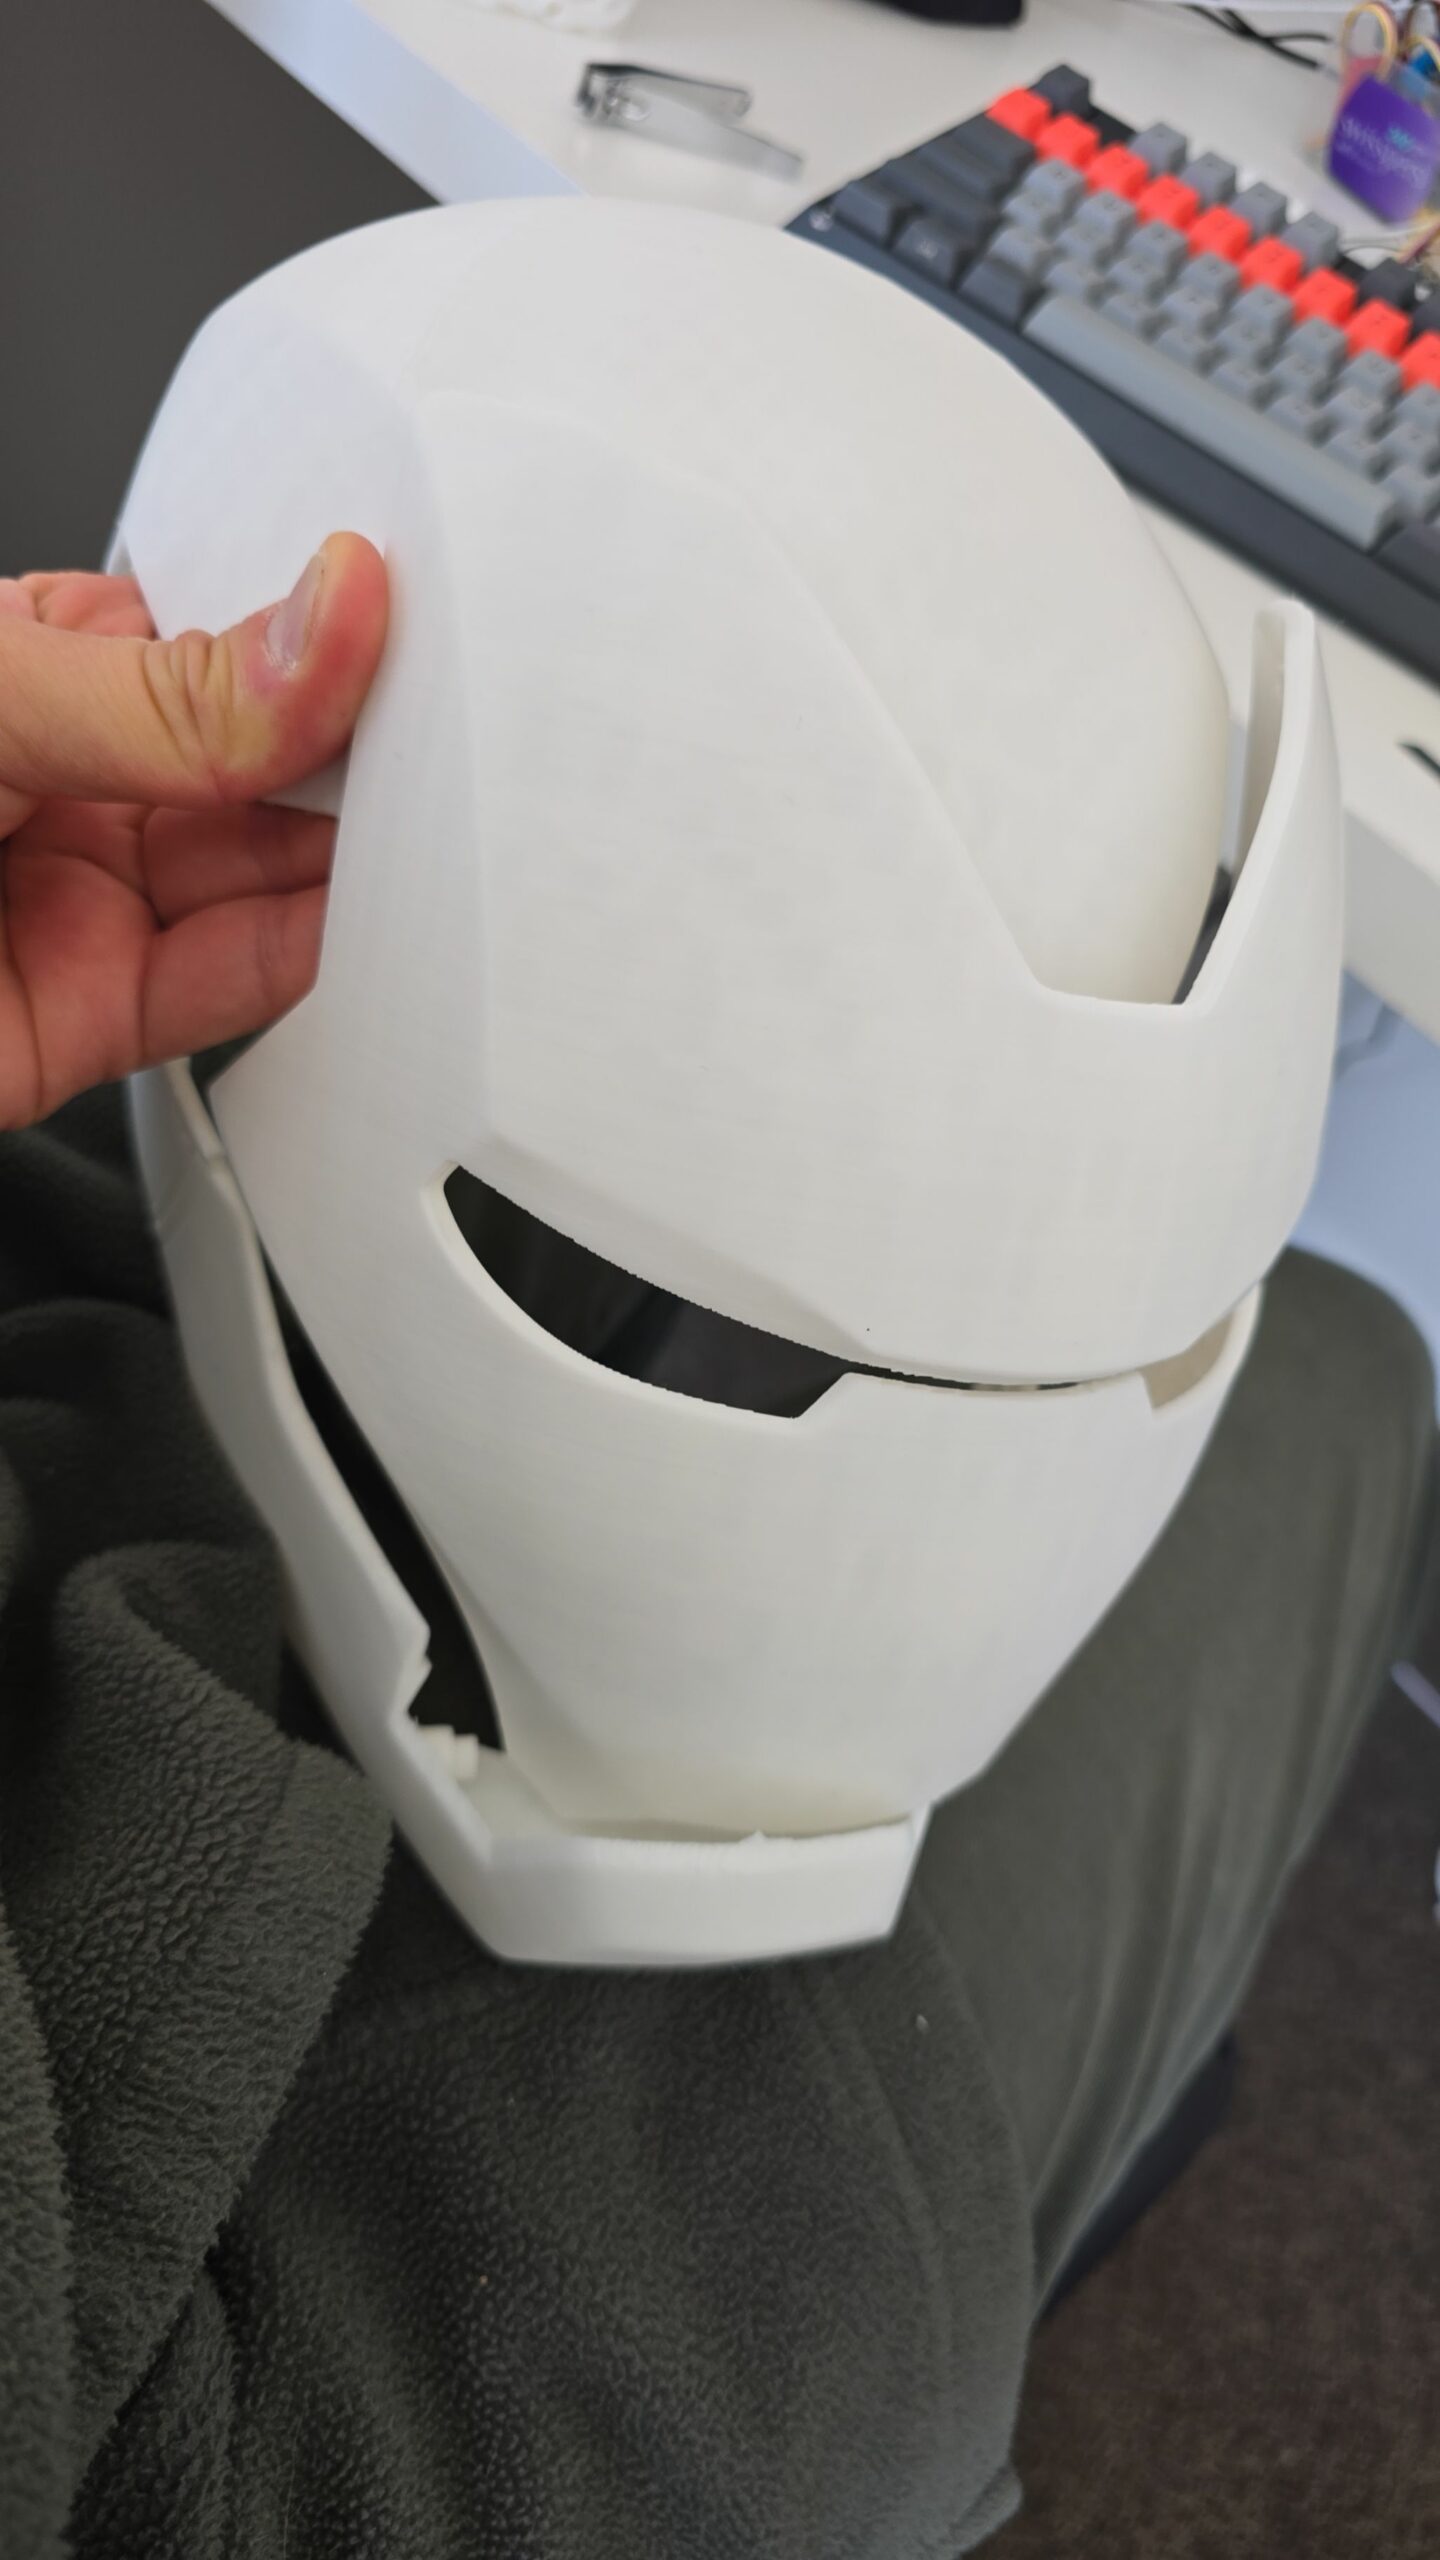
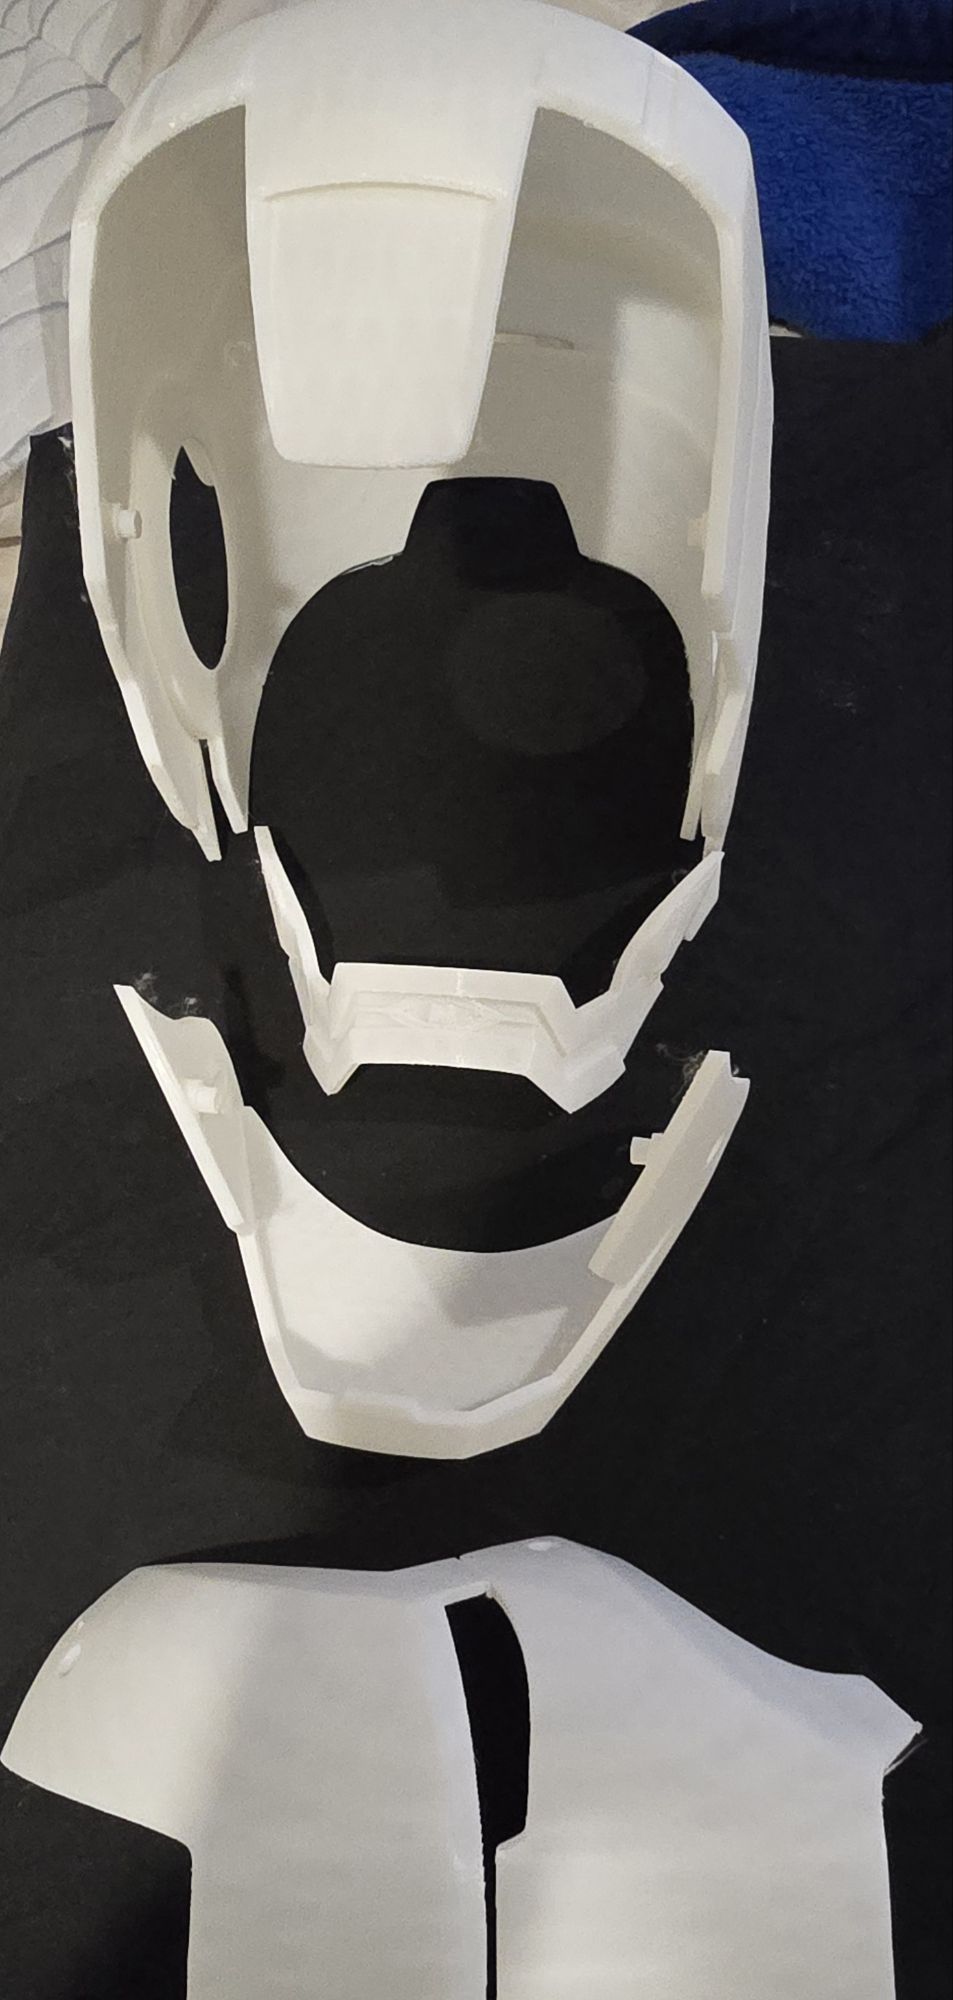
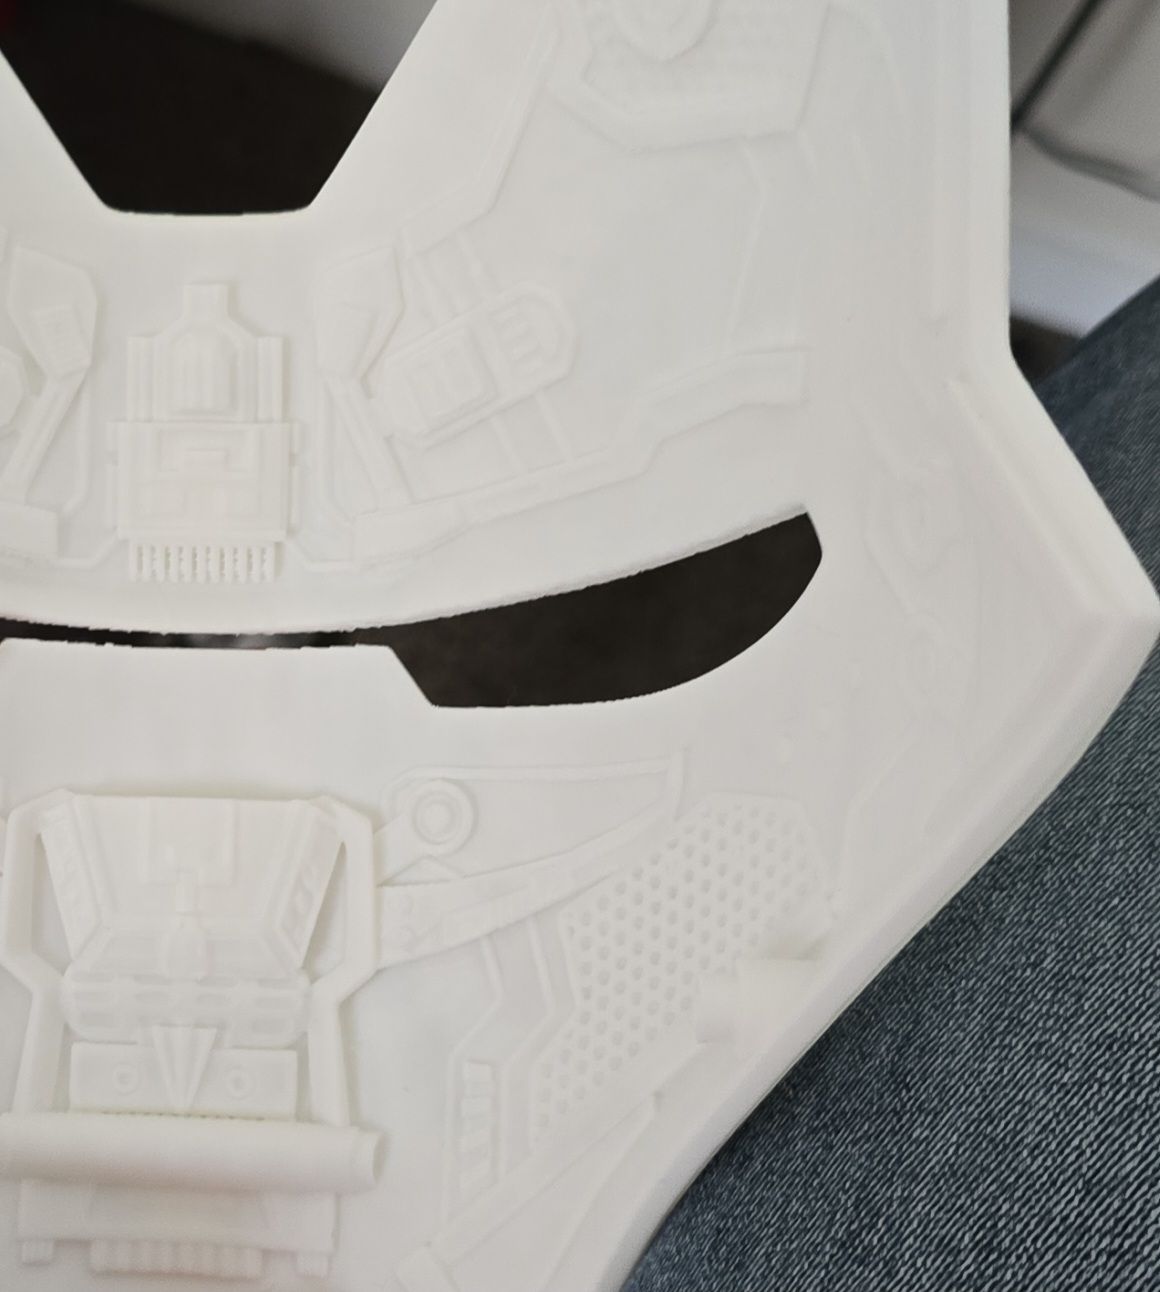
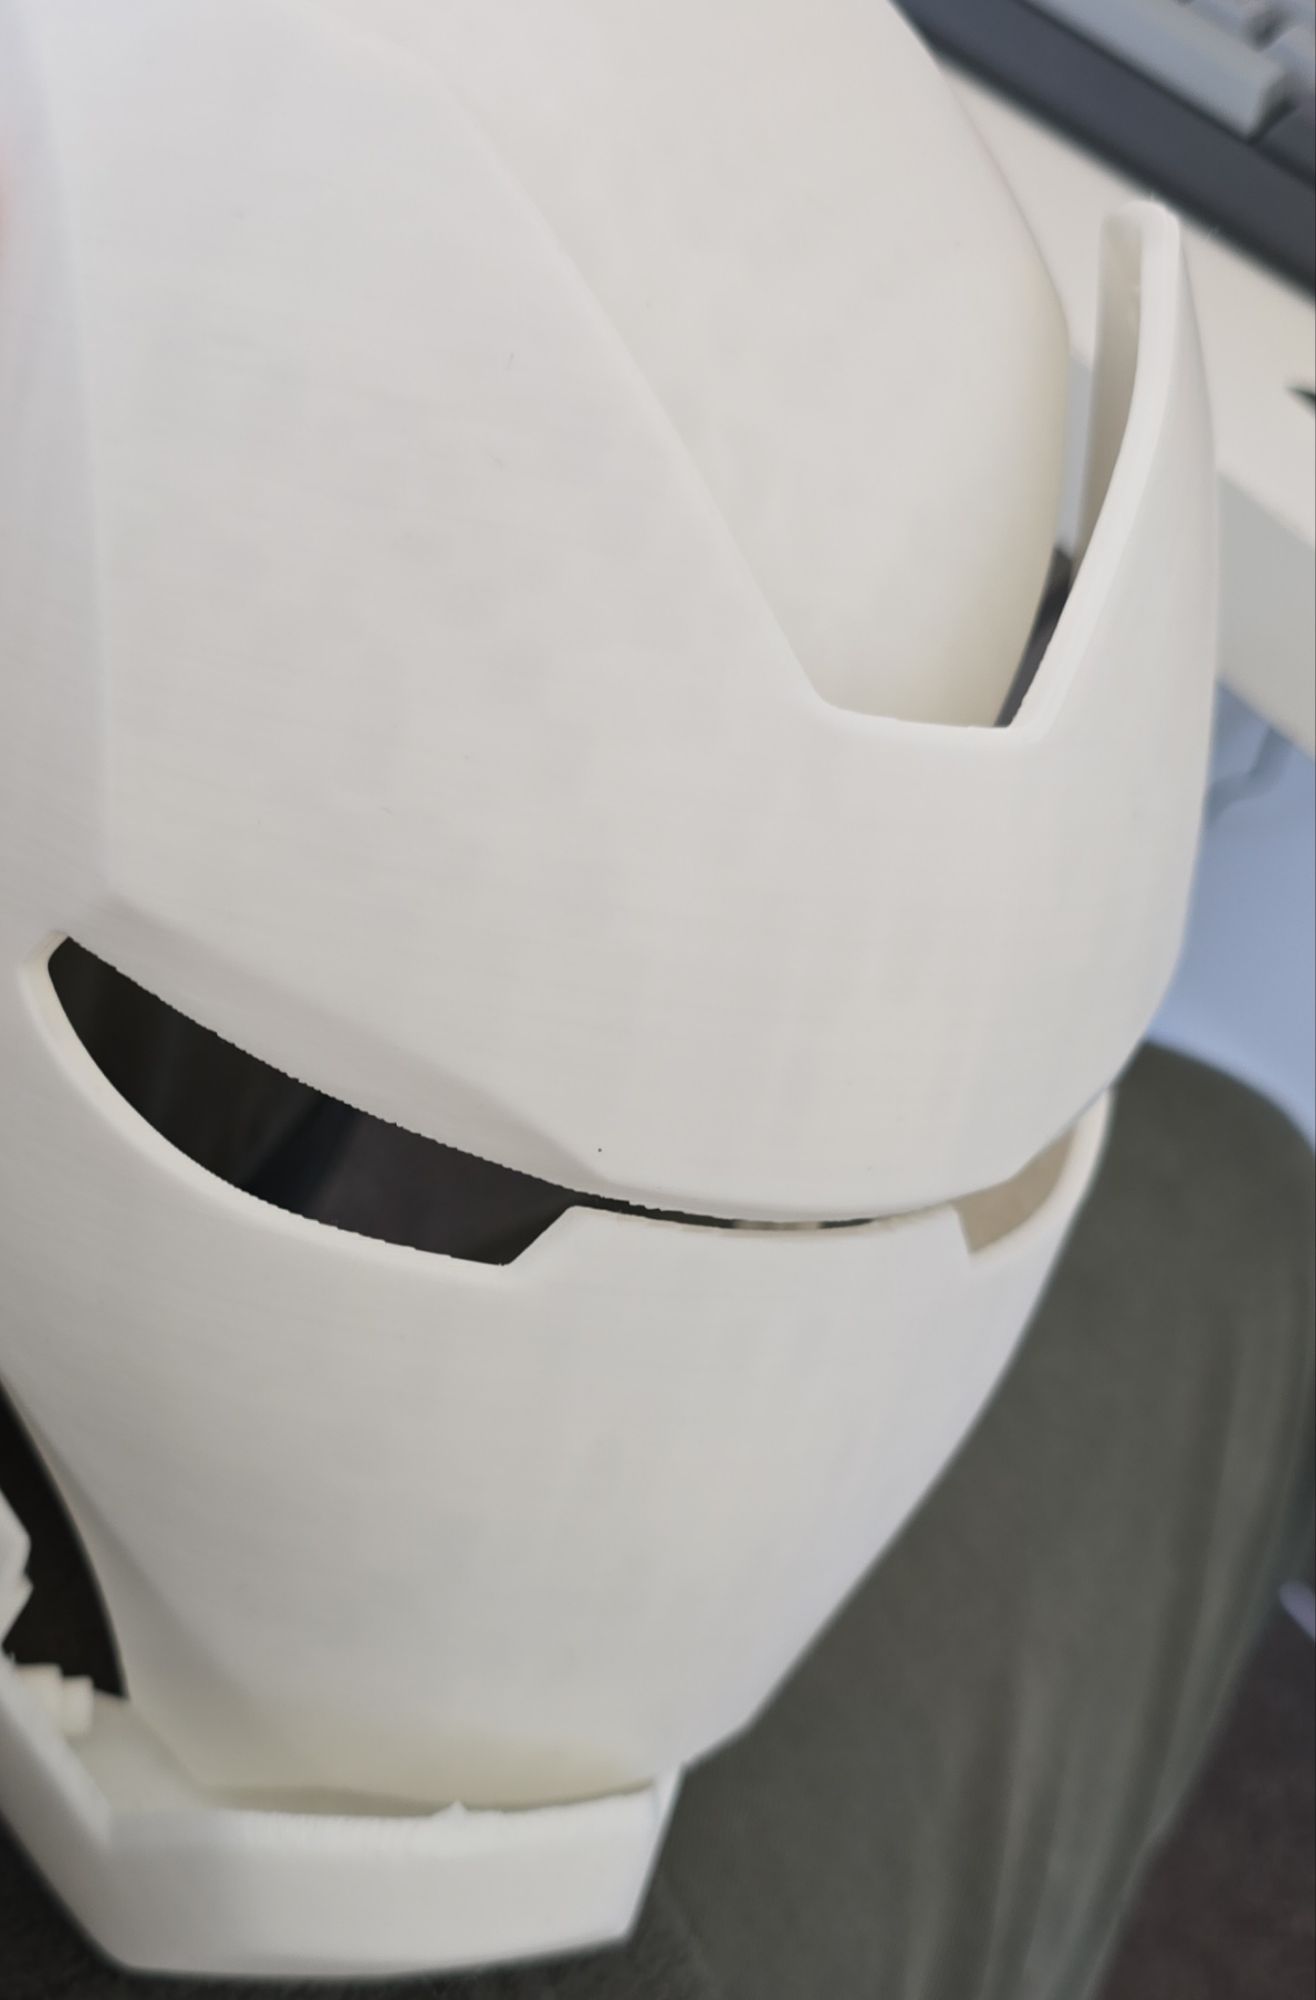
Bought the Iron Man Mark 3 3D Printing model designs from https://www.wf3d.shop/products/ironman-mark-3-suit-3d-printable-model by Walsh3D
Printed these so far:


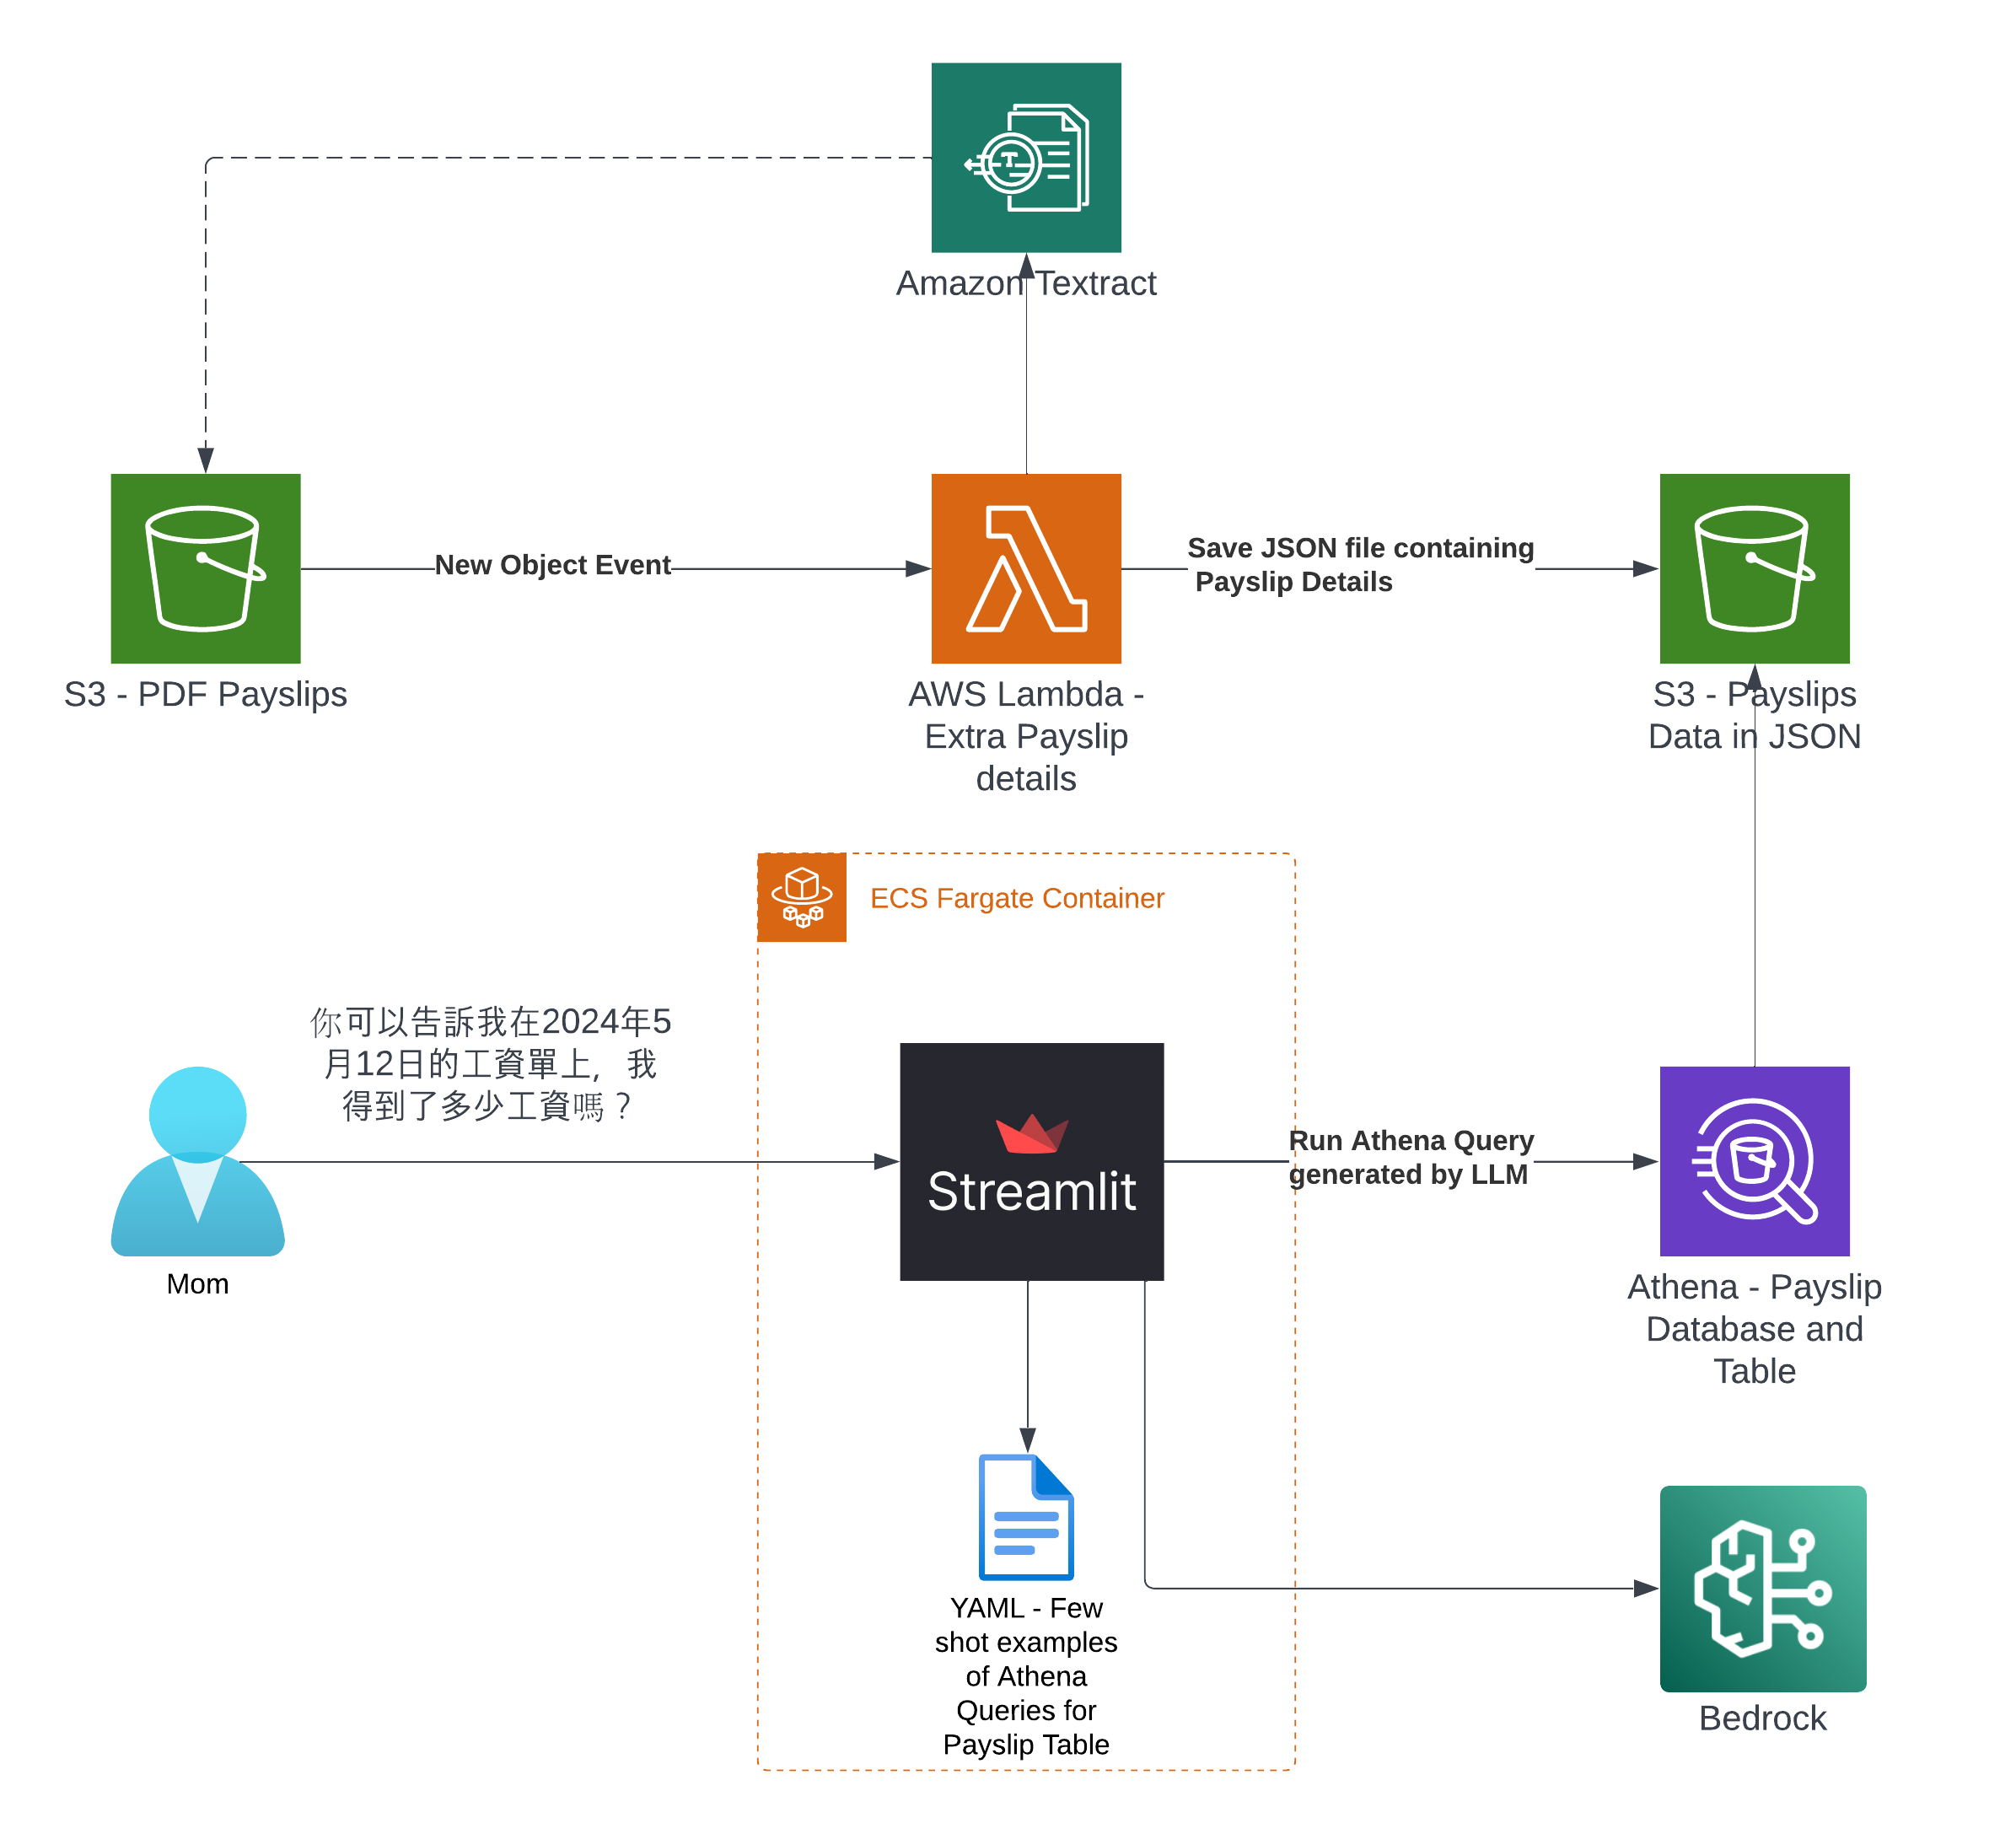
It's the time of year where I normally have to start doing taxes, not for myself but for my parents. Mum works at various fruit picking / packing places in Hawkes Bay throughout the year, so that means there are all sorts of Payslips from different employers for the last financial year. Occasionally mum would ask me specific details about her weekly payslips, and that usually means: download a PDF from and email -> open up the PDF -> find what's she asking for -> look at the PDF -> can't find it so ask what mum meant -> find the answer -> explain it to her.
The usual format,challenge: create a Generative AI conversational chat to enable mum to ask in her natural language specific details of,
And the goal: outsource the work to AI = more time to play. :-)
I've only tried it for Payslips generated by this employer: Rockit Apple
npm install -g aws-cdkgit clone git@github.com:chiwaichan/rockitapple-payslip-analyzer-with-genai-chatbot-using-bedrock-streamlit.git
cd rockitapple-payslip-analyzer-with-genai-chatbot-using-bedrock-streamlit
python3 -m venv venv
source venv/bin/activate
pip install -r requirements.txt
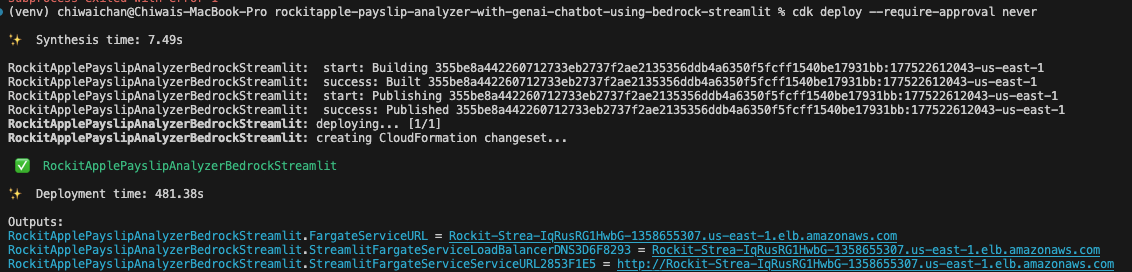
cdk deploy
You should see this as a result of calling the cdk deploy command
Check that the CloudFormation Stack is being created in the AWS Console
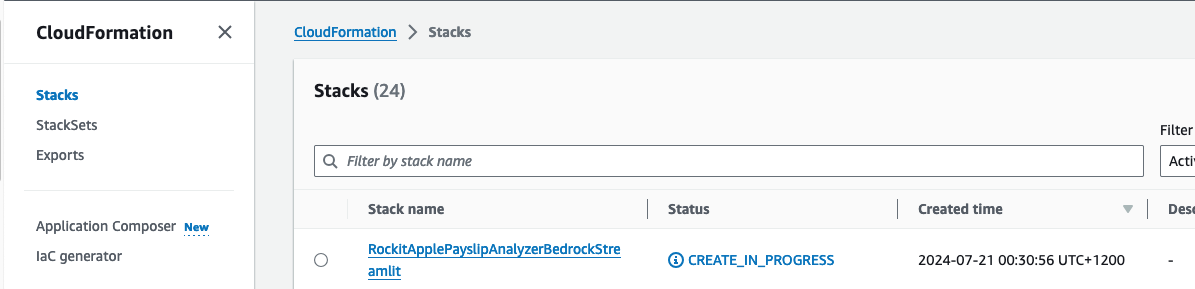
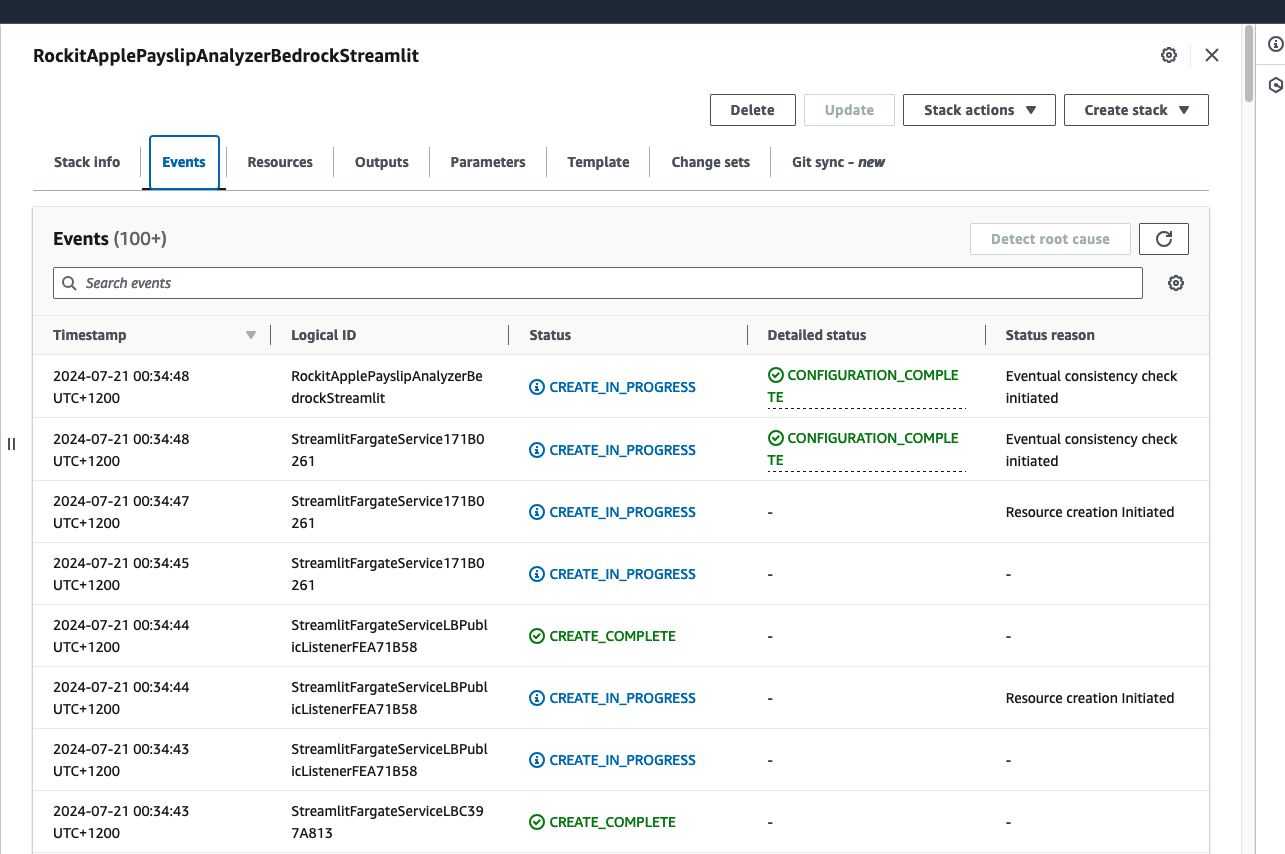
Click on it to see the Events, Resources and Output for the Stack
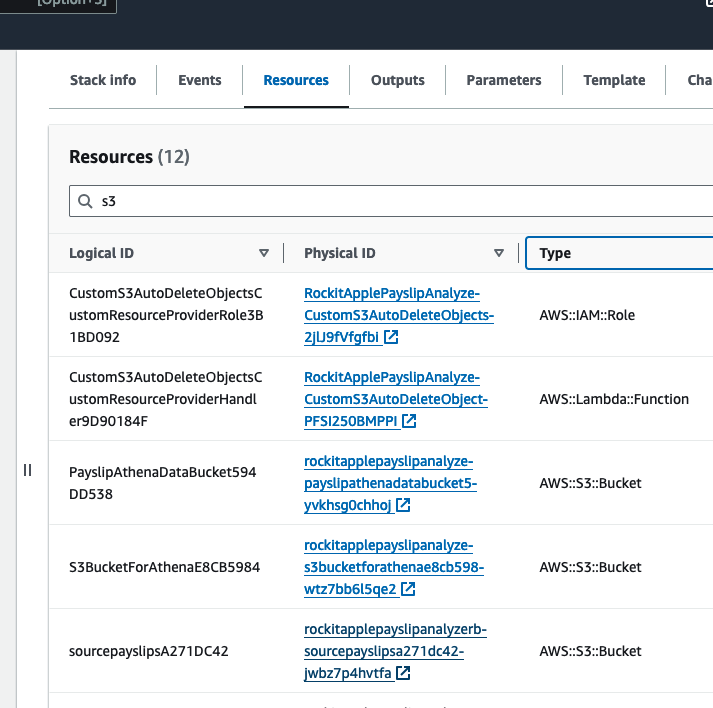
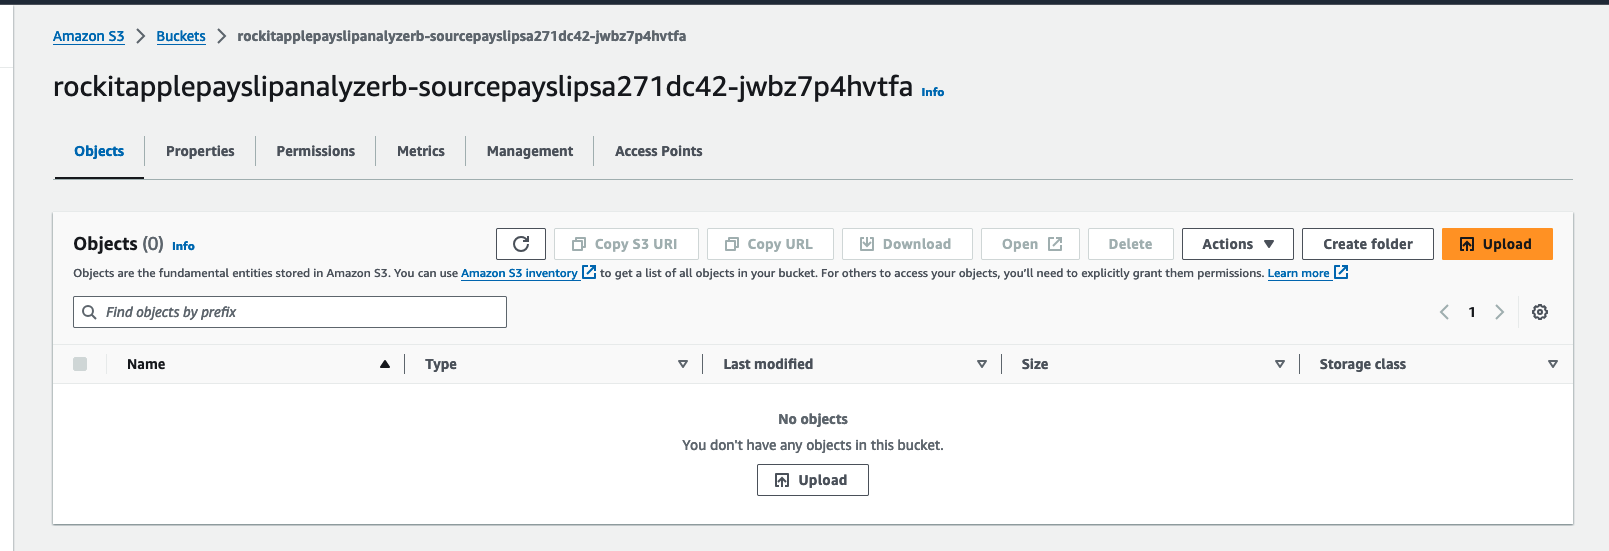
Find the link to the S3 Bucket to upload Payslip PDFs into, in the Stack's Resources, find the S3 Bucket with a with a Logical ID that starts with "sourcepayslips" and click on its Physical ID link.
Upload your PDF Payslips into here
Find the link to the S3 Bucket where the extracted Data will be stored into for the Athena Table, in the Stack's Resources, find the S3 Bucket with a with a Logical ID that starts with "PayslipAthenaDataBucket" and click on its Physical ID link.
There you can find a JSON file, it should take about a few minutes to appear after you upload the PDF.
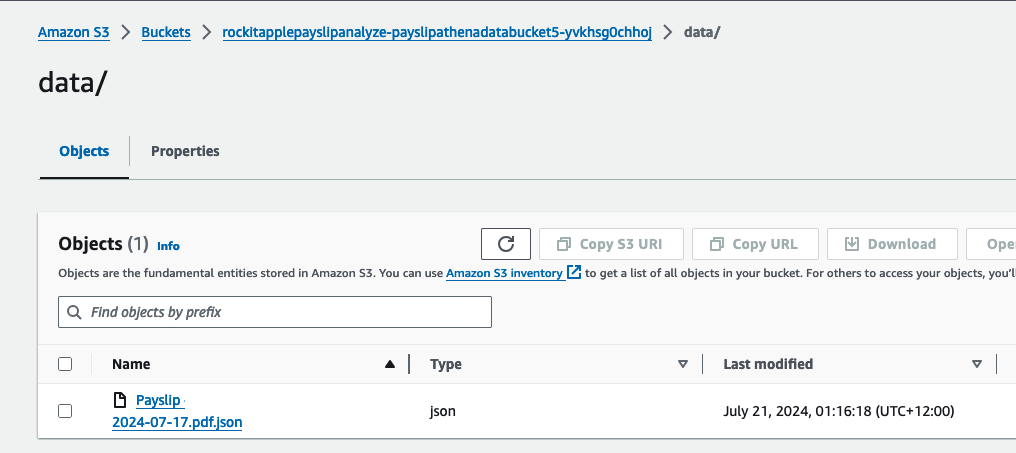
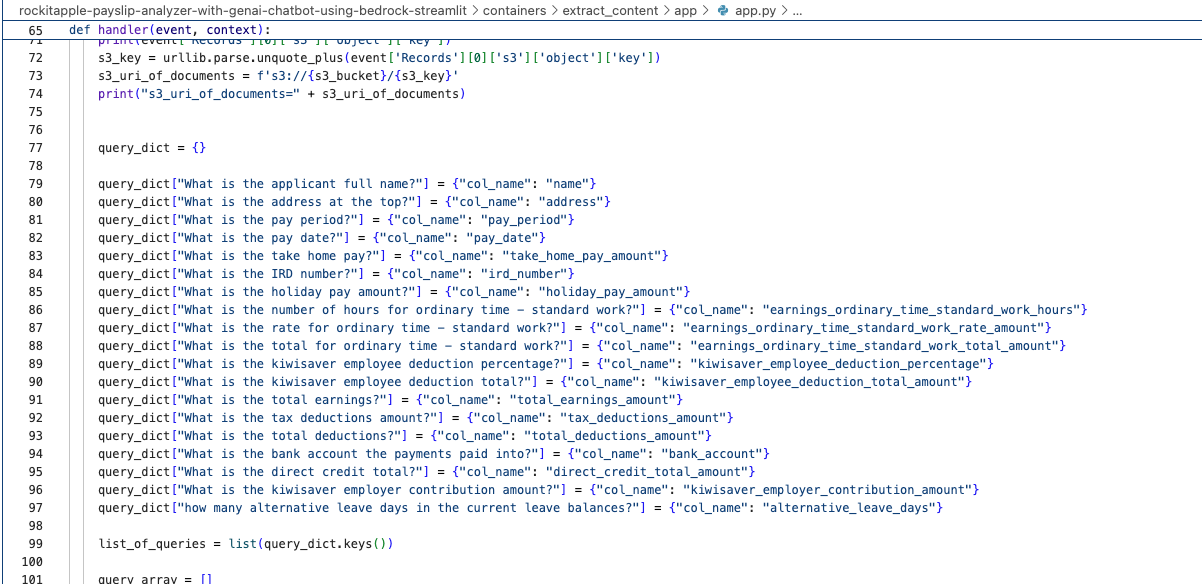
It was created by the Lambda shown in the architecture diagram we saw earlier, it uses Amazon Textract to extract the data from each Paylip using OCR, using the Queries based feature to extract the Text from a PDF by enabling us to use queries in natural language to configure what we want to extract out from a PDF. Find the "app.py" file shown in the folder structure in the screenshot below, you can modify the wording of the Questions the Lambda function uses to extract the details from the Payslip, to suit the specific needs based on the wording of your Payslip; the result of each Question extracted is saved to the Athena table using the column name shown next to the Question.
Go to the CloudFormation Stack's Outputs to get the URL to open the Streamlit Application's frontend.
Click the value for the Key "StreamlitFargateServiceServiceURL"
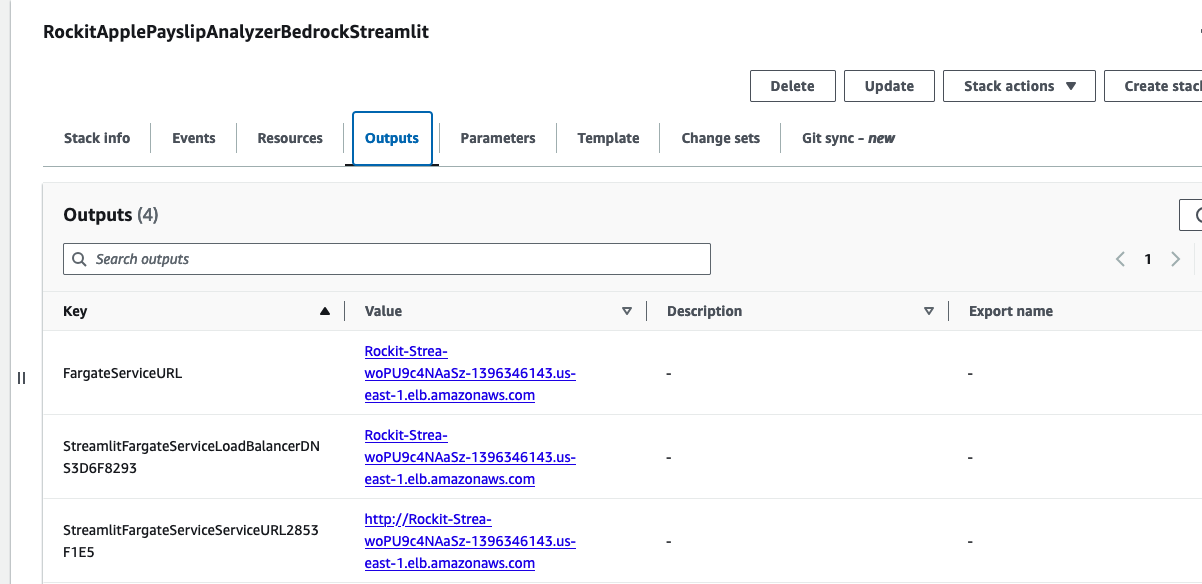
That will take you to a Streamlit App hosted in the Fargate Container shown in the architecture diagram
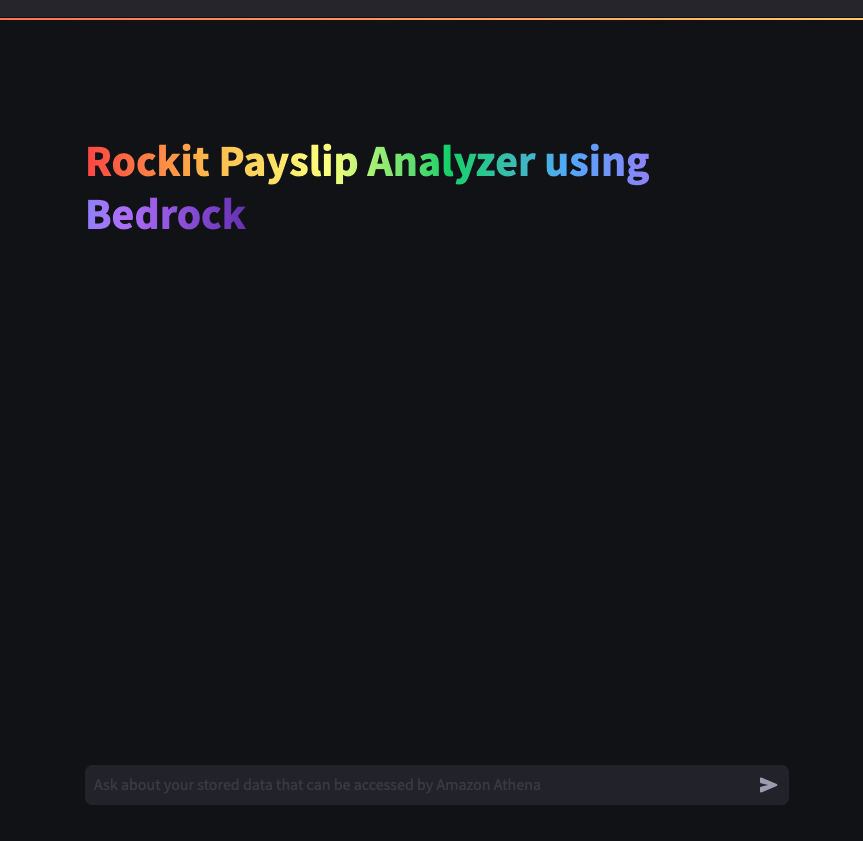
Lets try out some examples
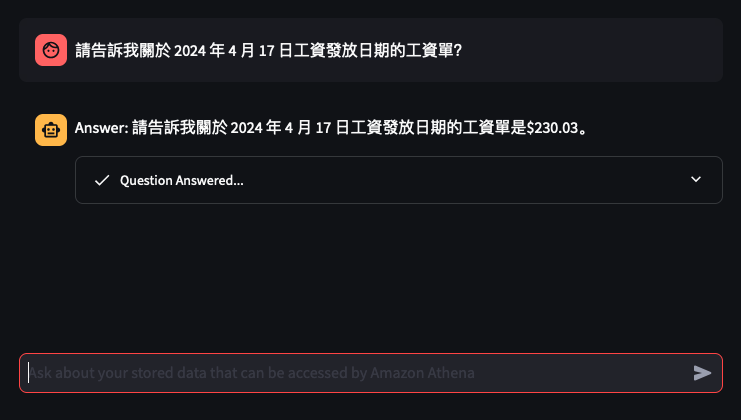
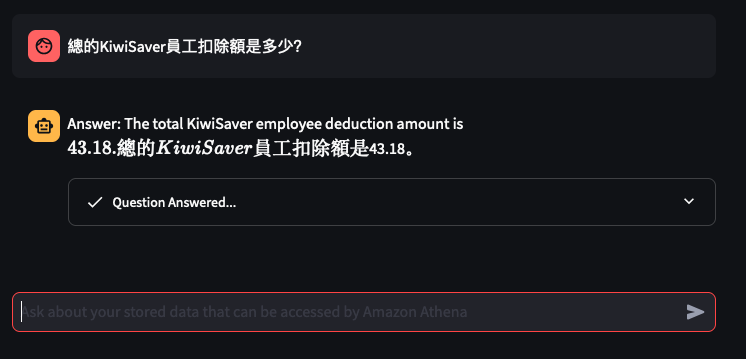
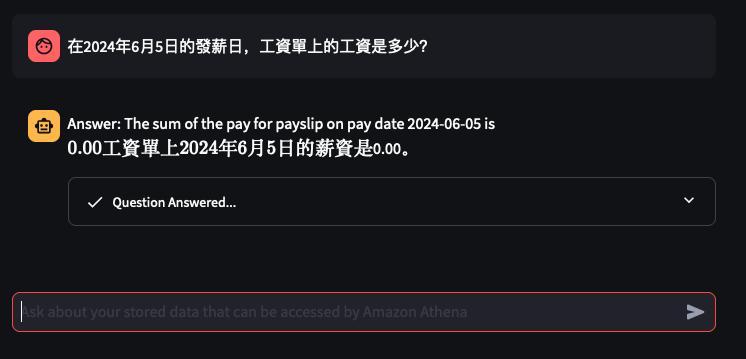
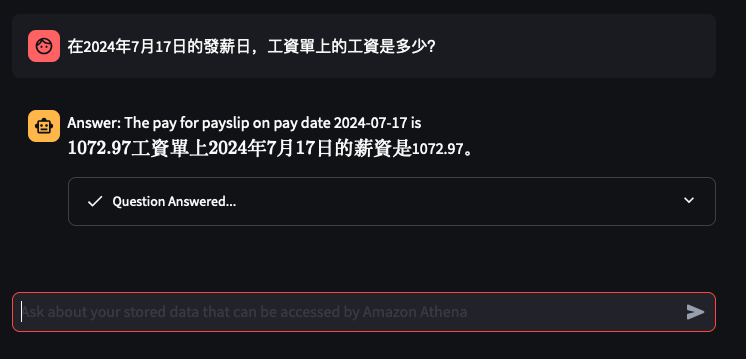
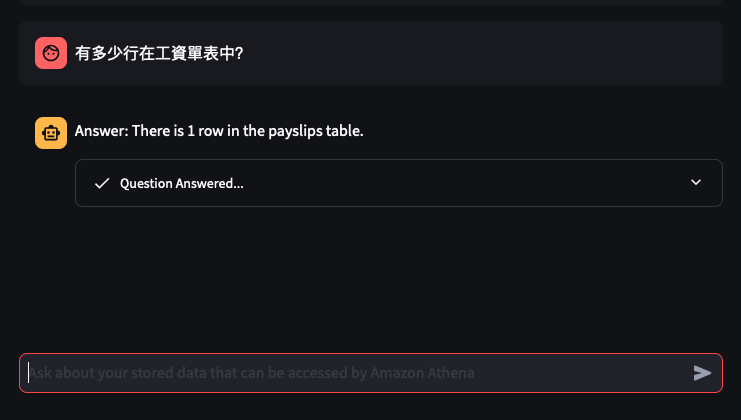
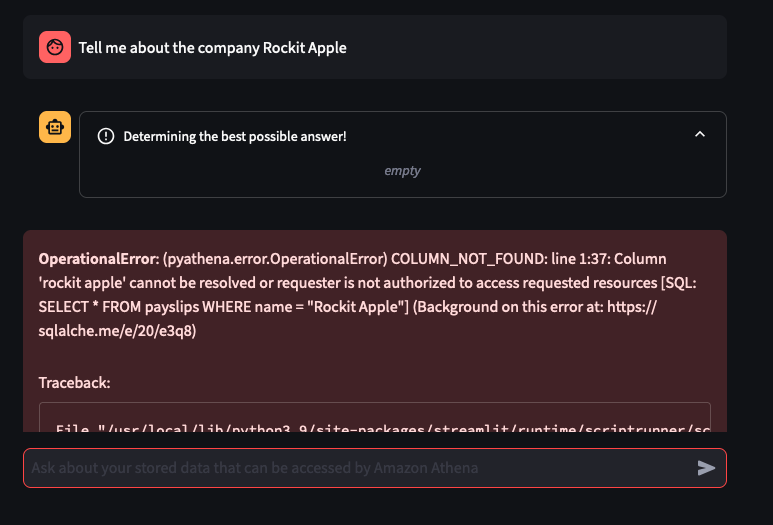
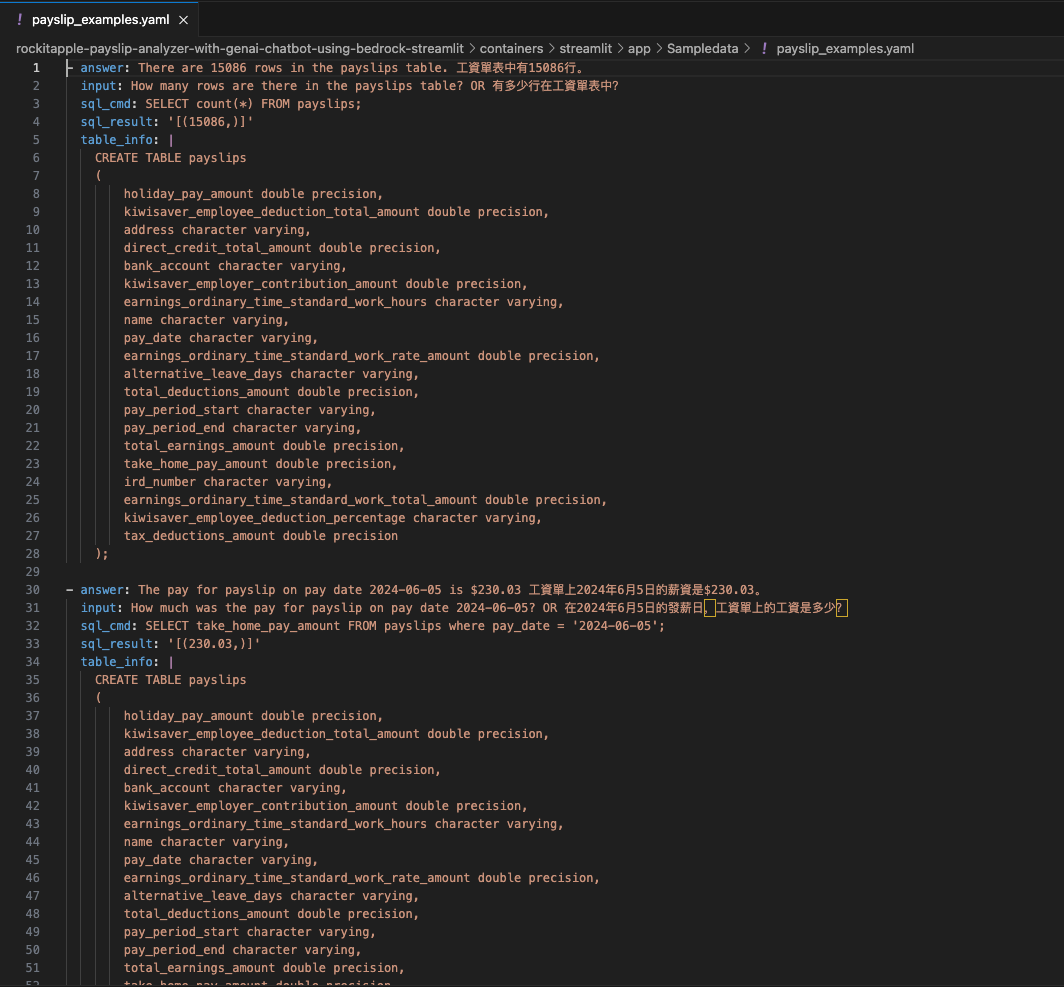
You can tweak the Athena Queries generated by the LLM by providing specific examples tailoured to your Athena Table and its column names and values - known as a Few-Shot Learning. Modify this file to tweak the Queries feed into the Few-shot examples used by Bedrock and the Streamlit app.
I was able to learn and build my first GenAI app: AWS Samples - genai-quickstart-pocs
I based my app on the example for Athena, I wrapped the Streamlit app into a Fargate Container and added Textract to extract Payslips details from PDFs and this app was the output of that.