If you can’t get a hold of me this is the reason…
· One min read

The source code for this blog can be found in my Github repository: https://github.com/chiwaichan/aws-iot-cat-feeder. This repository only includes the source code for the solution implemented up to this stage/blog in the project.
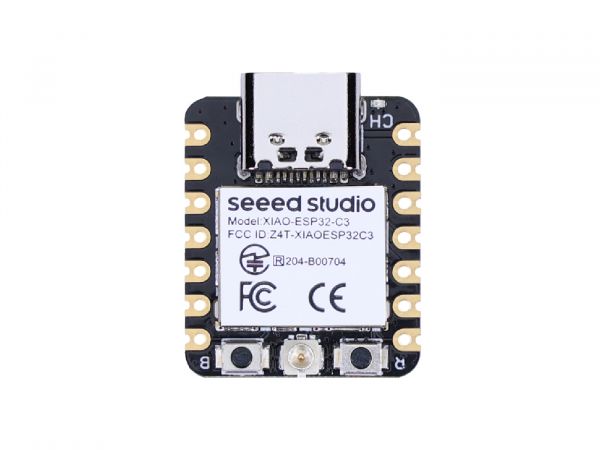
In the end I decided to go with the Seeed Studio XIAO ESP32C3 implementation of the ESP32 micro-controller for $4.99 (USD). I also ordered some other bits and pieces from AliExpress that's going to take some time to arrive.
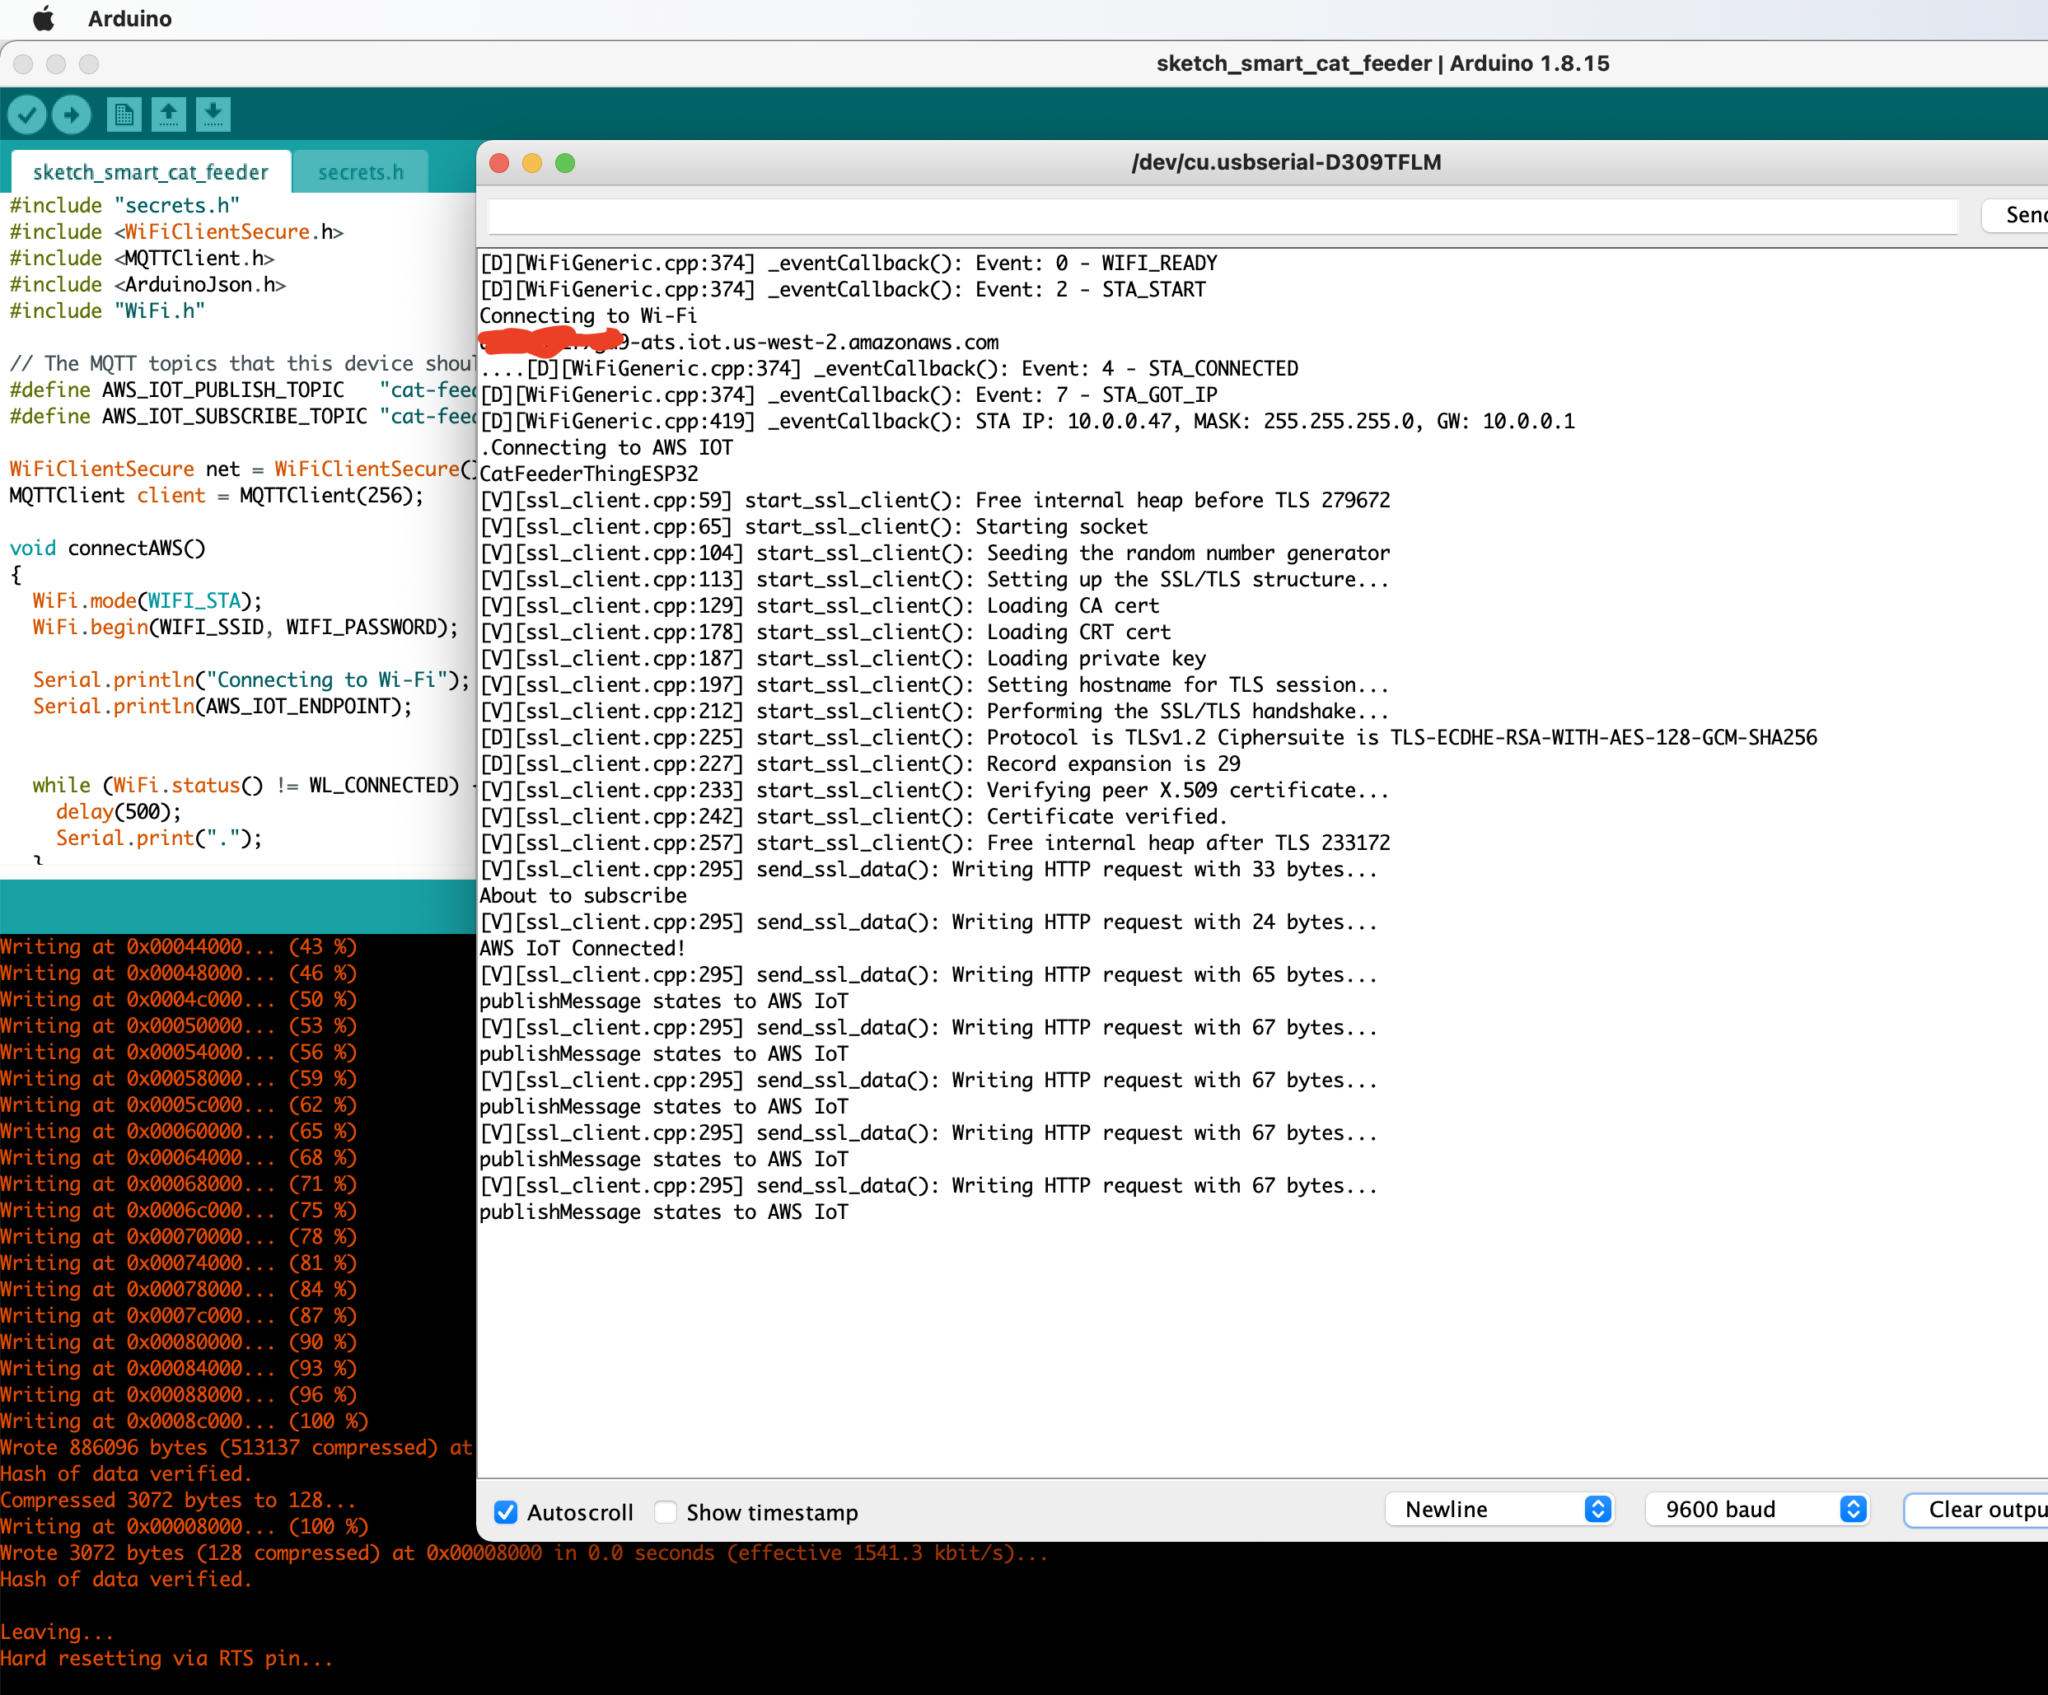
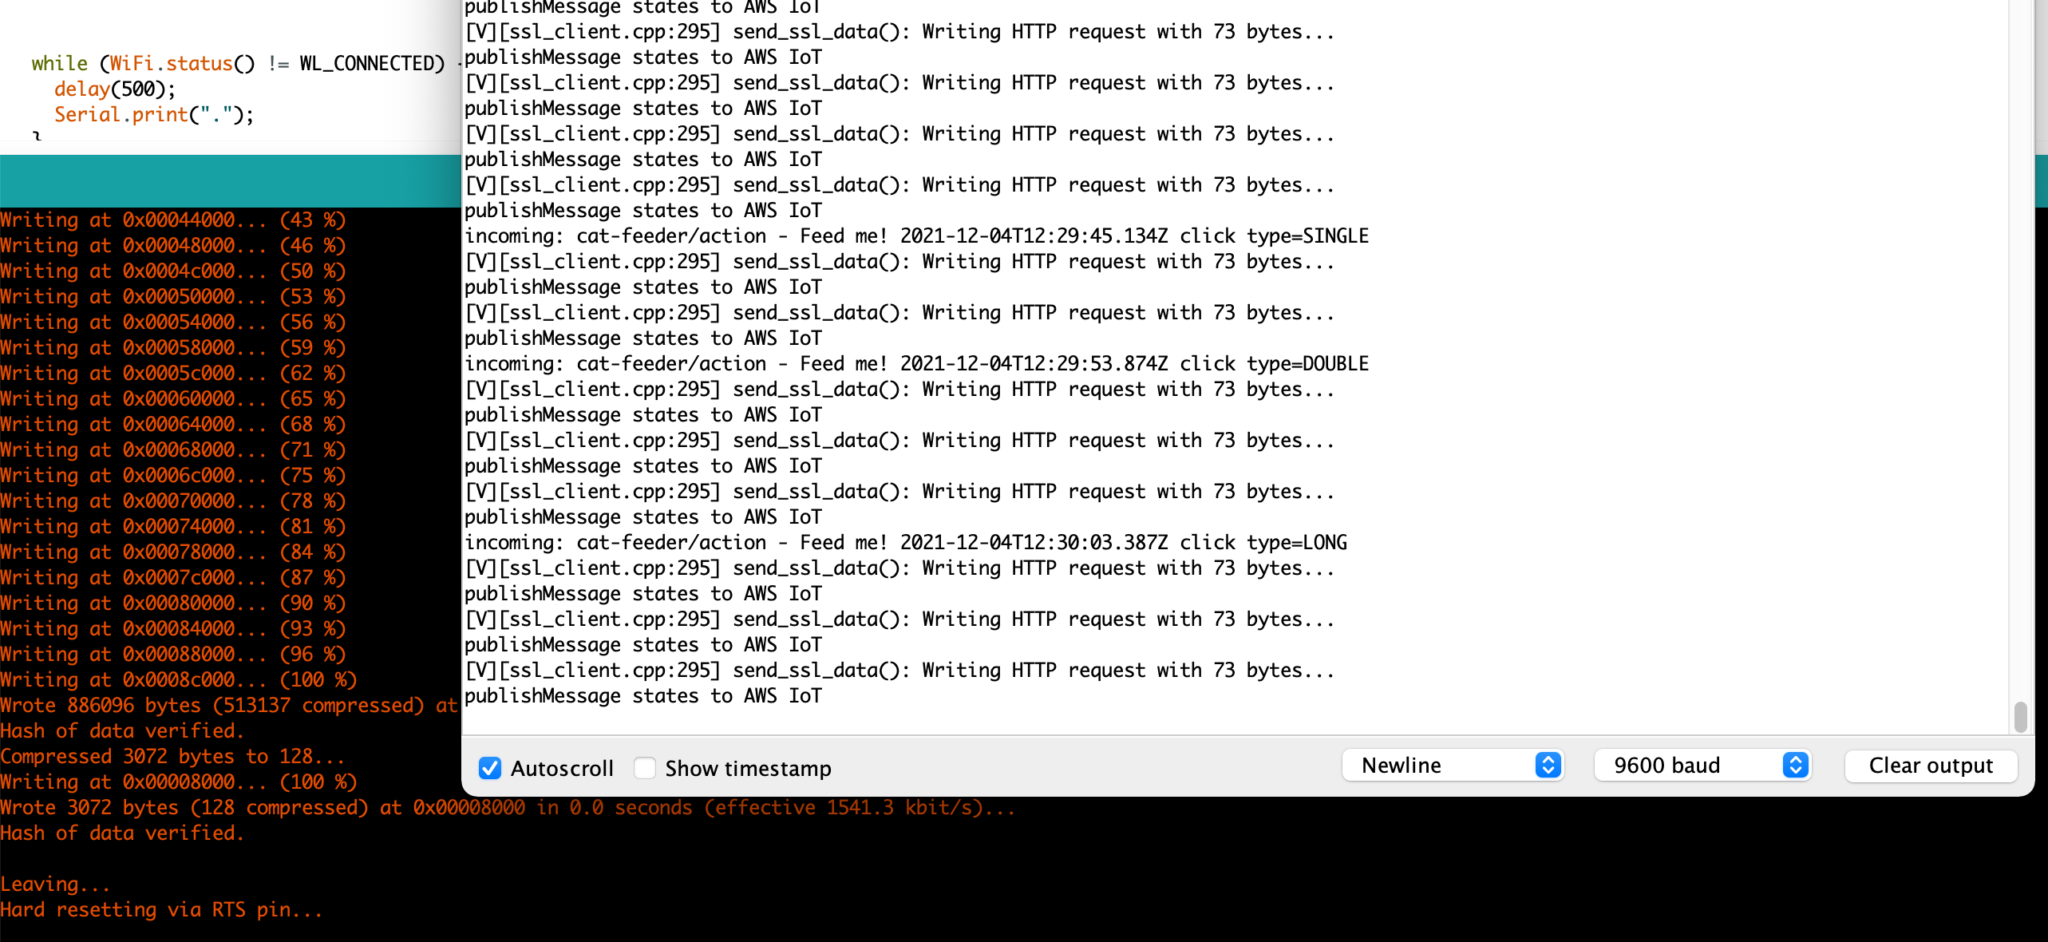
In this Part 2 of the blog series I will demonstrate the exchange of messages (JSON payload) using the MQTT protocol between the ESP32 and the AWS IoT Core Service, as well as the exchange of messages between a Lambda Function and the ESP32 - this Lambda is written in Python which is intended to replace the Lambda triggered by the IoT button event found in Part 1.
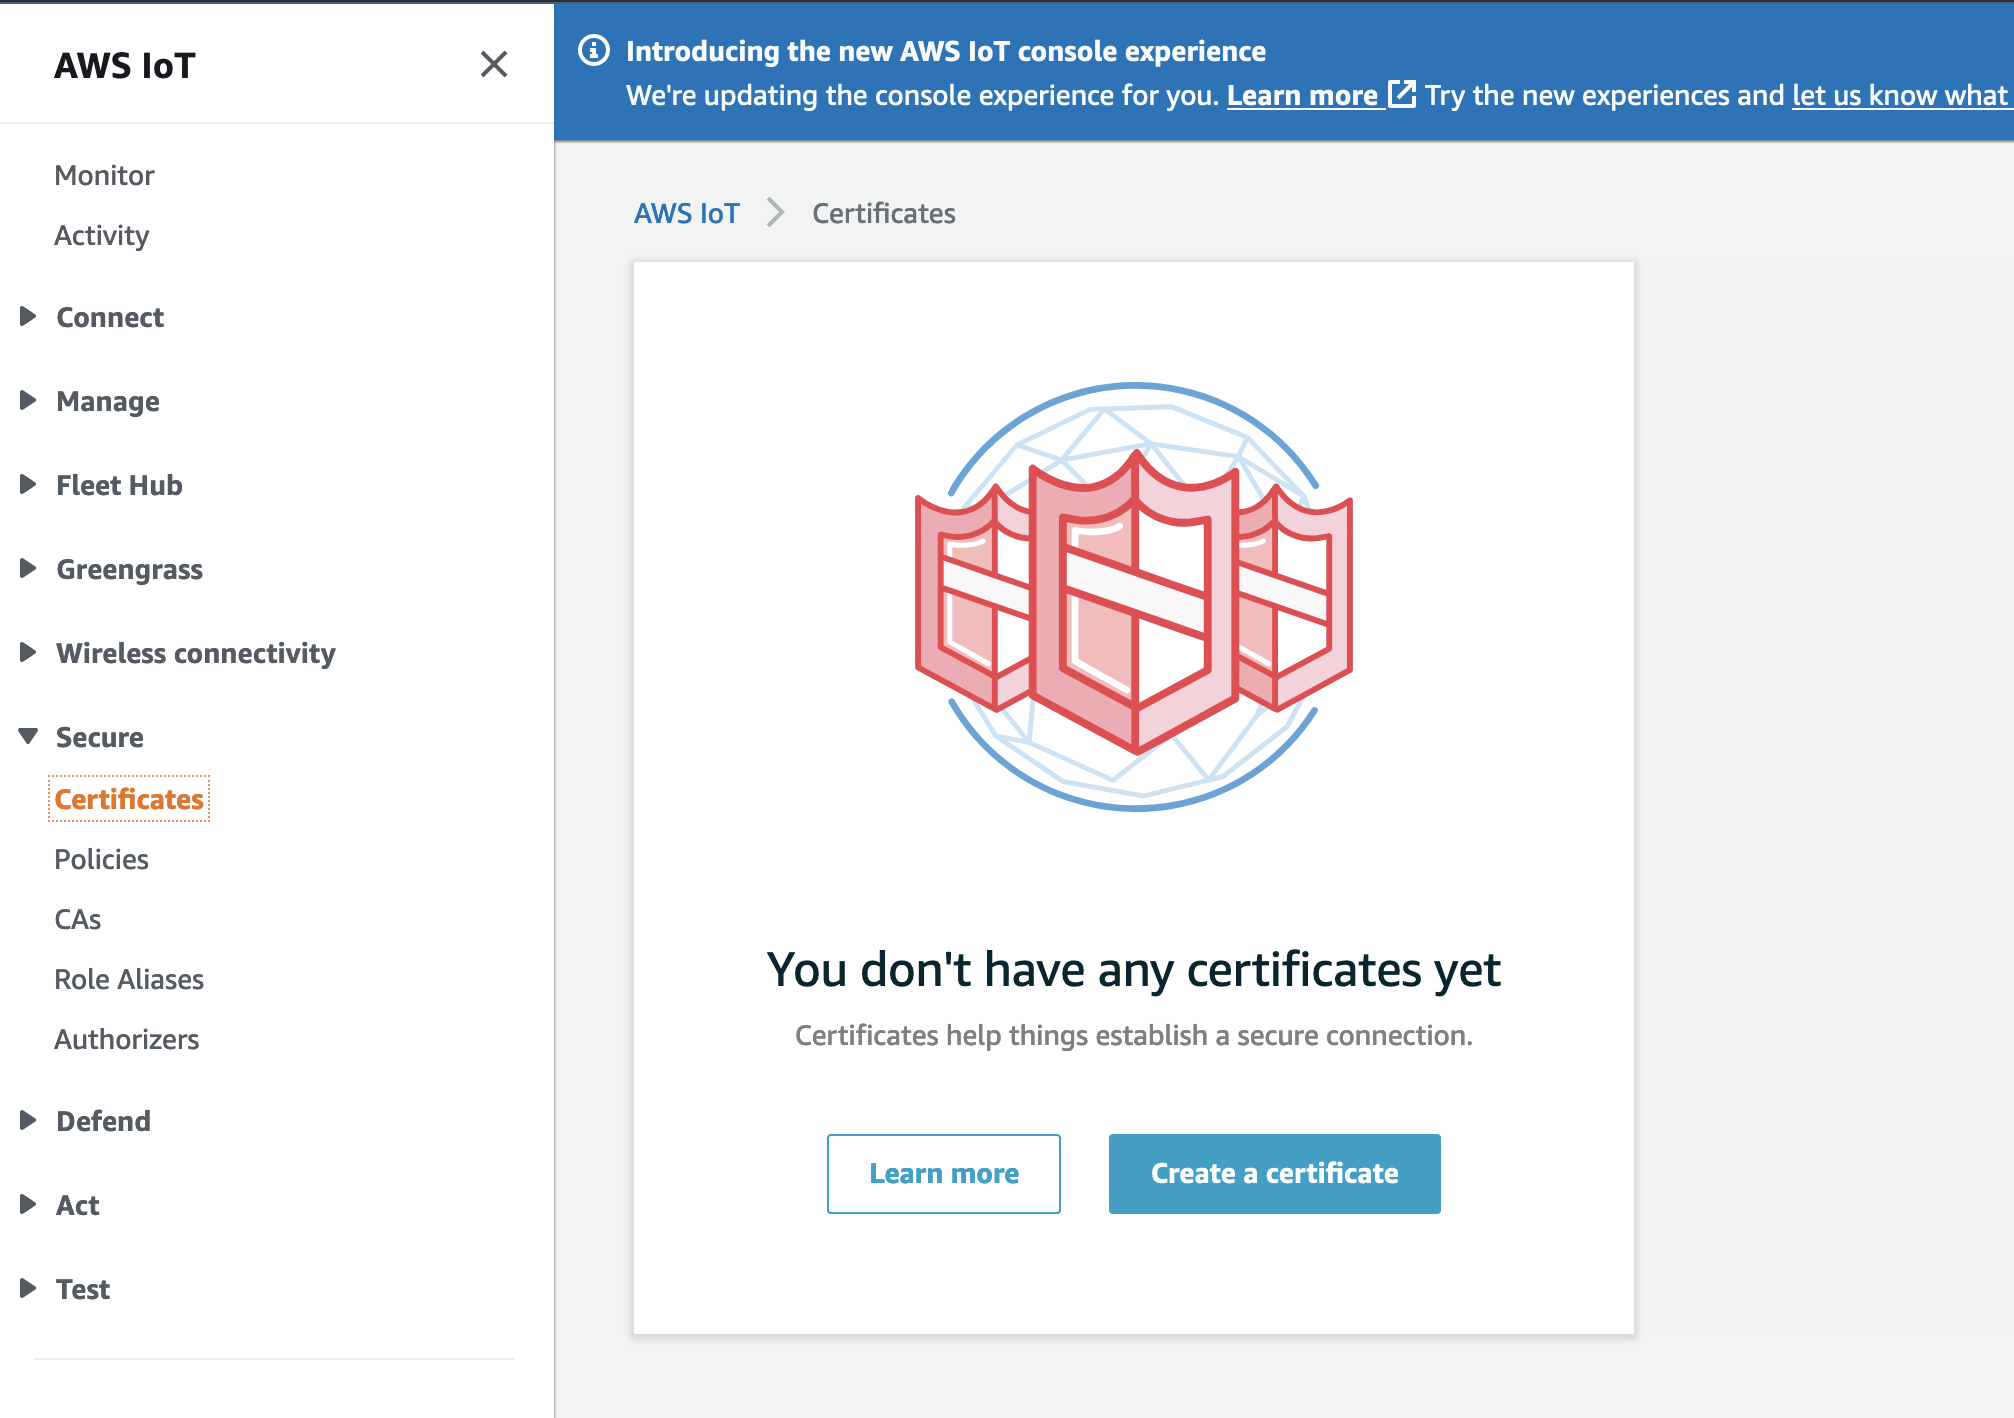
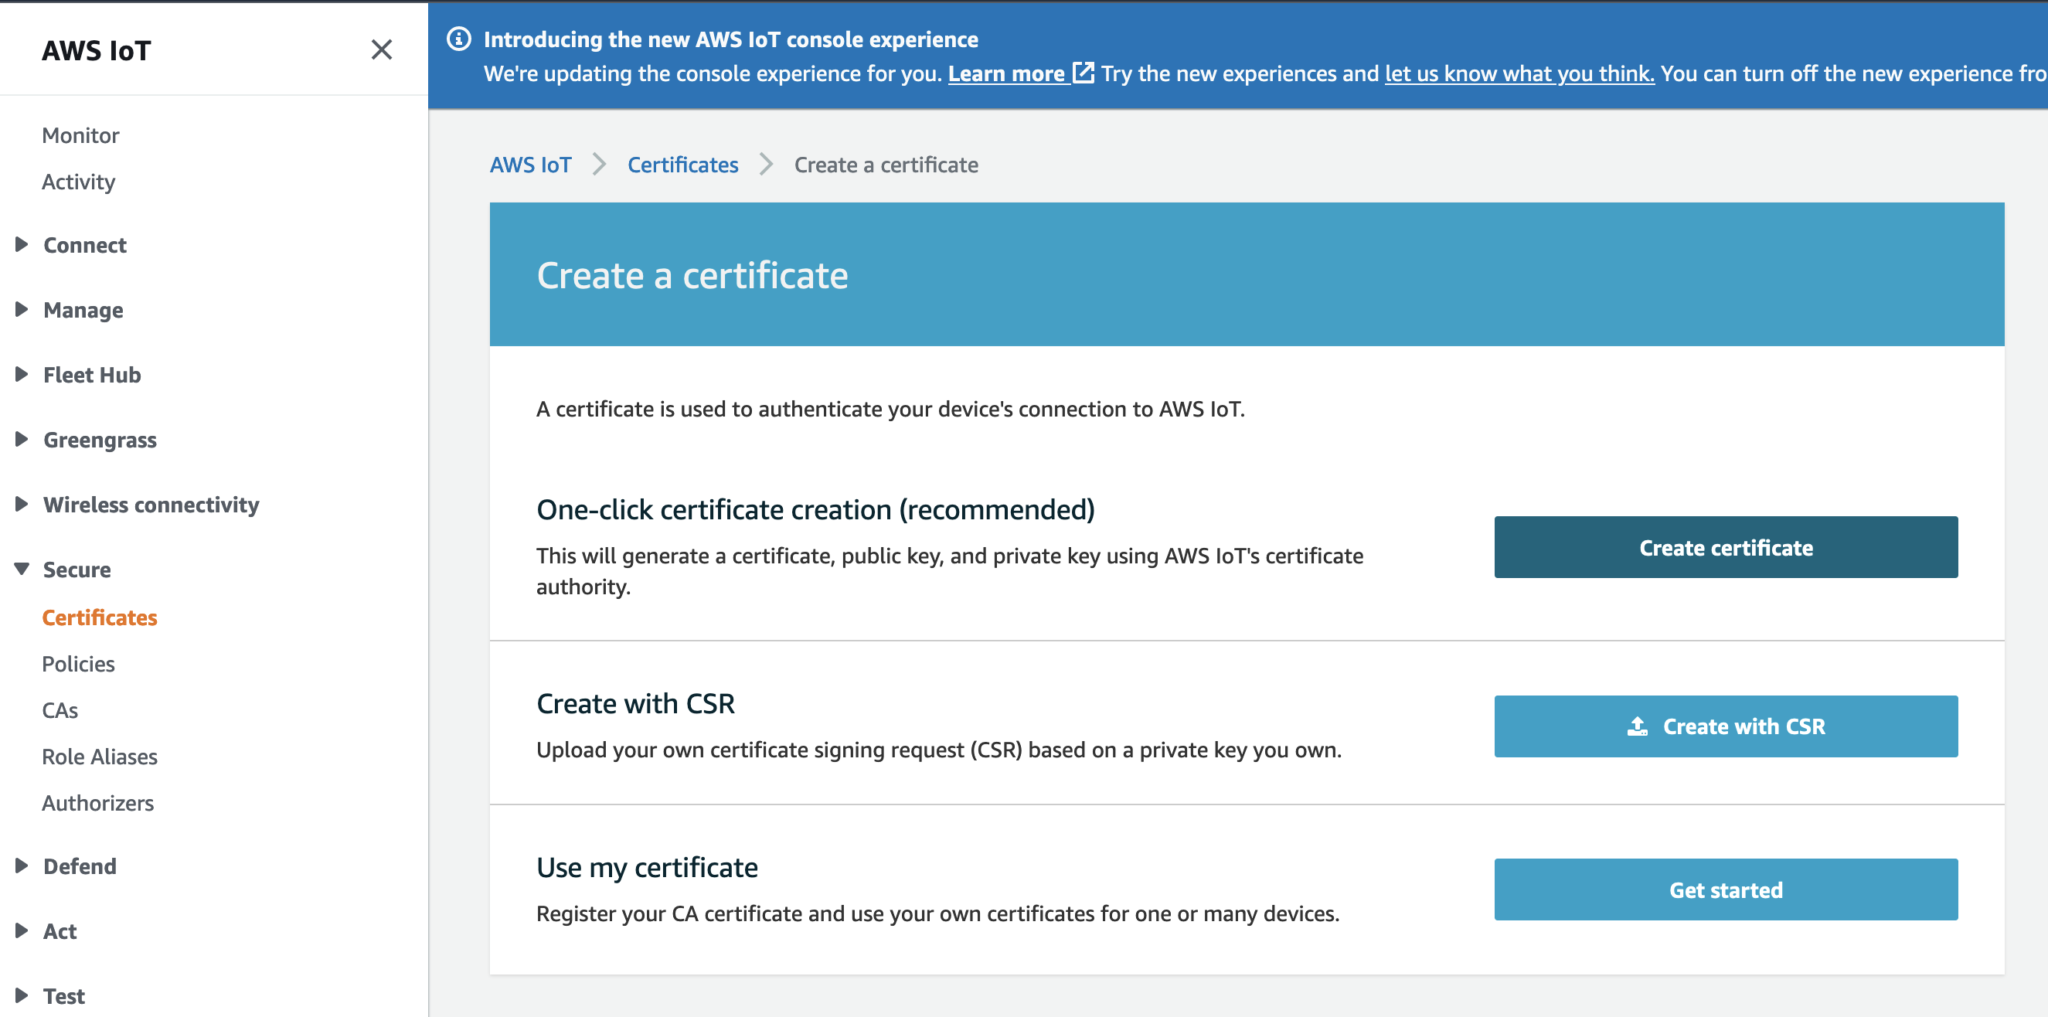
Create a Certificate using the recommended One-Click option.
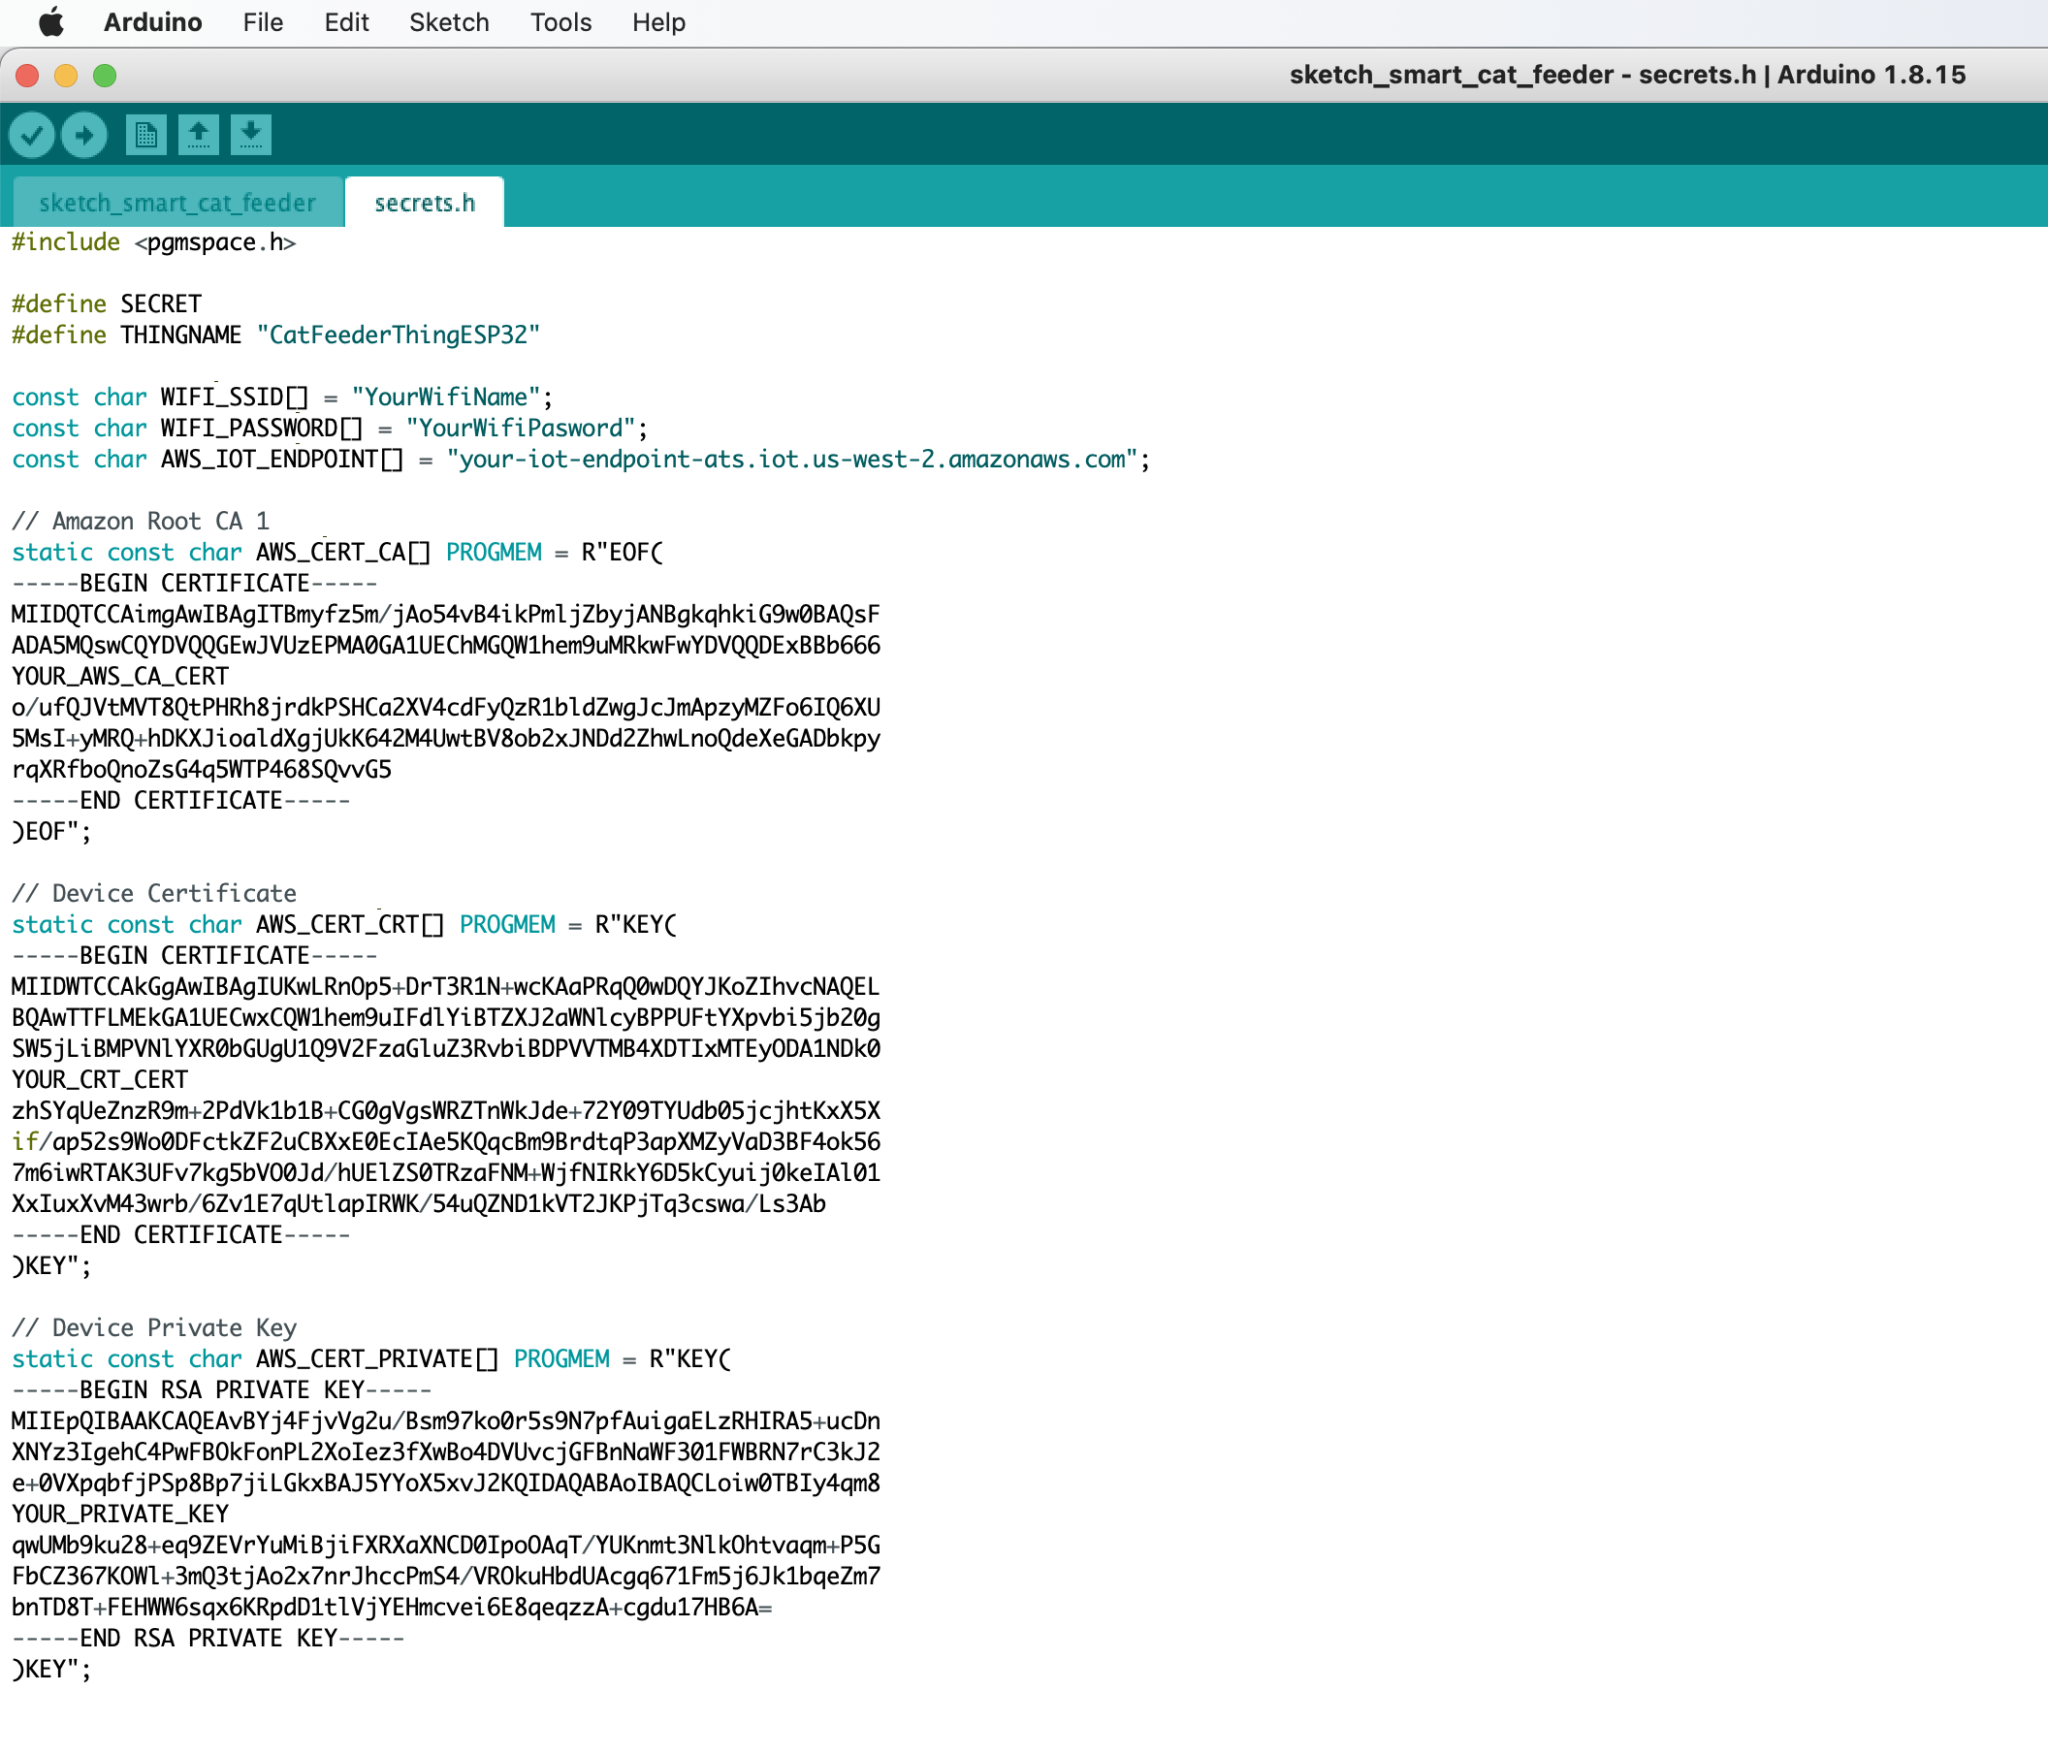
Download the following files and take note of which device (the ESP32 or the IoT Lambda) you like to use this certificate for:
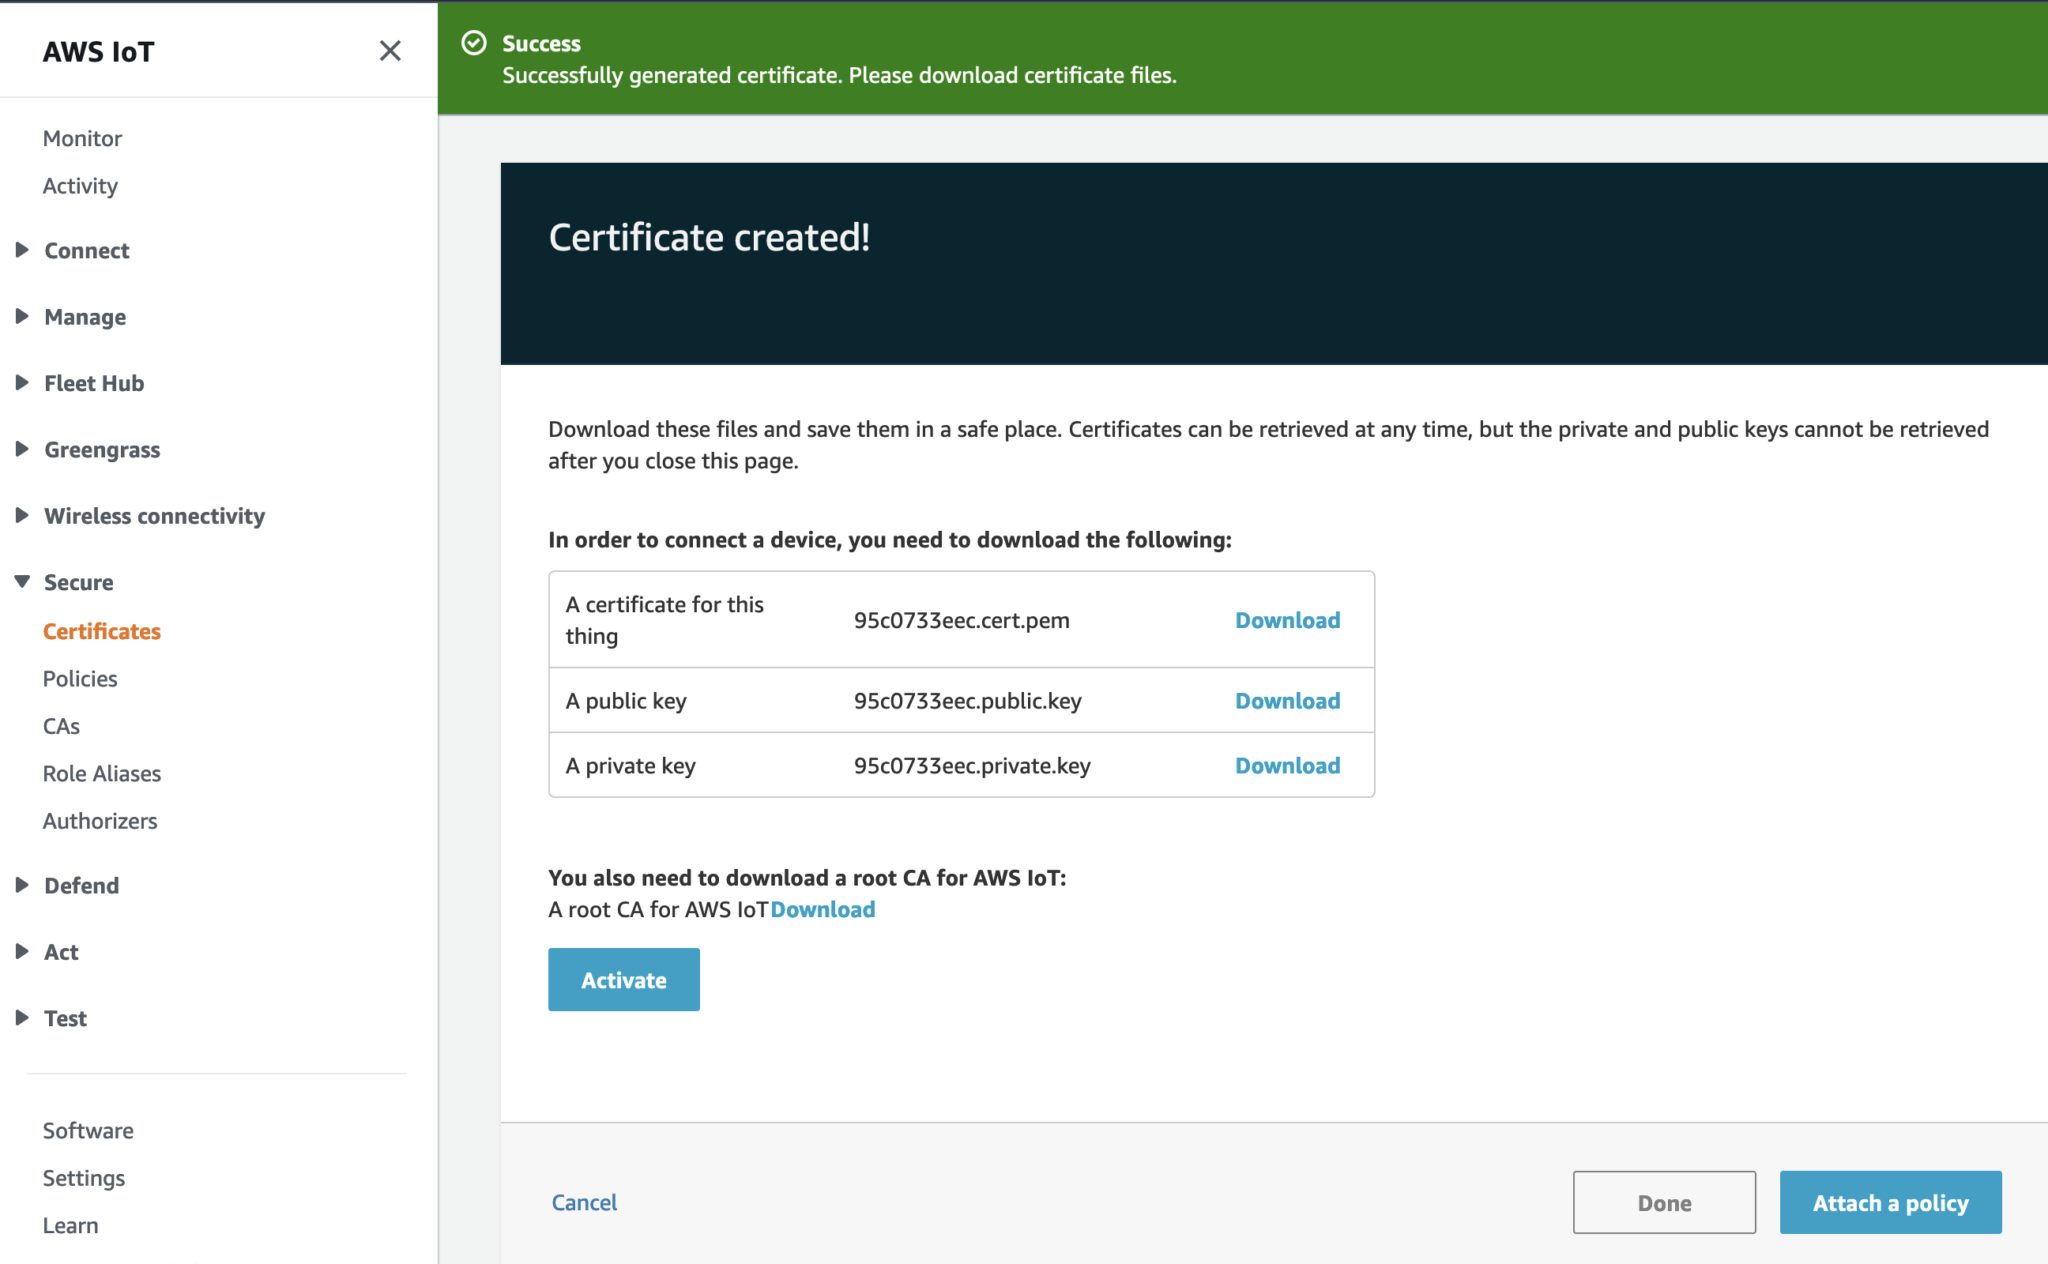
Activate the Certificate.
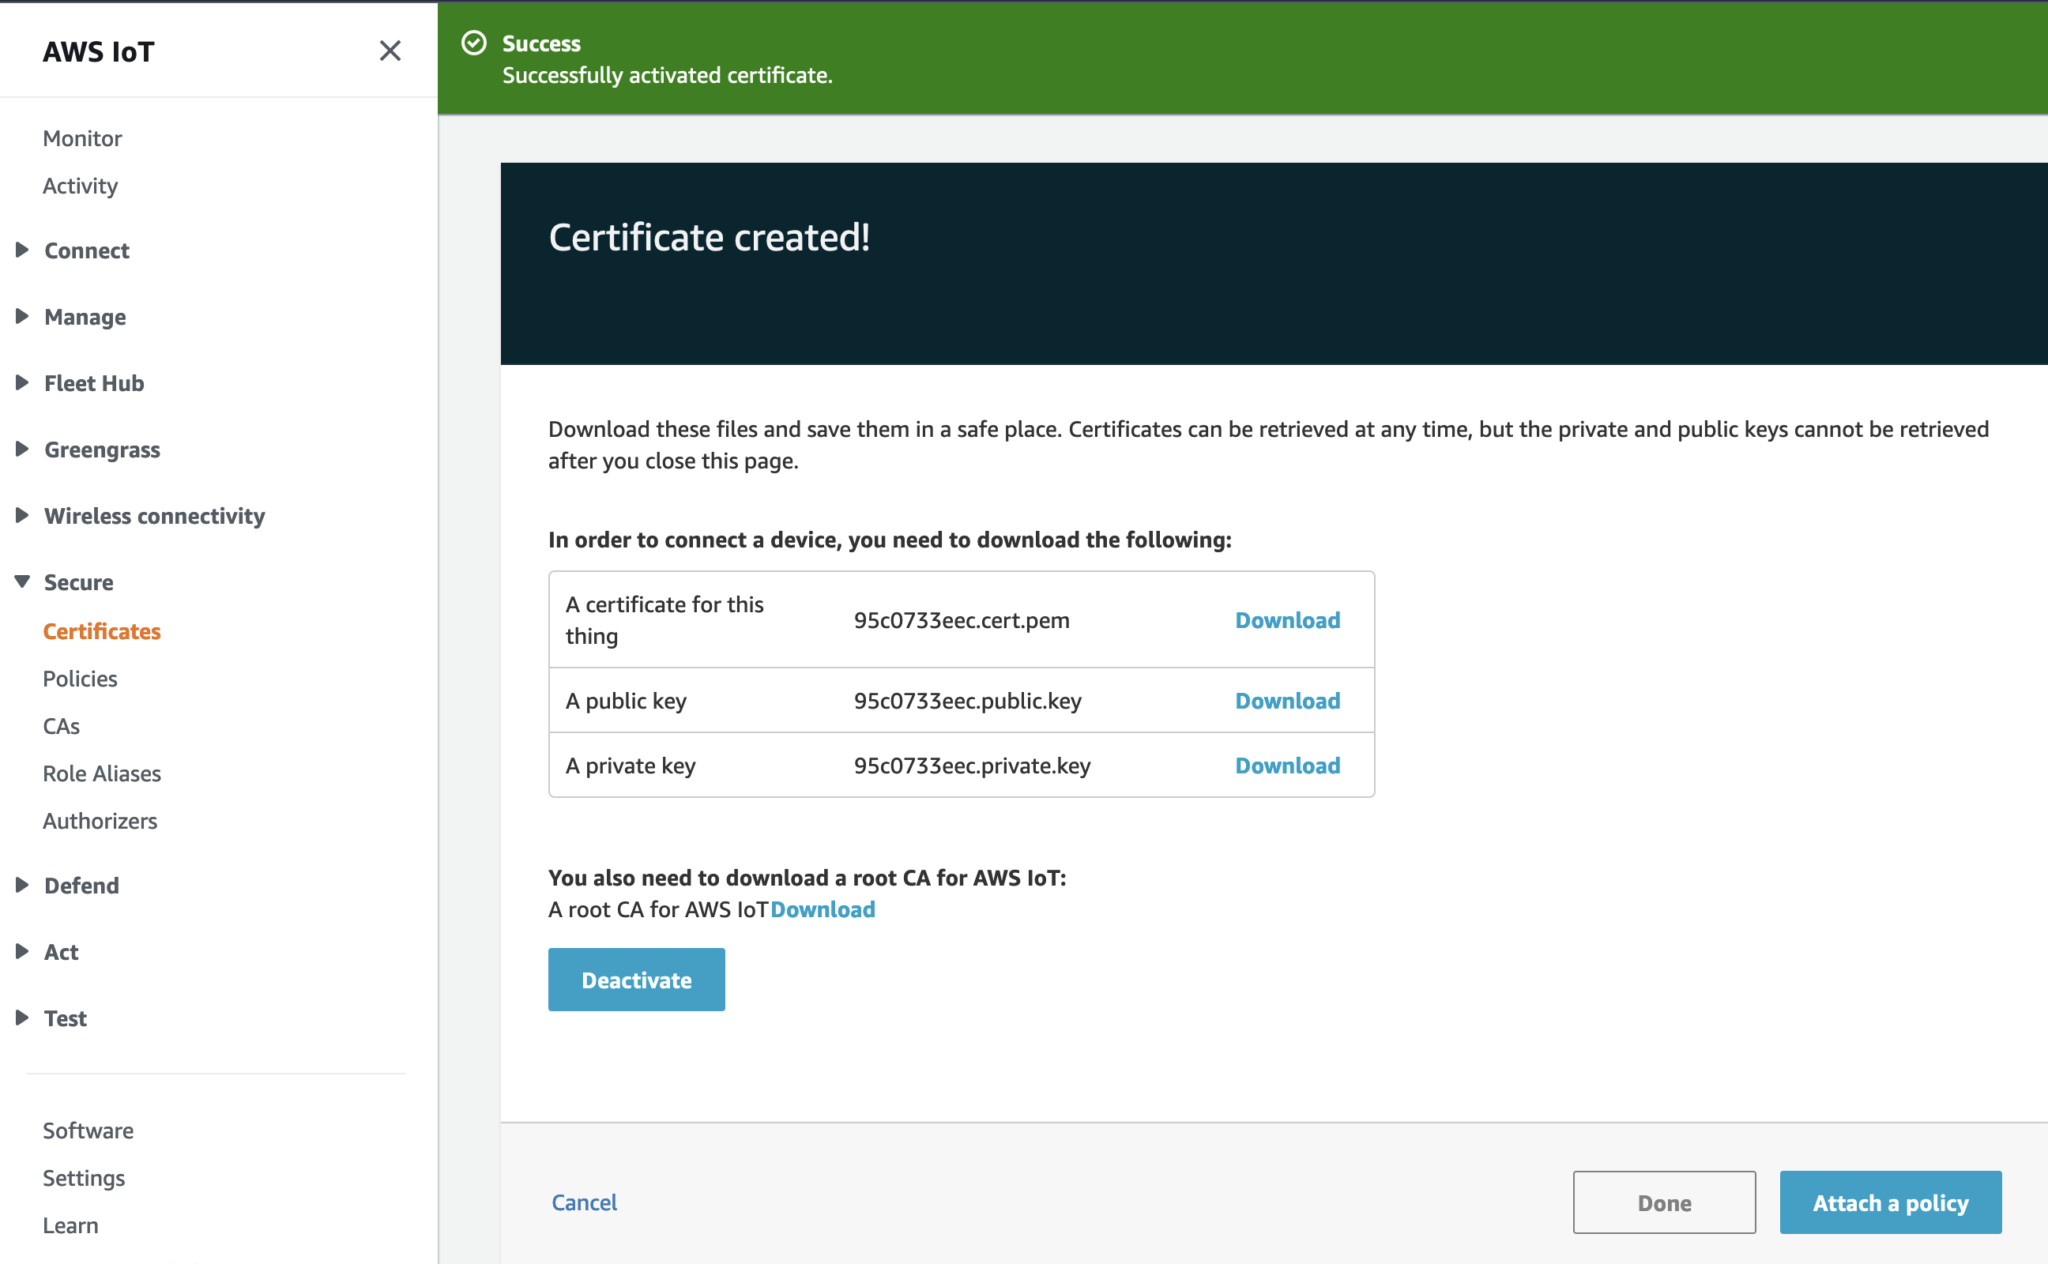
Click on Done. Then repeat the steps to create the second Certificate.
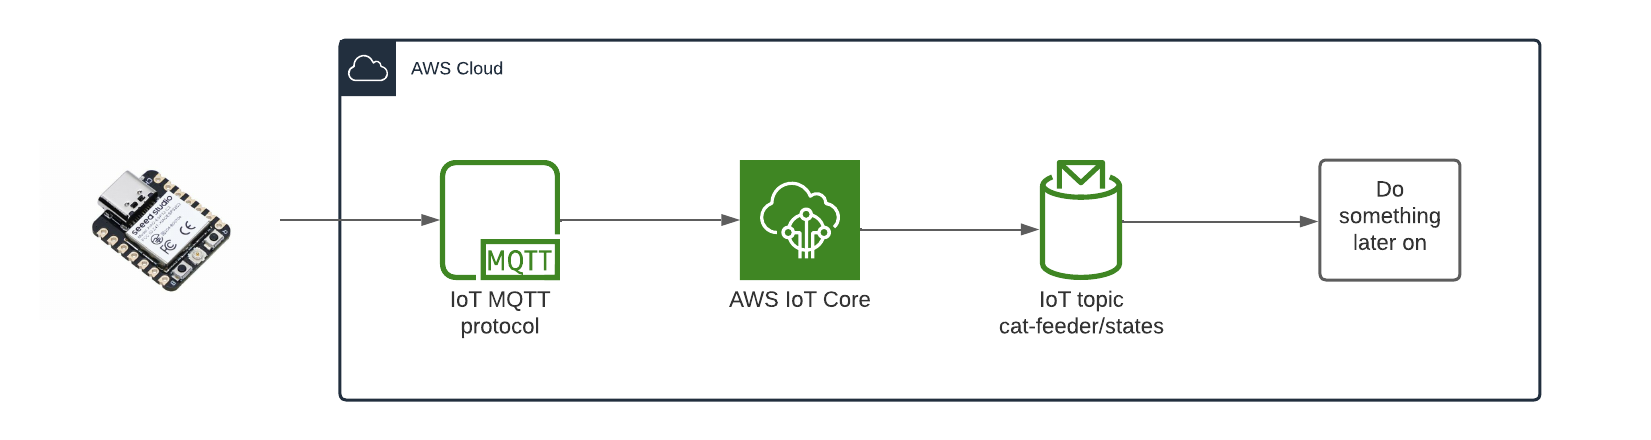
The diagram above depicts the components used that is required in order for the ESP32 to send the States of the Cat Feeder, I've yet to decide what to send but examples could be 1.) battery level 2.) Cat weight (based on a Cat's RFID chip and some how weighing them while they eat) 3.) or how much food is remaining in the feeder. So many options.
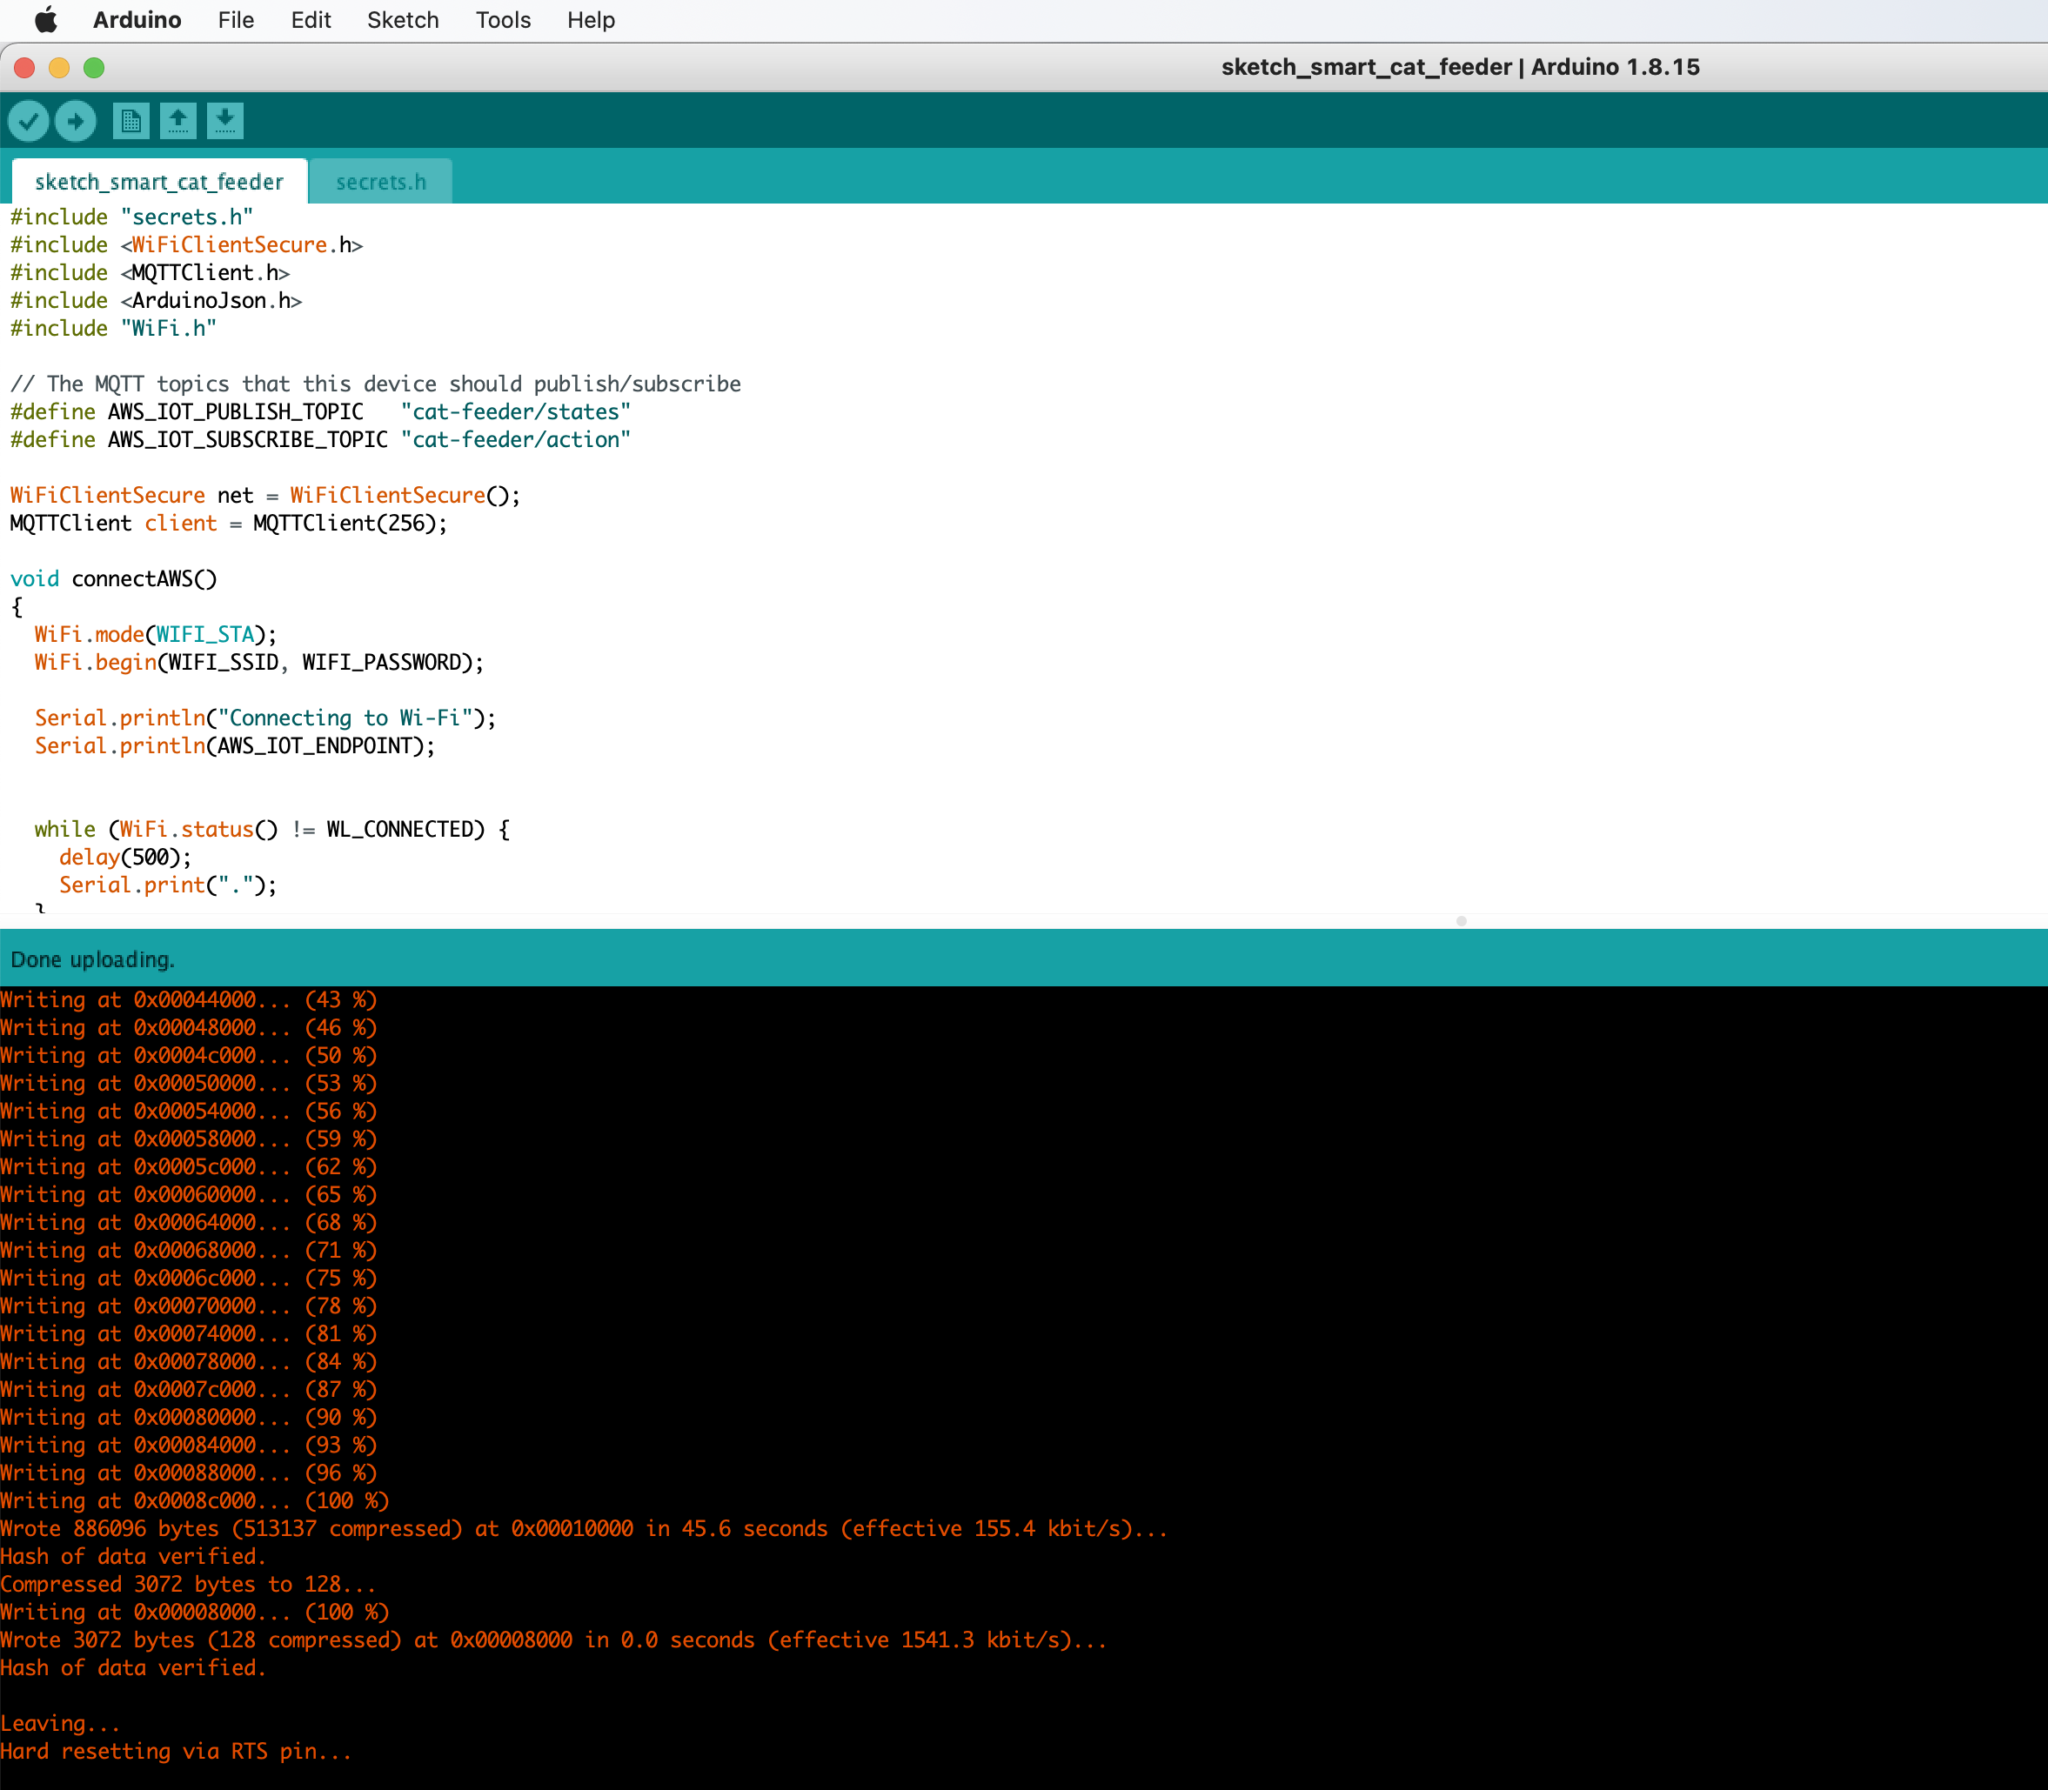
You might need to push a button on the micro-controller during the flashing process depending on the your ESP32 micro-controller

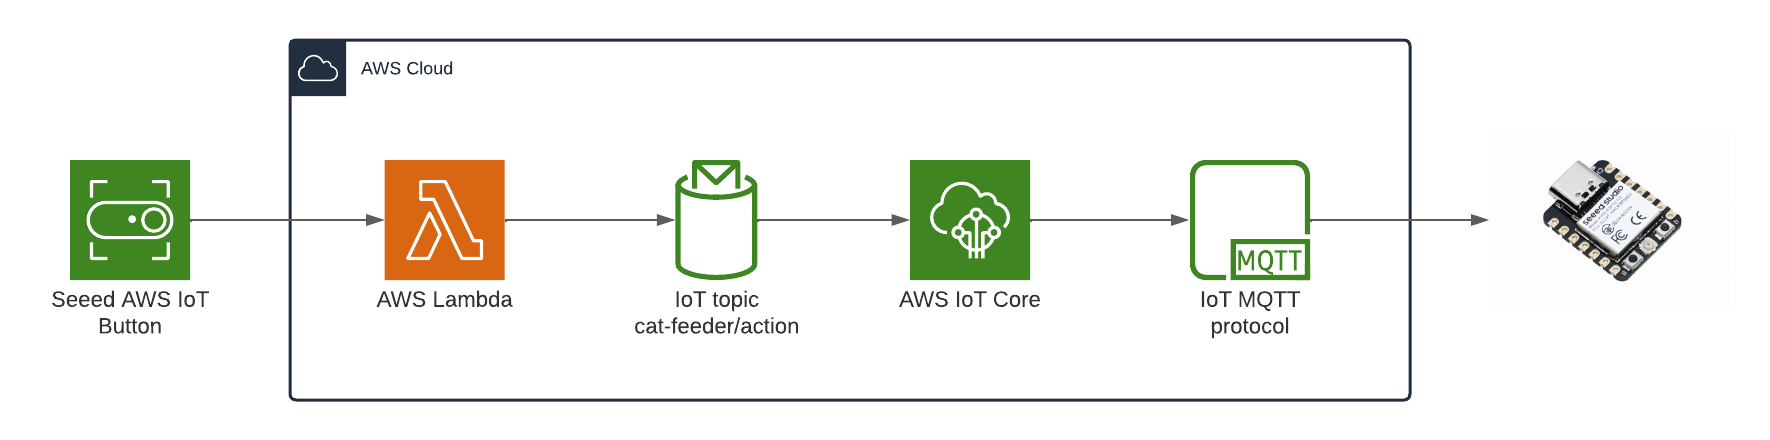
The diagram above depicts the components used to send a message to the ESP32 each time the Seeed AWS IoT button is pressed.

Get a copy of the AWS code from my Github repository: https://github.com/chiwaichan/aws-iot-cat-feeder
In a terminal go into the aws folder and run the commands found in the "sam-commands.text" file, be sure to replace the following values in the commands to reflect the values for your AWS account. This will create a CloudFormation Stack of the AWS IoT Services used by this entire solution.
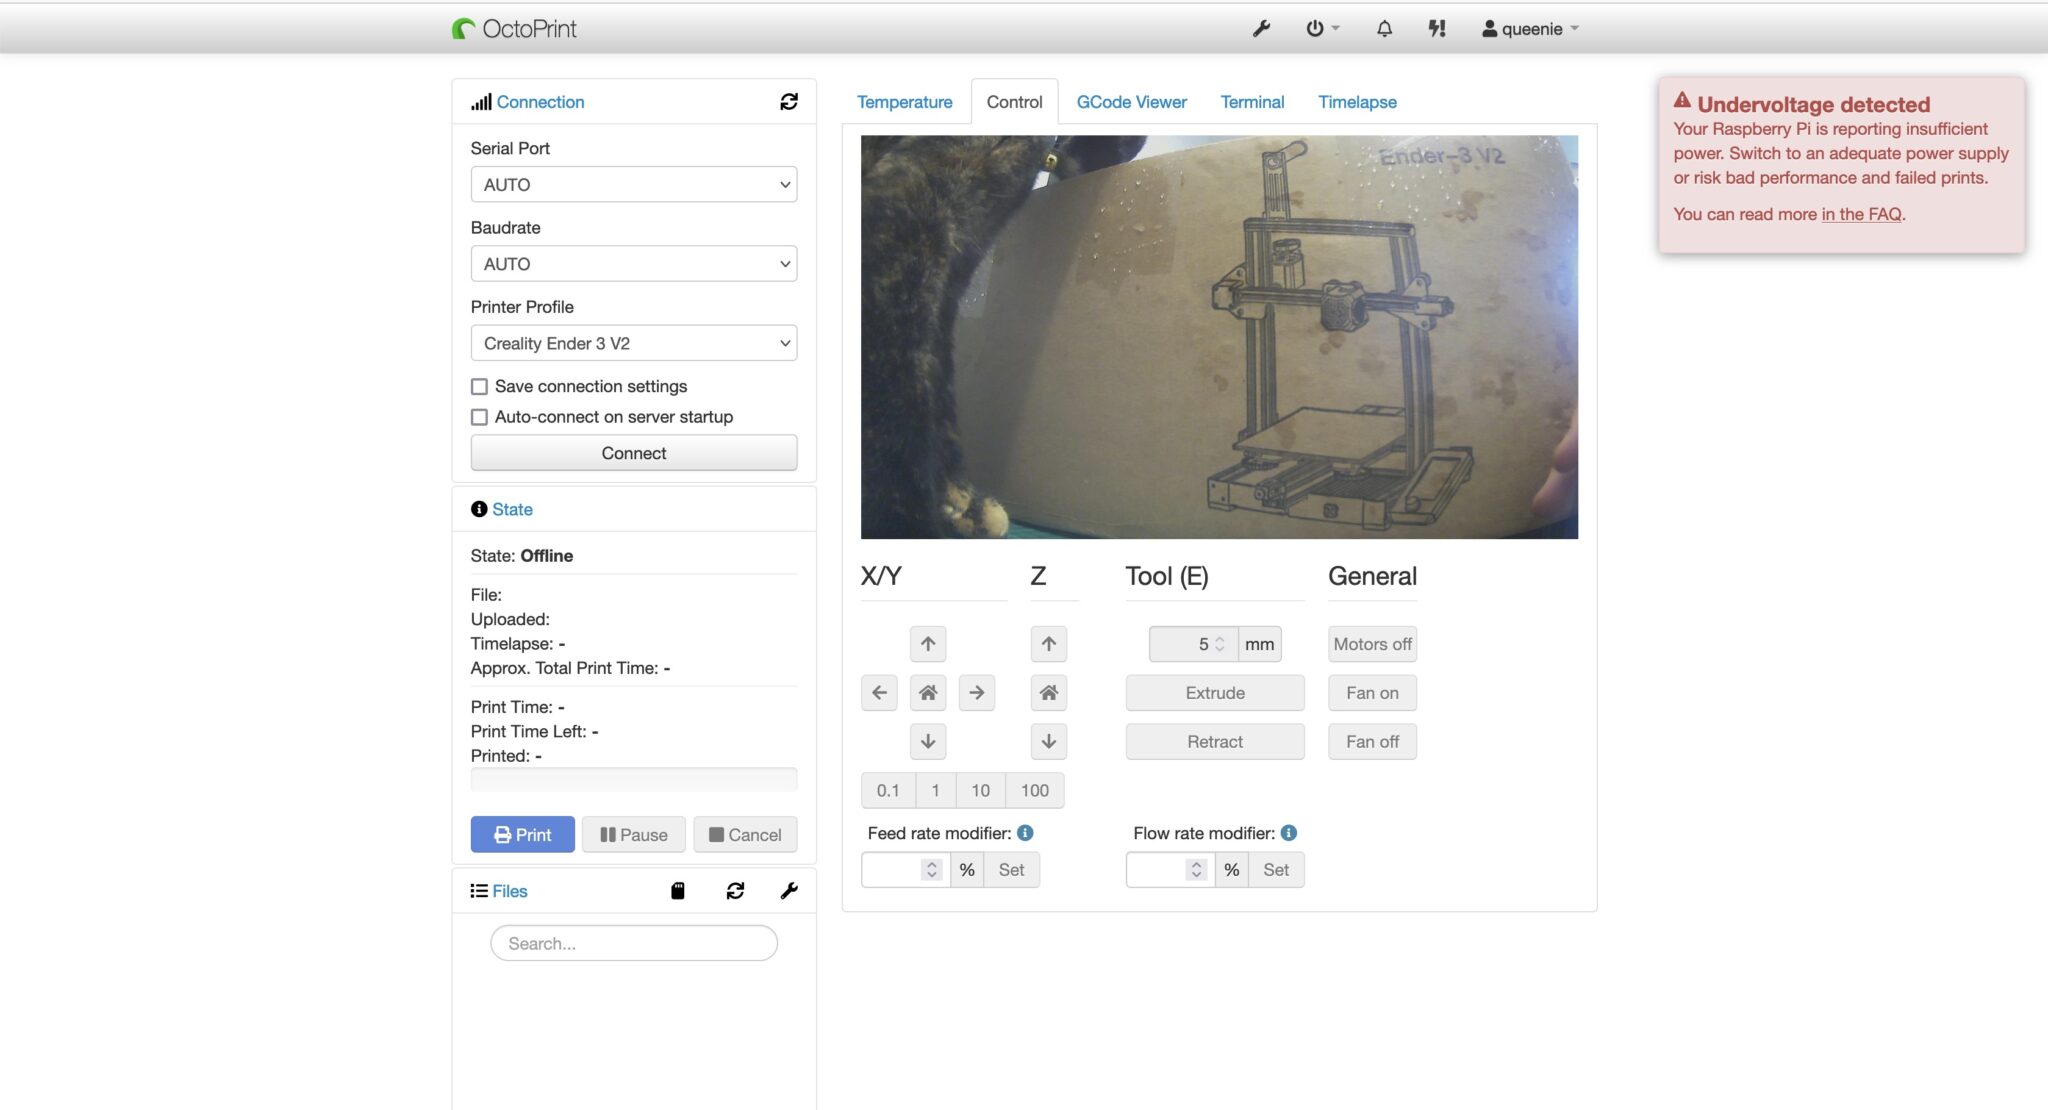
I recently got a Creality3D Ender-3 V2 printer, I've got many known unknowns I know I need to get up to speed with in regards to fundamentals of 3D printing and all the tools, techniques and software associated with it. I'll attempt to print an enclosure to house the ESP32 controller, the wires, power supply/battery (if I can source a battery that lasts for more than a month on a single charge) and most importantly the dry cat food; I like to use some mechanical components to dispense food each time we press the IoT button described in Part 1. I'll talk in depth on the progress made on the 3D printing in Part 3.
If you are forgetful when it comes to feeding your fur babies like me, and you often only realise you need to put some dry food into the bowl when you are at work then you should read these series of blogs. Over time, I'll be designing and building a smart cat feeder over time using a combination of components such as Arduino micro controllers, motors, sensors and IoT devices and Cloud services. I'll publish the steps taken in these series of blogs, also, I'll publish any designs and source code as I figure things out and make decisions on aspects of the design.
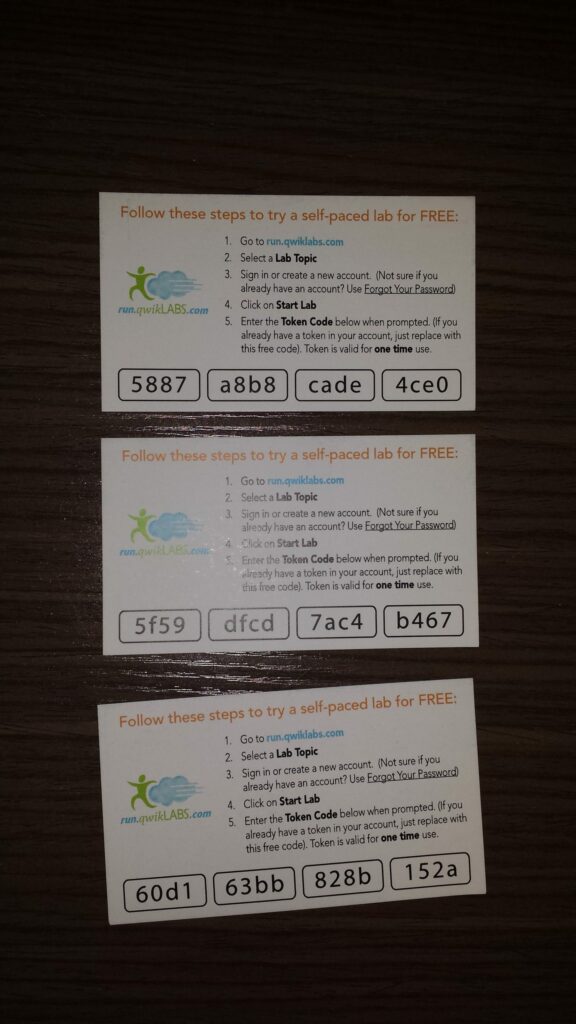
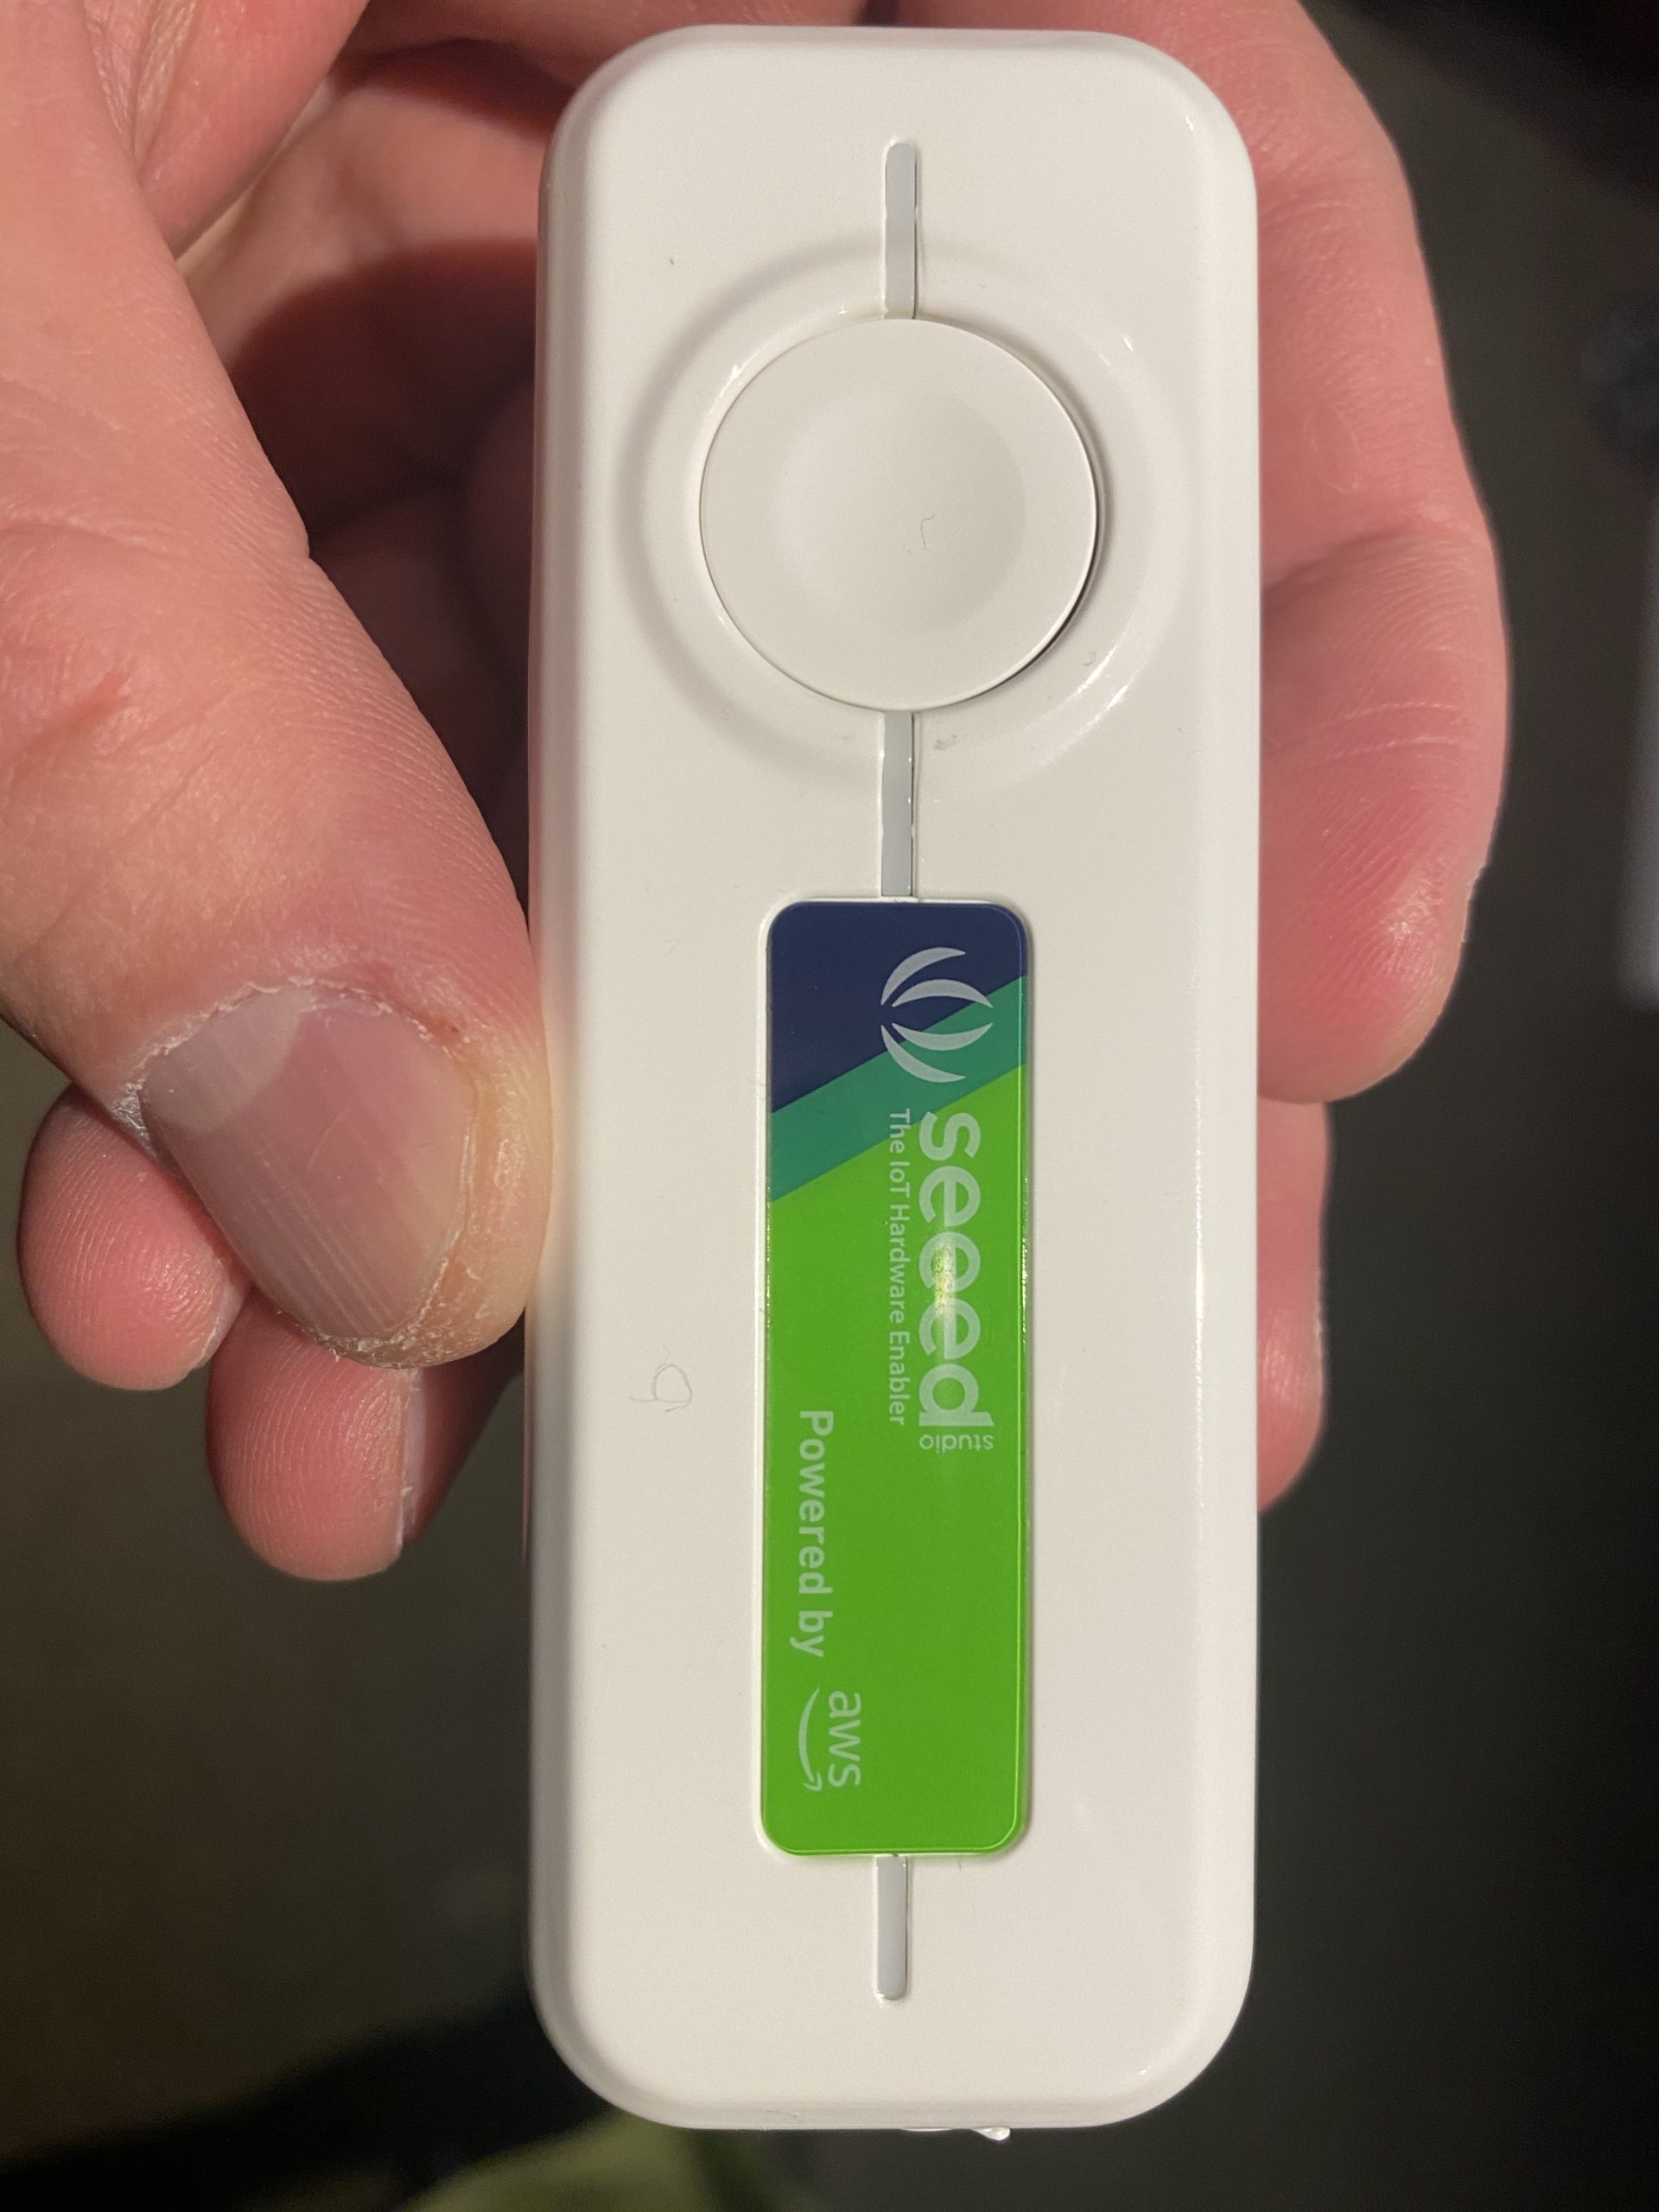
In this part 1 of the series, I will do a walkthrough on setting up an AWS IoT 1-Click device to trigger a Lambda Function. I got myself one of these Seeed IoT buttons for $20; I also bought a NCR18650B battery which I realised later on is only required if I wanted to run the device without it being powered by a USB type-C cable (used for charging the power as well).
Firstly, make sure you have an AWS account. Then install the AWS IoT1-Click app onto your phone and log in using your AWS account. With these we will be able to link IoT devices up to our AWS account.
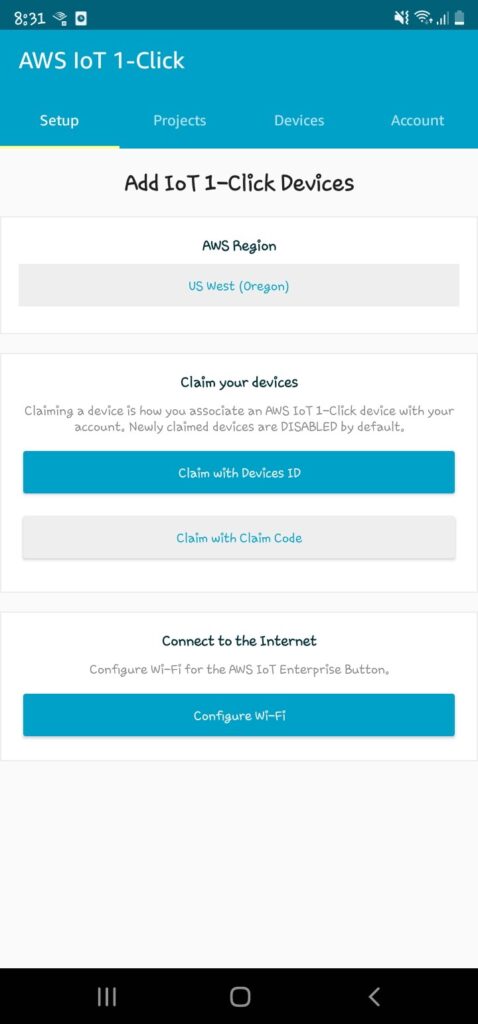
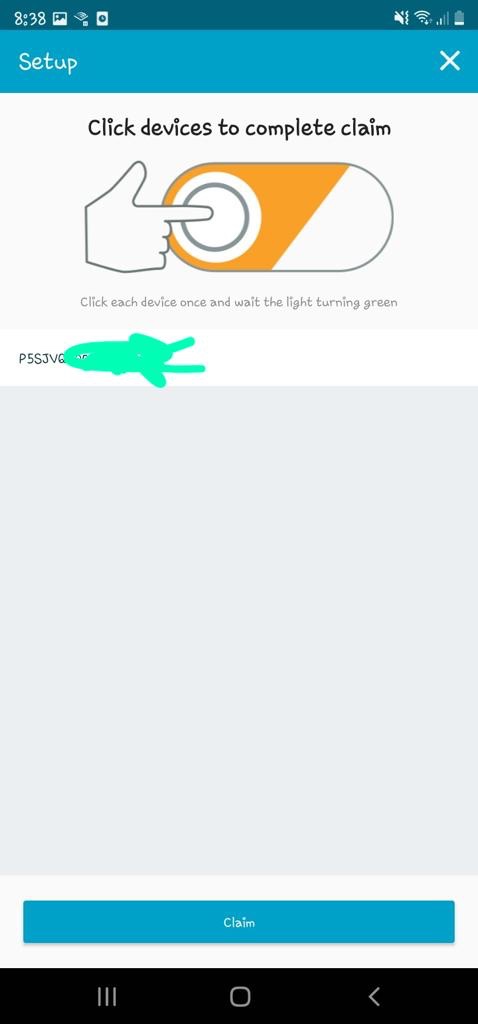
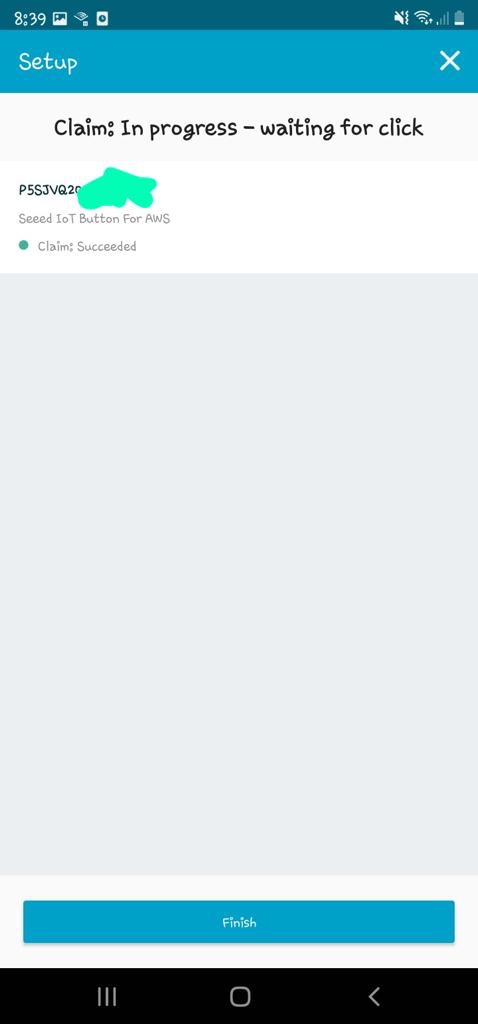
Claim the IoT device with Device ID
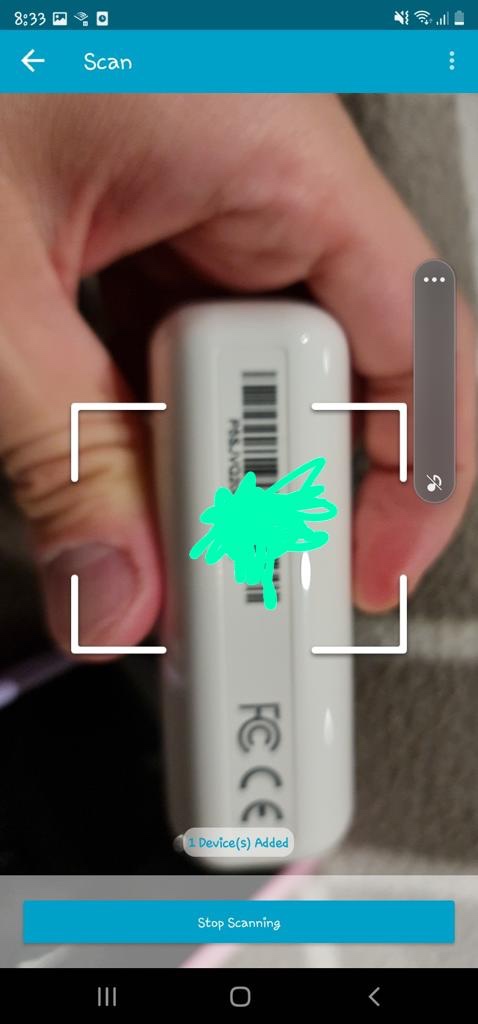
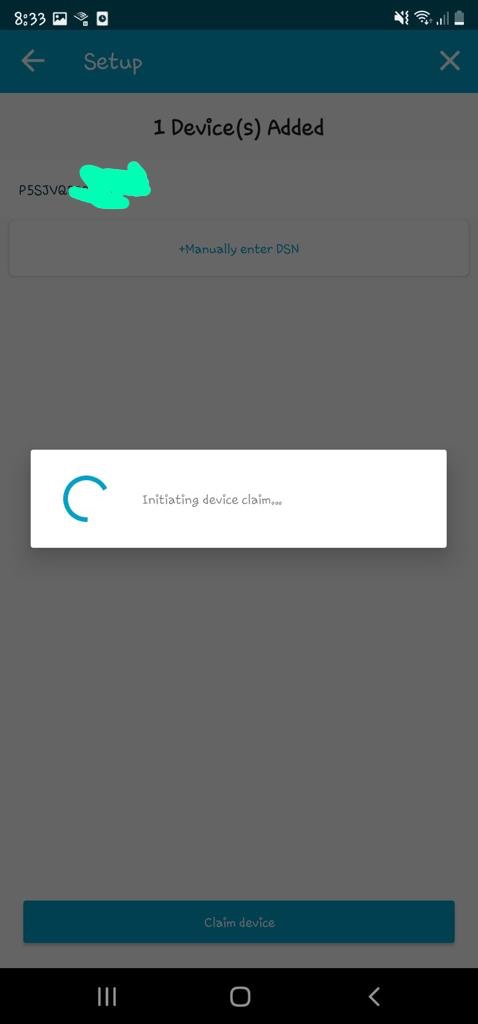
Scan the barcode on the back of the device; you can scan multiple devices in bulk.
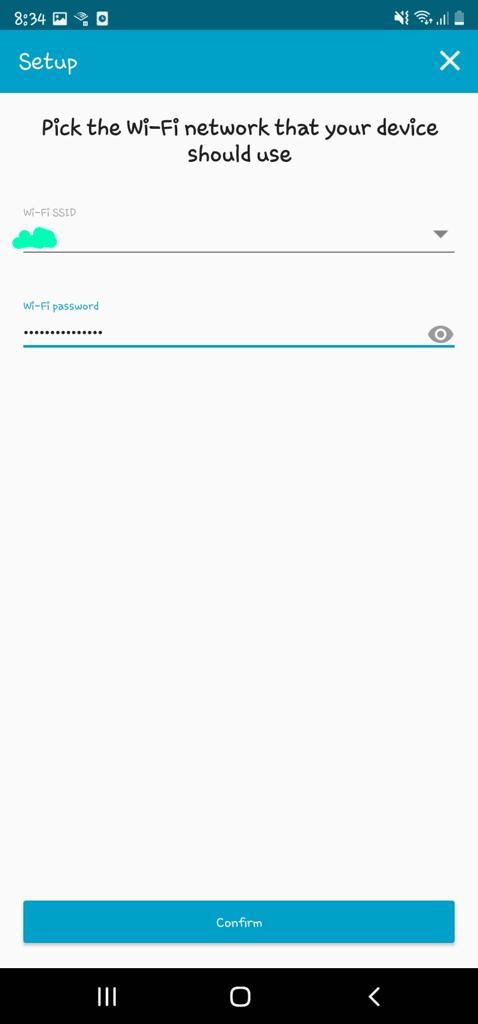
Next, I'll set up the Wifi on the device so that it can reach the internet internet from home. Can't see why I can't set it up to my phone's AP for feeding on the go, I'll try it out some other time.
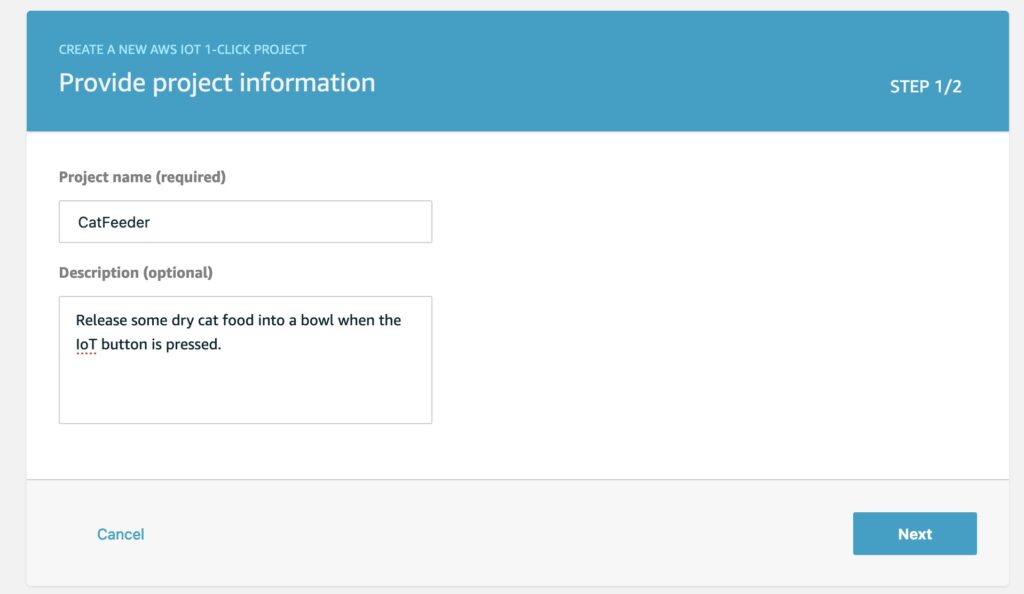
Now we'll create a project and add the IoT device to a placement group in the AWS Console. Give a name and description for the project.
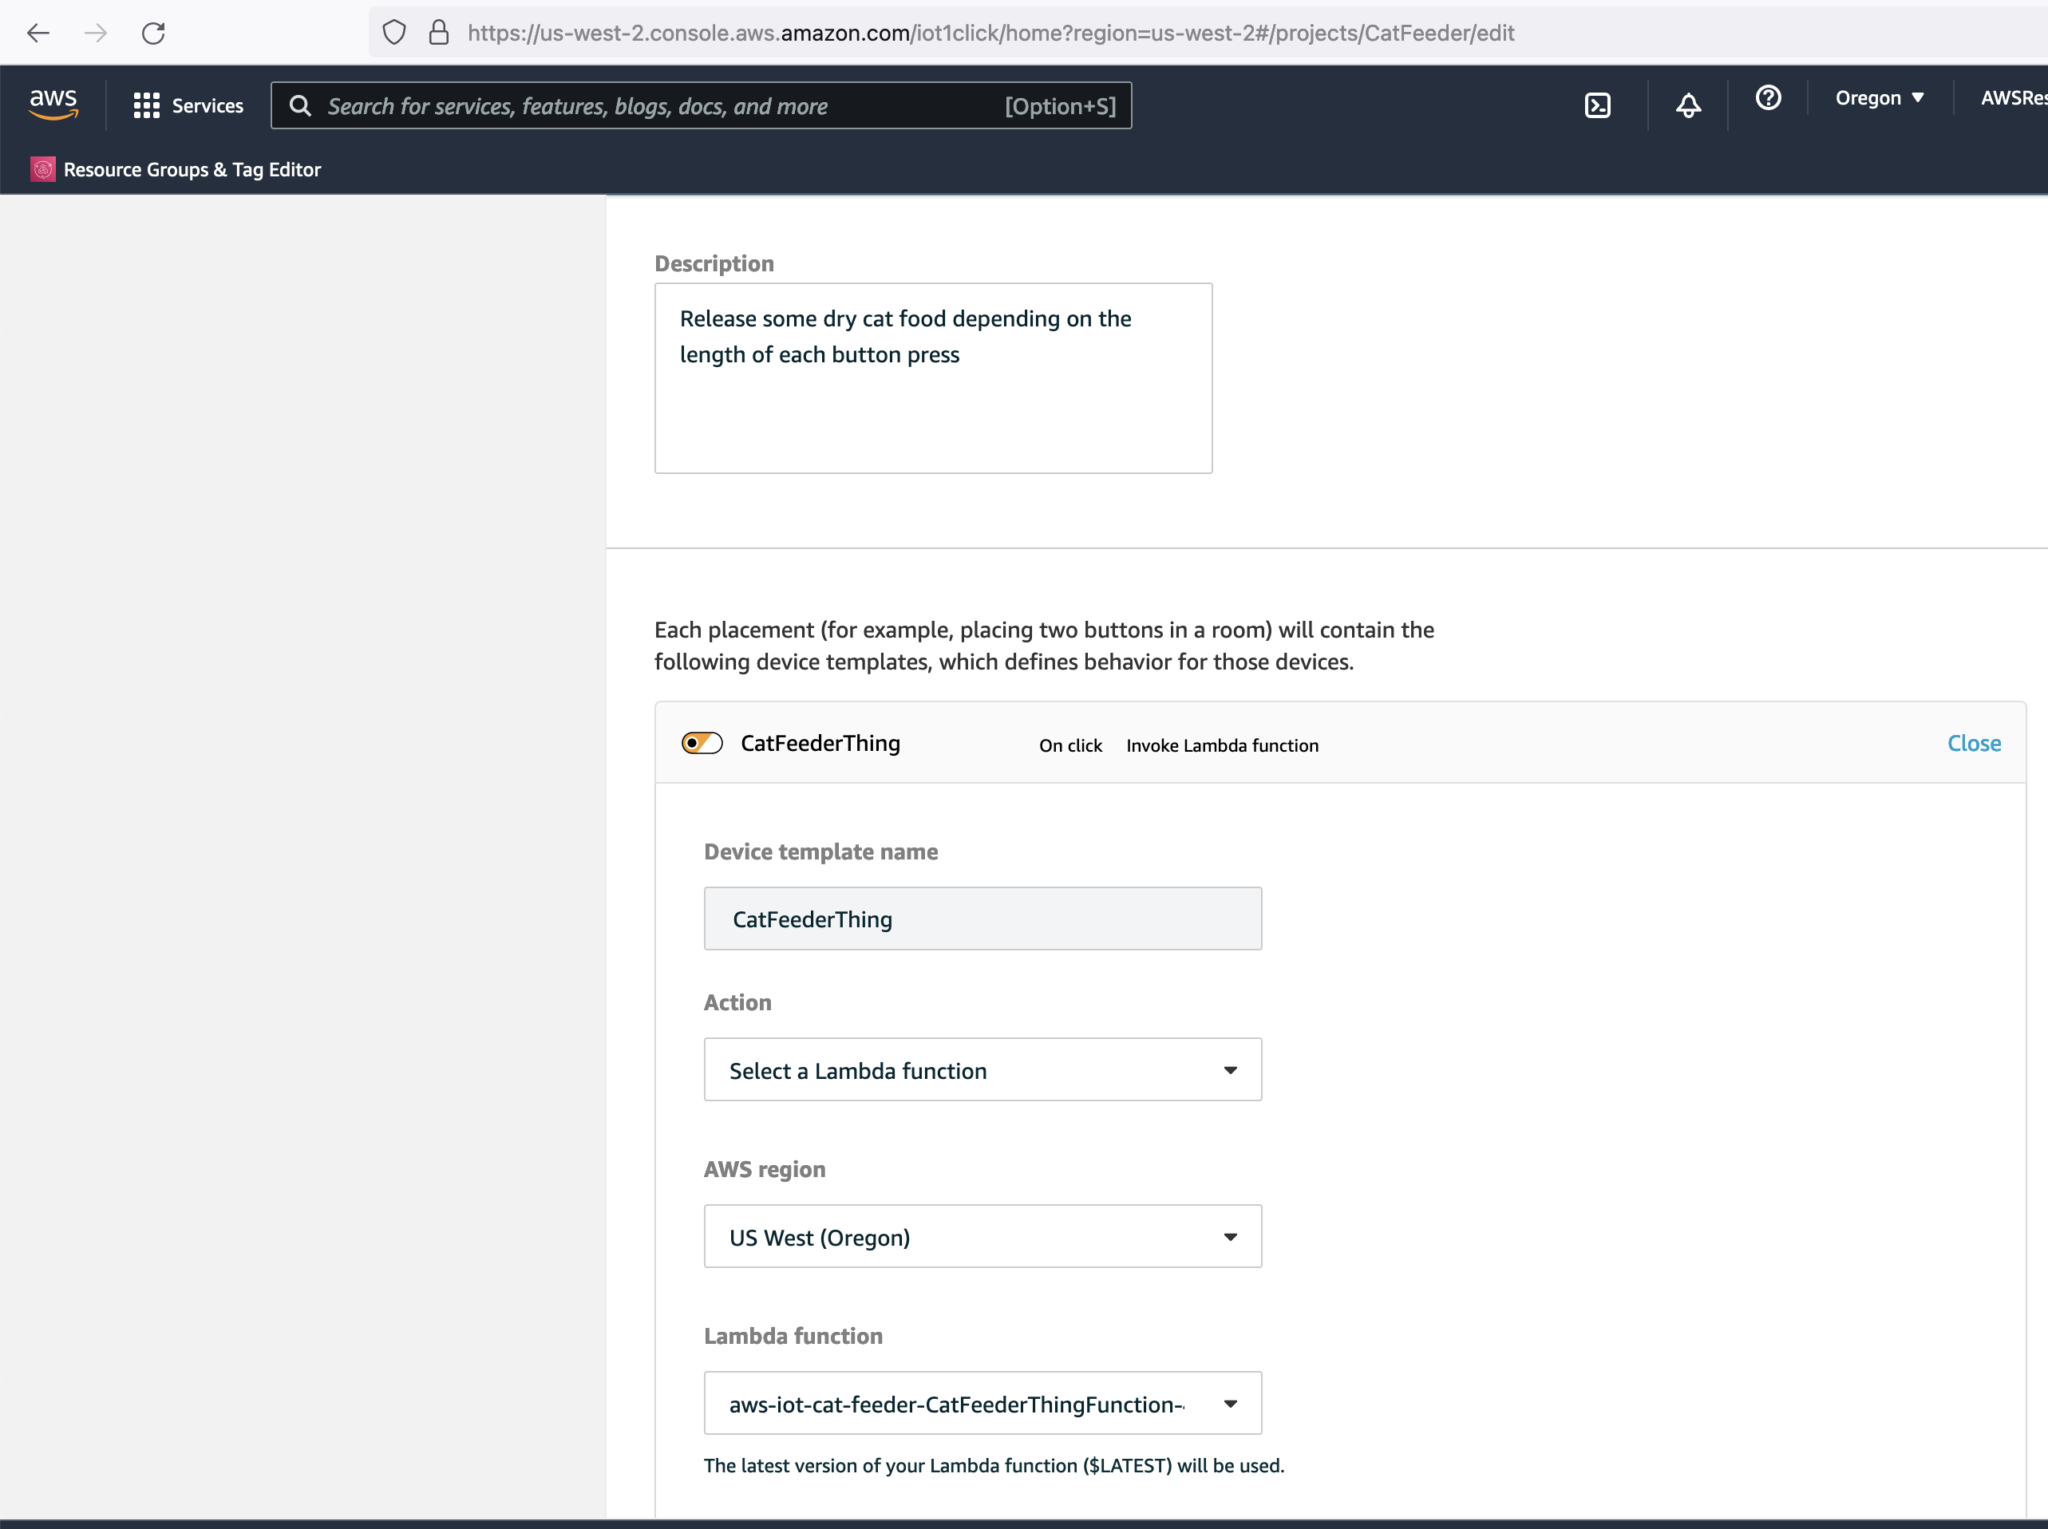
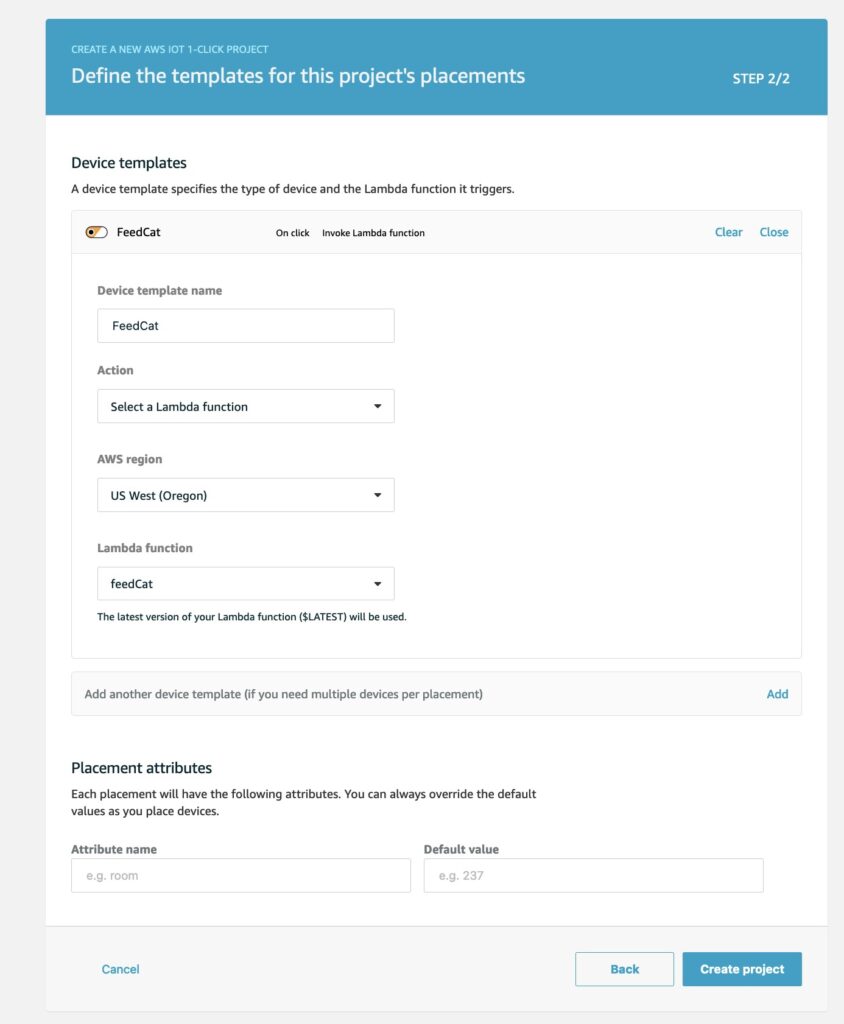
Next define a template, this is where we create a Lambda function; all the plumbing between the IoT device and Lambda will be handled for us.
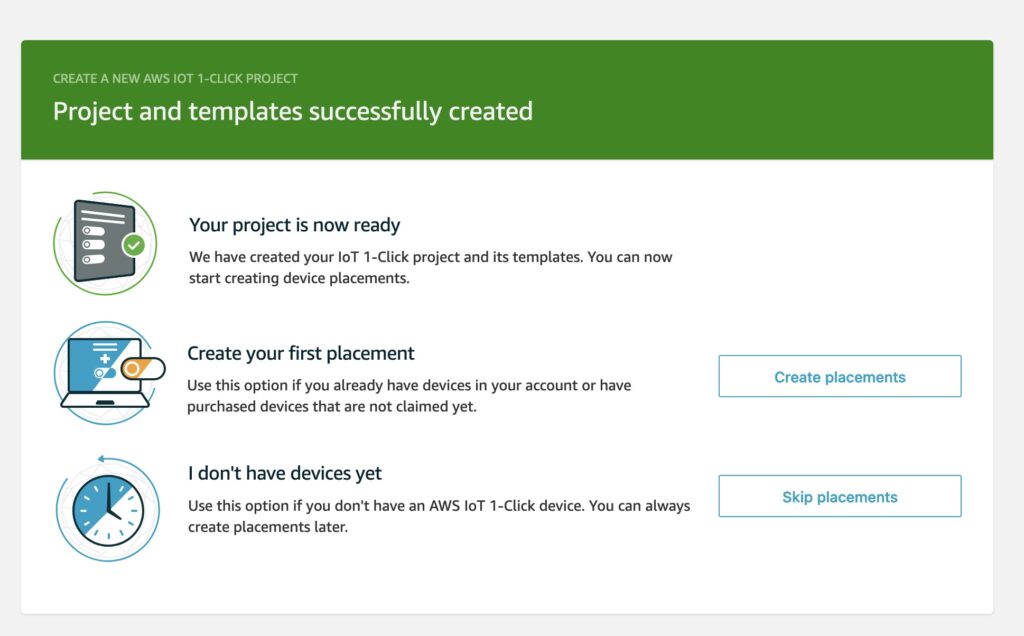
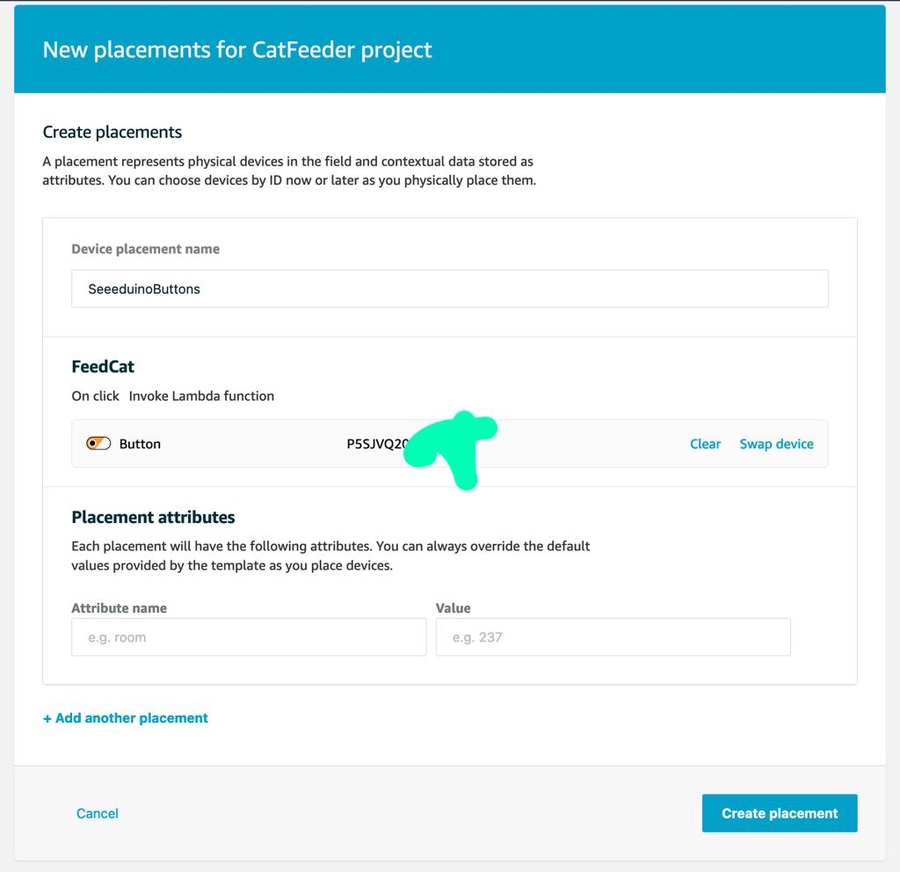
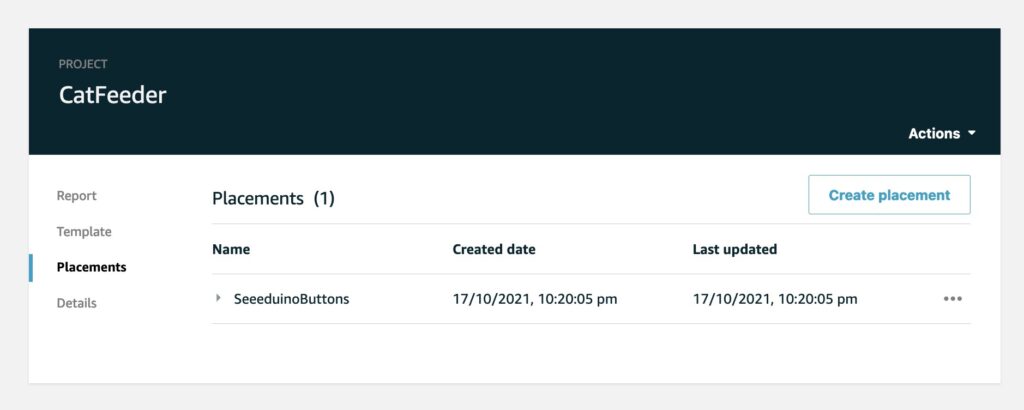
Next we create a placement for the Iot device.
Since I have no Arduino micro-controllers (have yet to buy one), I will get the Lambda to log a message.
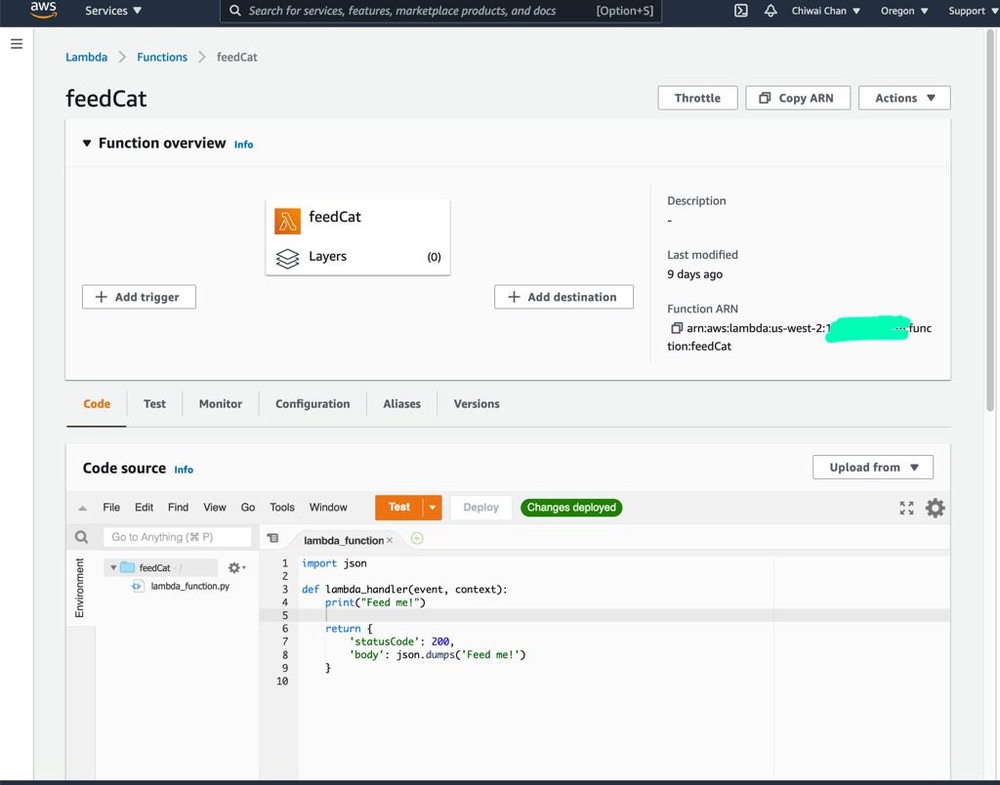
Push the button on the Iot device, wait for the event LED status to turn green after flashing white then check the logs CloudWatch Logs.

At some point I have to code the Lambda to perform a real action as each event comes through, which will be demonstrated in a following blog in the series instead of just logging to CloudWatch logs.
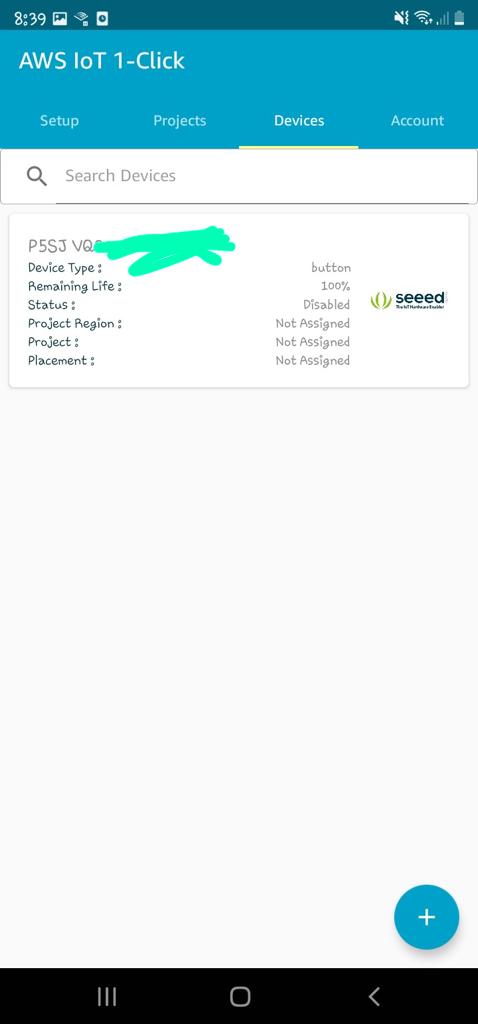
Within the app on your phone you can see status of each IoT device such as the remaining battery life percentage.
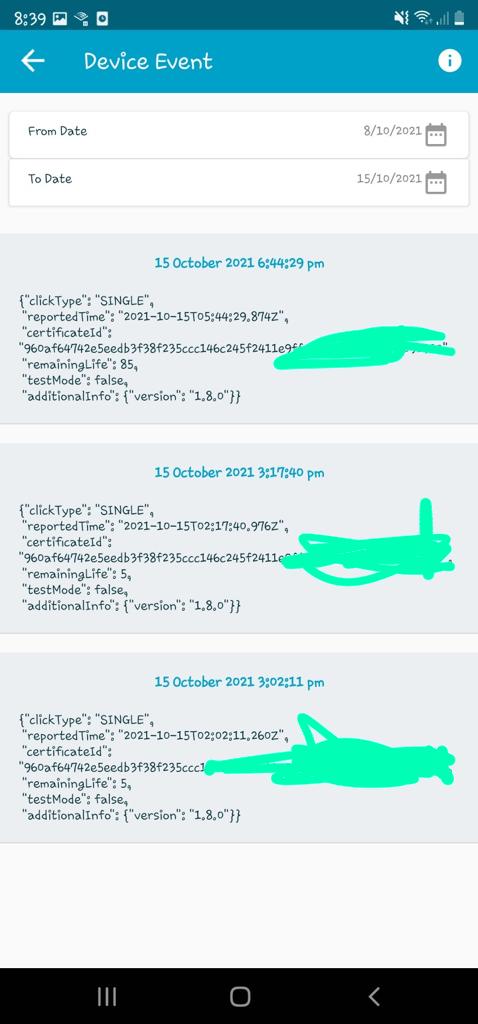
As well as a history of the button's events.
In the next blog, I'll configure the Lambda to push the event to a Topic for AWS IoT Core to subscribe to, which in turns will trigger an event to an ESP32 ( I've yet to decide on a specific version of the micro-controller) using the IoT MQTT protocol.
For a personal project of mine, I like to be able to analyse the pattern of New Zealand's electricity Spot Prices; to identify the cheapest hours during the day to pull power from the grid, as well as, the best time of the day to sell back to the grid.
I will be creating a series of blogs as I build out the fragments of my project. Over time, I will integrate the individual fragments into a bigger overall solution. One of the drivers for analysing the New Zealand Spot Prices: is the aim in reducing the payback period of my Solar and Tesla Powerwall purchase. I have had the 2 systems for over a year at the time when this blog was published.
In this blog, I will explain how I will be collecting Spot Prices from electricityinfo.co.nz using one of their APIs; each Spot Price data reading will then be stored as a JSON file in an S3 bucket where it will be query-able using SQL. Using the same pattern, I will also track the actual cost per unit of power I am paying for from pulling power from the grid, my electricity provider is Flick Electric and I will also leverage their APIs to retrieve the pricing data.
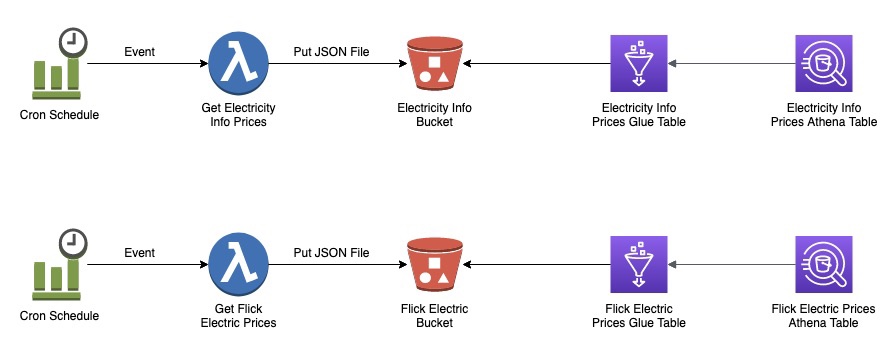
An architecture diagram of the solution. The orchestration of retrieval and storage of the data using AWS serverless components.
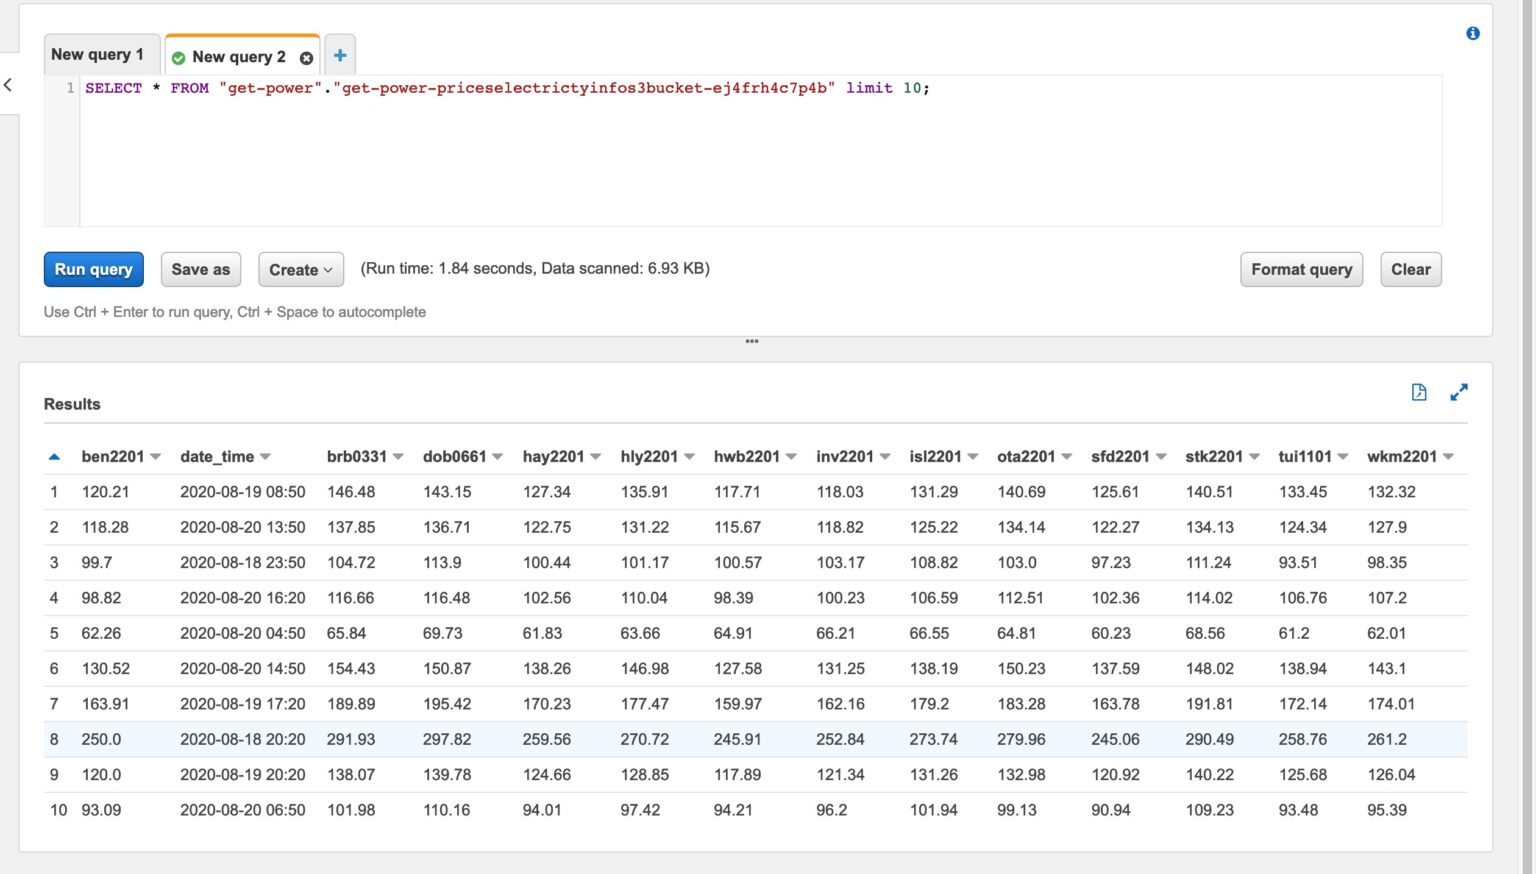
Querying price data stored as JSON file in an S3 bucket using SQL in Athena.
The source code for this AWS SAM project can be found in my Github repository: https://github.com/chiwaichan/athena-spot-prices
In order for this solution to work you must have a set of credentials for Flick Electric, otherwise you can modify the SAM template to disable the Lambda Function's scheduler that triggers the Lambda to retrieve data. This Lambda function retrieves the credentials from AWS Secrets Manager, so you will need to create a Secret before deploying this solution as demonstrated in the AWS CLI shown in the screenshot below.

In a follow up blog, I will demonstrate the use of these Athena tables using a reporting service called QuickSight.