In this Part 3 of the blog series I talk about my experience printing objects using a 3D Printer for the first time. In Part 1, I talked about setting up an IoT Button; and in Part 2, I talked about publishing events to an Adruino Micro-controller from AWS.
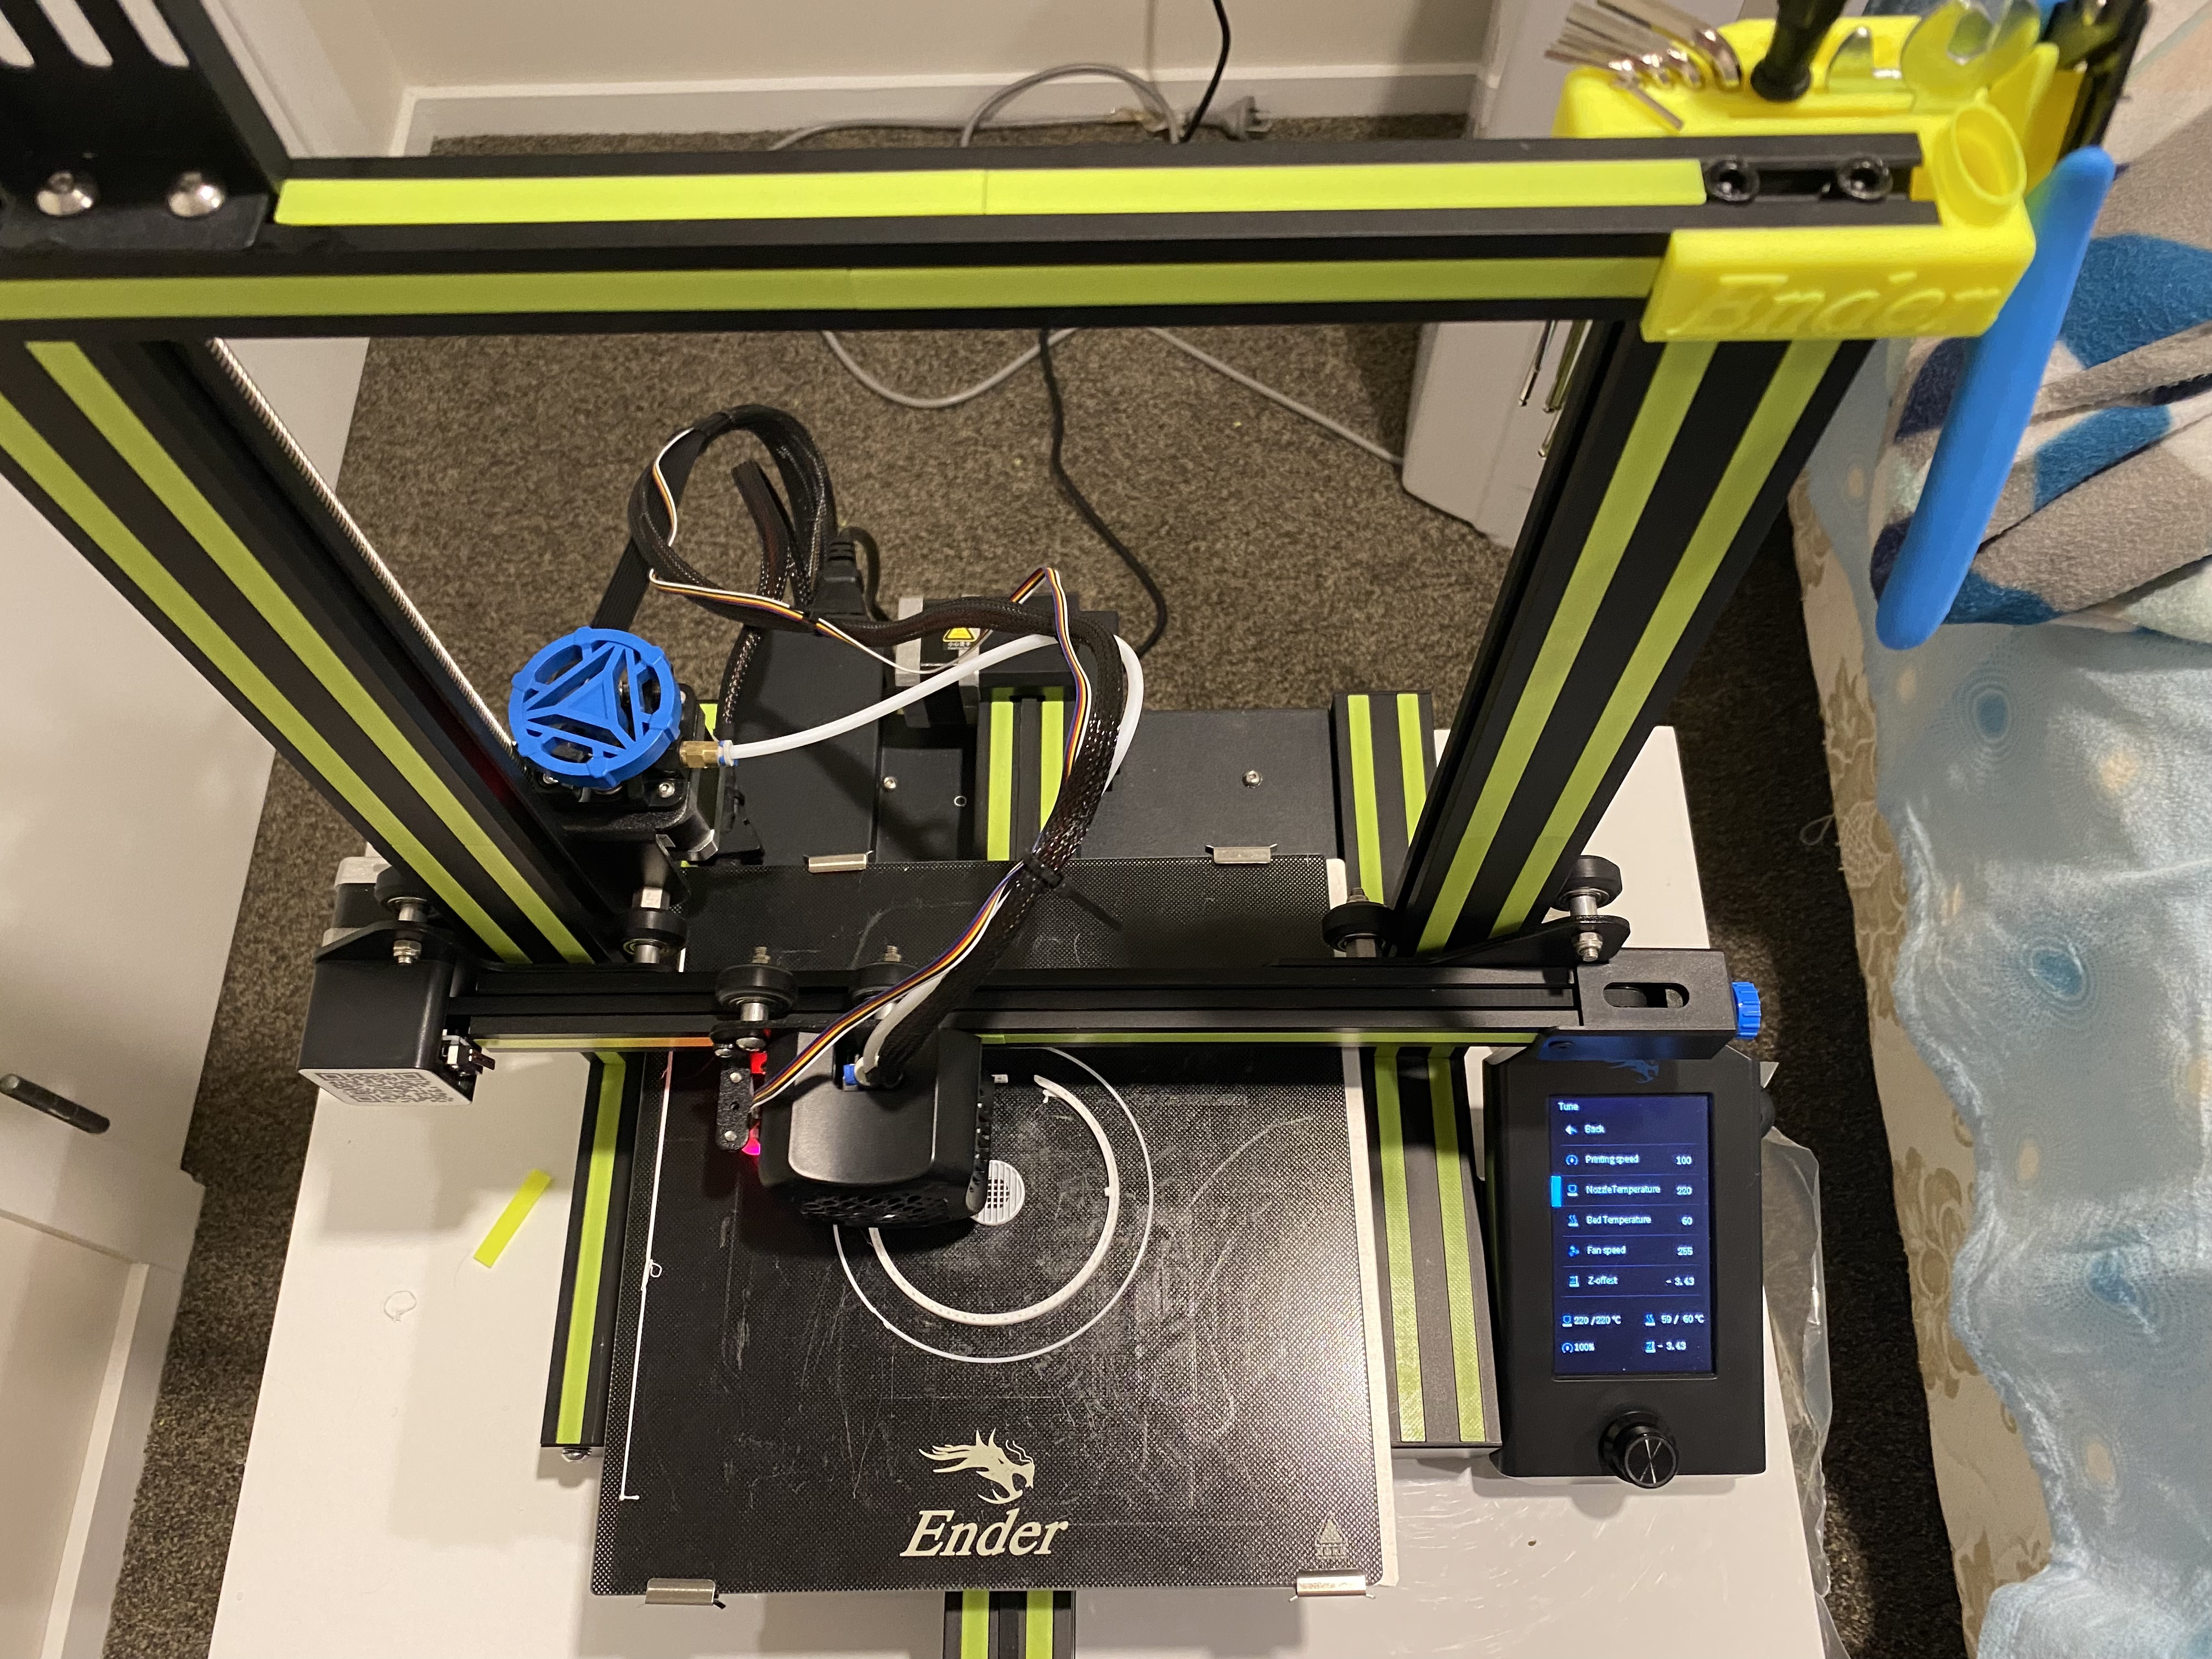
After putting in the hard work in setting up the Creality Ender 3 V2 3D printer, Queenie decided to give the BL Touch Auto Bed Levelling a test run. The Auto Levelling is a must as it greatly improvements productivity by not having to fiddle around with the bed as much without it.
Setting up the printer took 2 nights to set it up, a small portion of the effort was involved in physically putting all the printer parts together, but most of the time spent was fine tuning the Z axis (common problem) and levelling the bed - with prints we are working with margins of tolerances of 0.01mm in each of the 3 planes (X, Y and Z positions). I was lucky enough to avoid a lot of headache as a friend who has the same model had forewarned me of the common pain points in setting up this printer, so it would have taken a week or more to fine tune it if I had to figure it all out by myself.
There are loads of upgrade parts and accessories for the Creality Ender 3 which can be found on sites such as www.thingiverse.com published by the 3D printing community.
Now back to the Cat Feeder
Turns out 3D modeling tools such as Blender is a lot more difficult to learn than I first anticipated; I originally set out to design a Cat Feeder model from scratch in Blender, however, the learning curve in picking it up is much stepper than I hoped; so I decided to jump on ThingieVerse and found a Cat Feeder designed shared by someone from the community. In future projects, I will be more strategic in what I decide build, I will focus on improving on the disciplines (AWS IoT, working with micro-controllers, sensors, motors, designing 3D models and printing plastics) where I need improvement the most. So the next project I have in mind is a Fish Feeder, the main goal of that is to improve my modeling skills, I will design an Feeder with way fewer and more simple components than this project but the core concept will remain the same. Fishes eat less than cats in terms of volume, which means I would be able to use a smaller single motor which in turns means a simpler controller/circuit and fewer parts, and potentially the feeder could run off a re-chargeable battery (charged via USB C) that could last roughly 6 months or more.
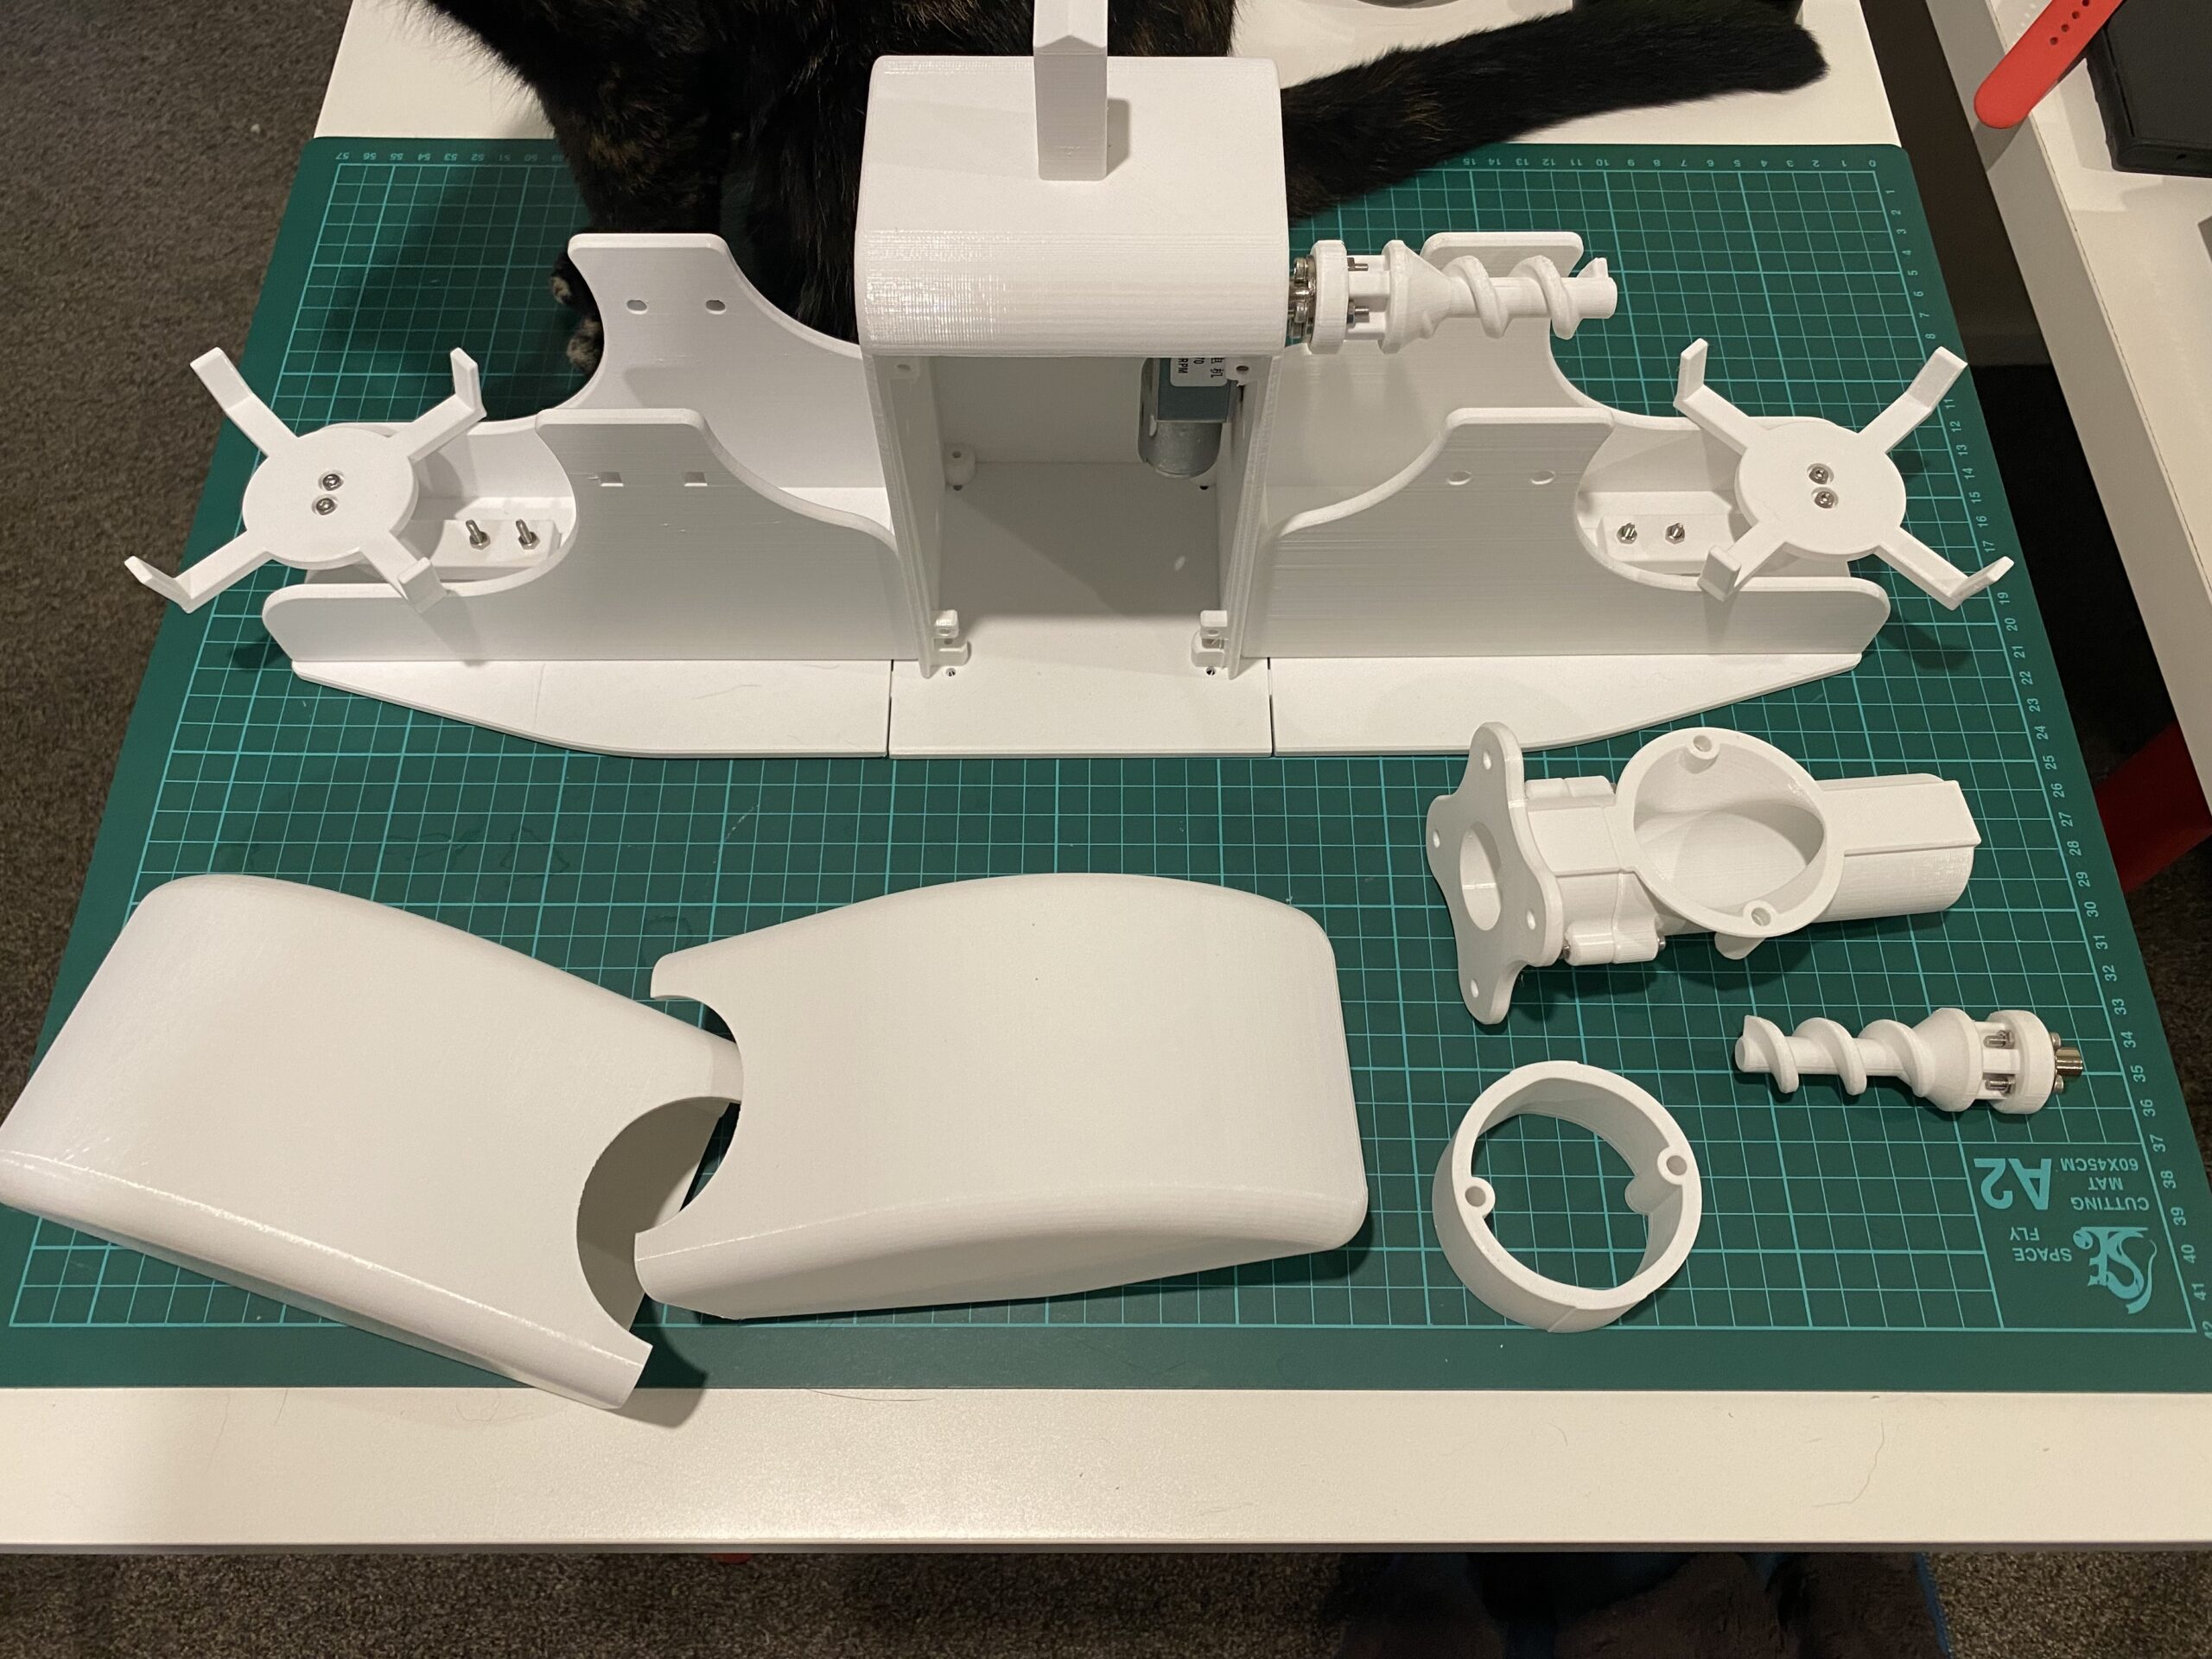
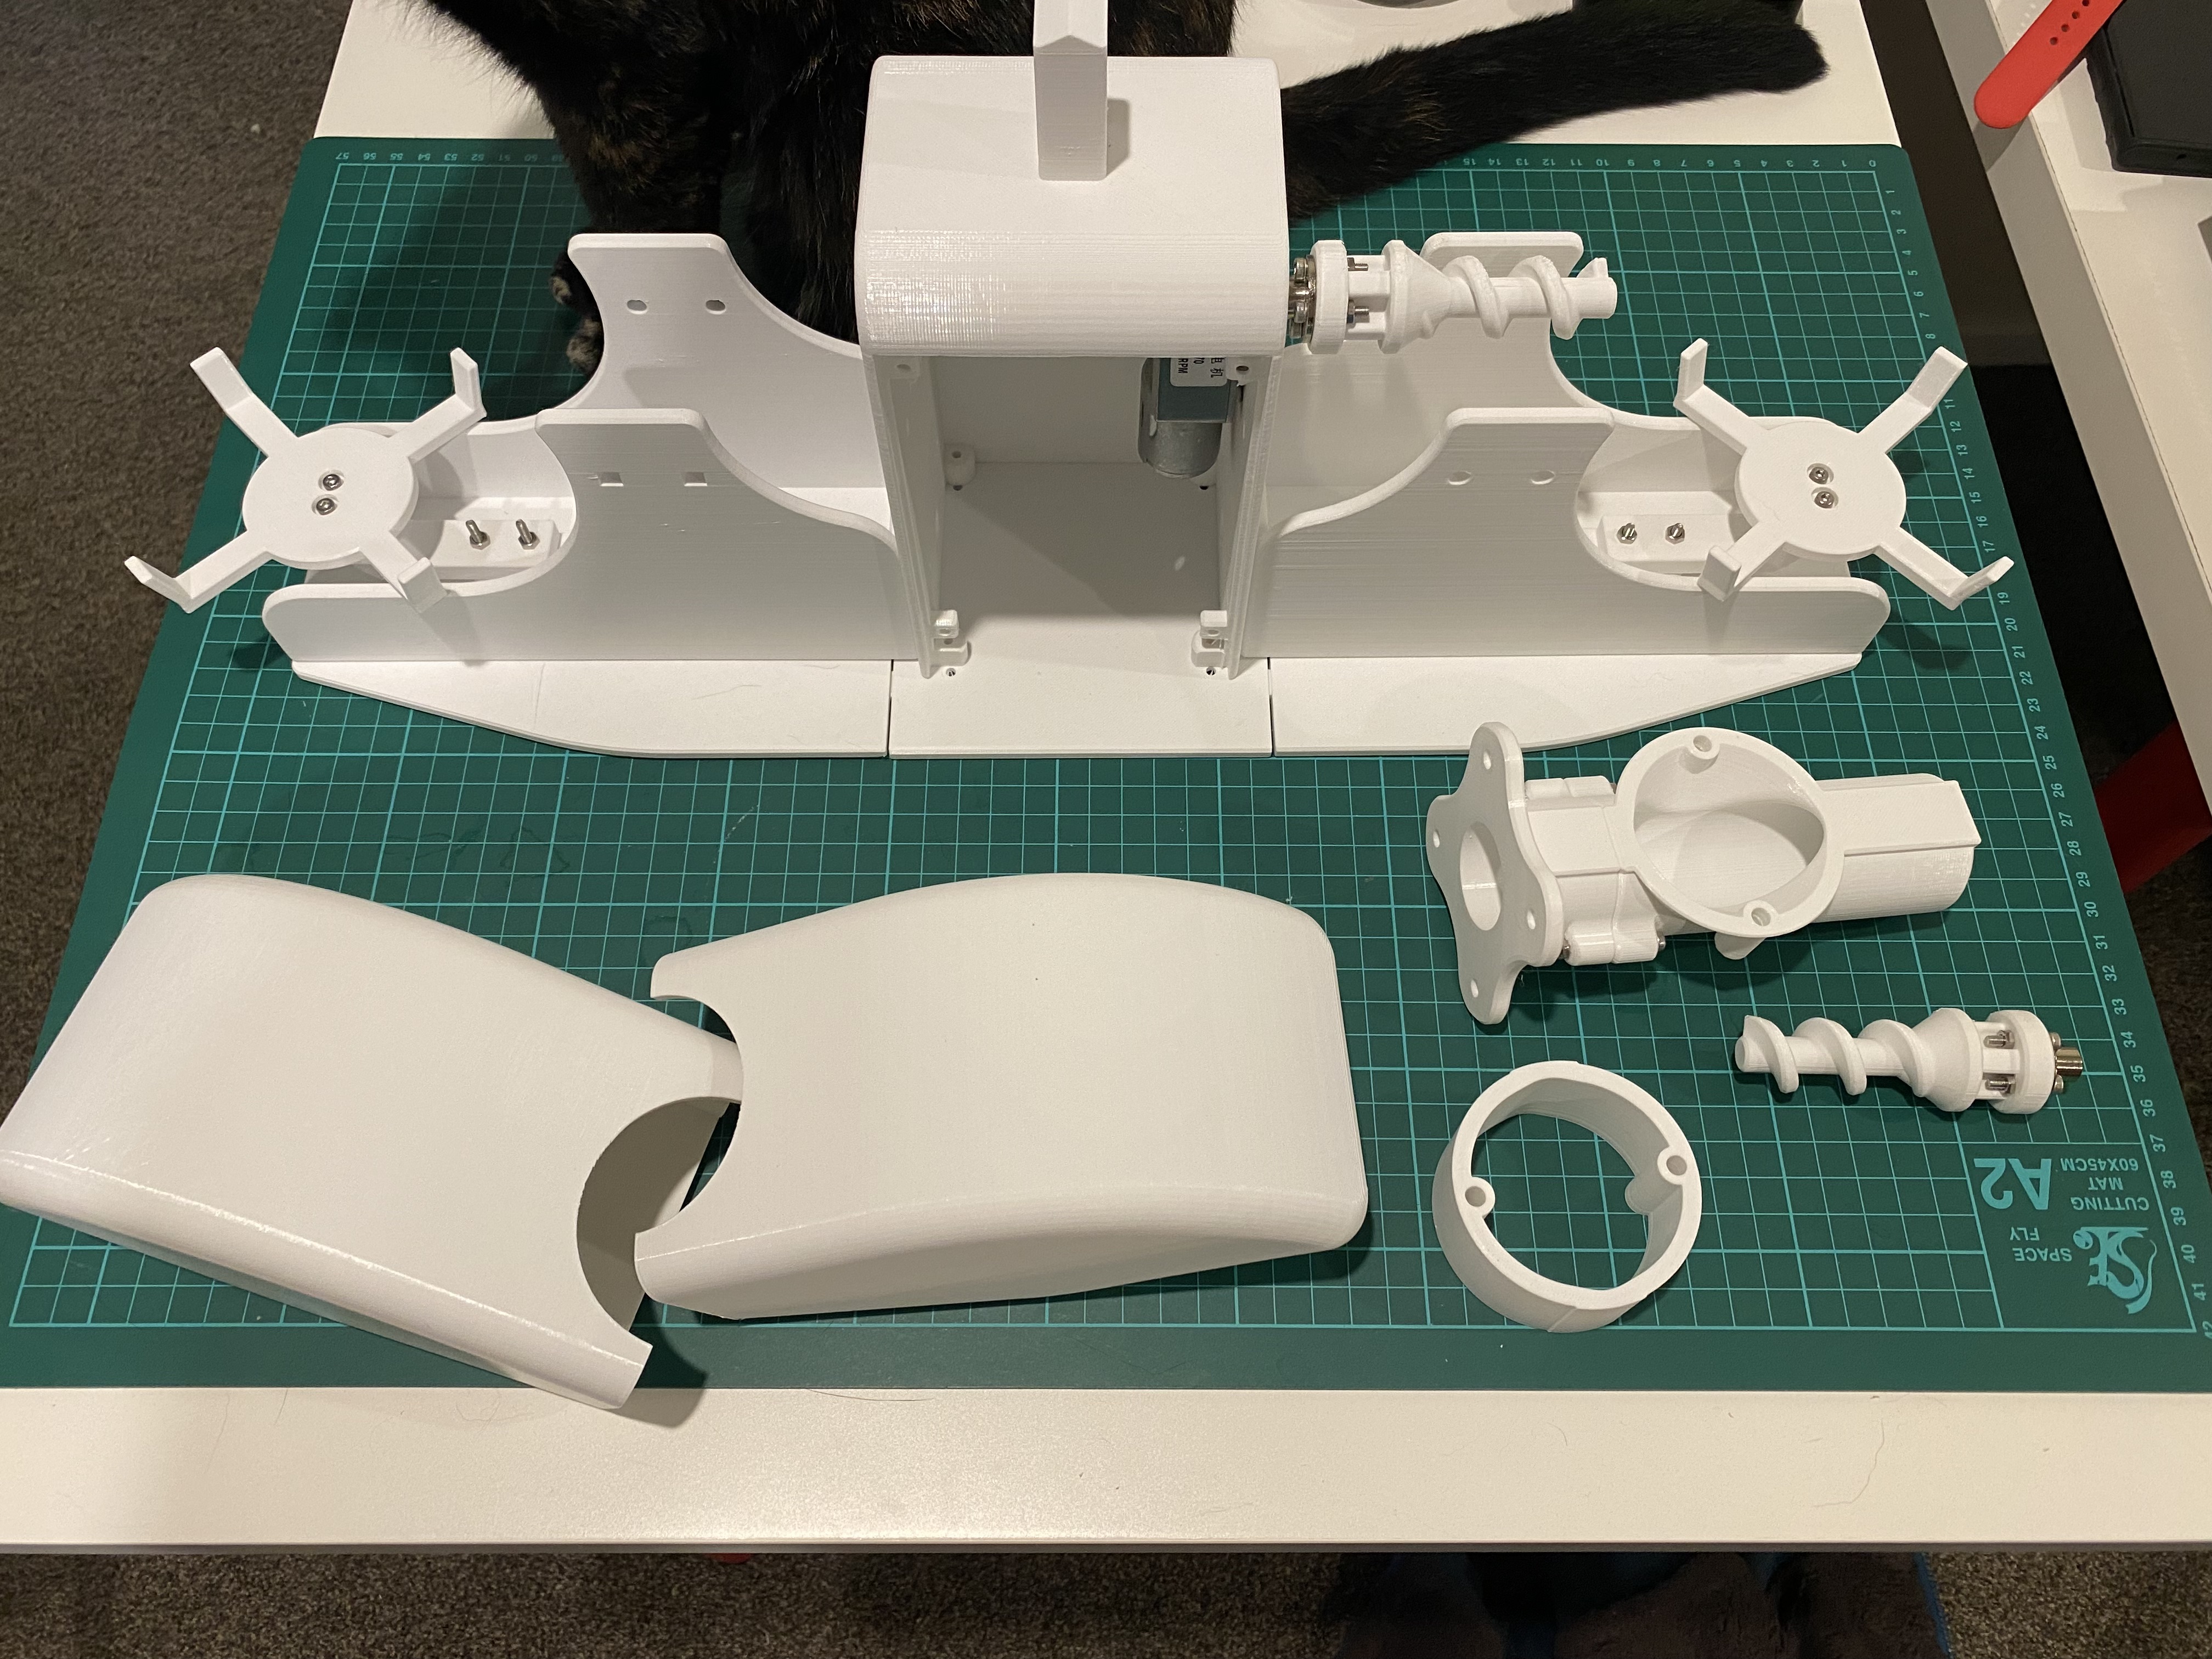
Here is what the printed parts look like.
It took almost 4 weeks of constant printing, then half way through I remembered to create a time-lapse of the print.
What's next?
I'm building this project with parts sourced from AliExpress to keep the cost of the build to a minimum but the down side to that means some parts takes months to arrive, I am waiting for the stepper motor controller and DC-DC step down (5.0V to 3.3V) power supply buck modules to arrive. Once the remaining parts arrive I will put together all the circuit components, followed by combining it with the bits from Part 1 and Part 2, then put out a final blog for the series with a demonstration.